
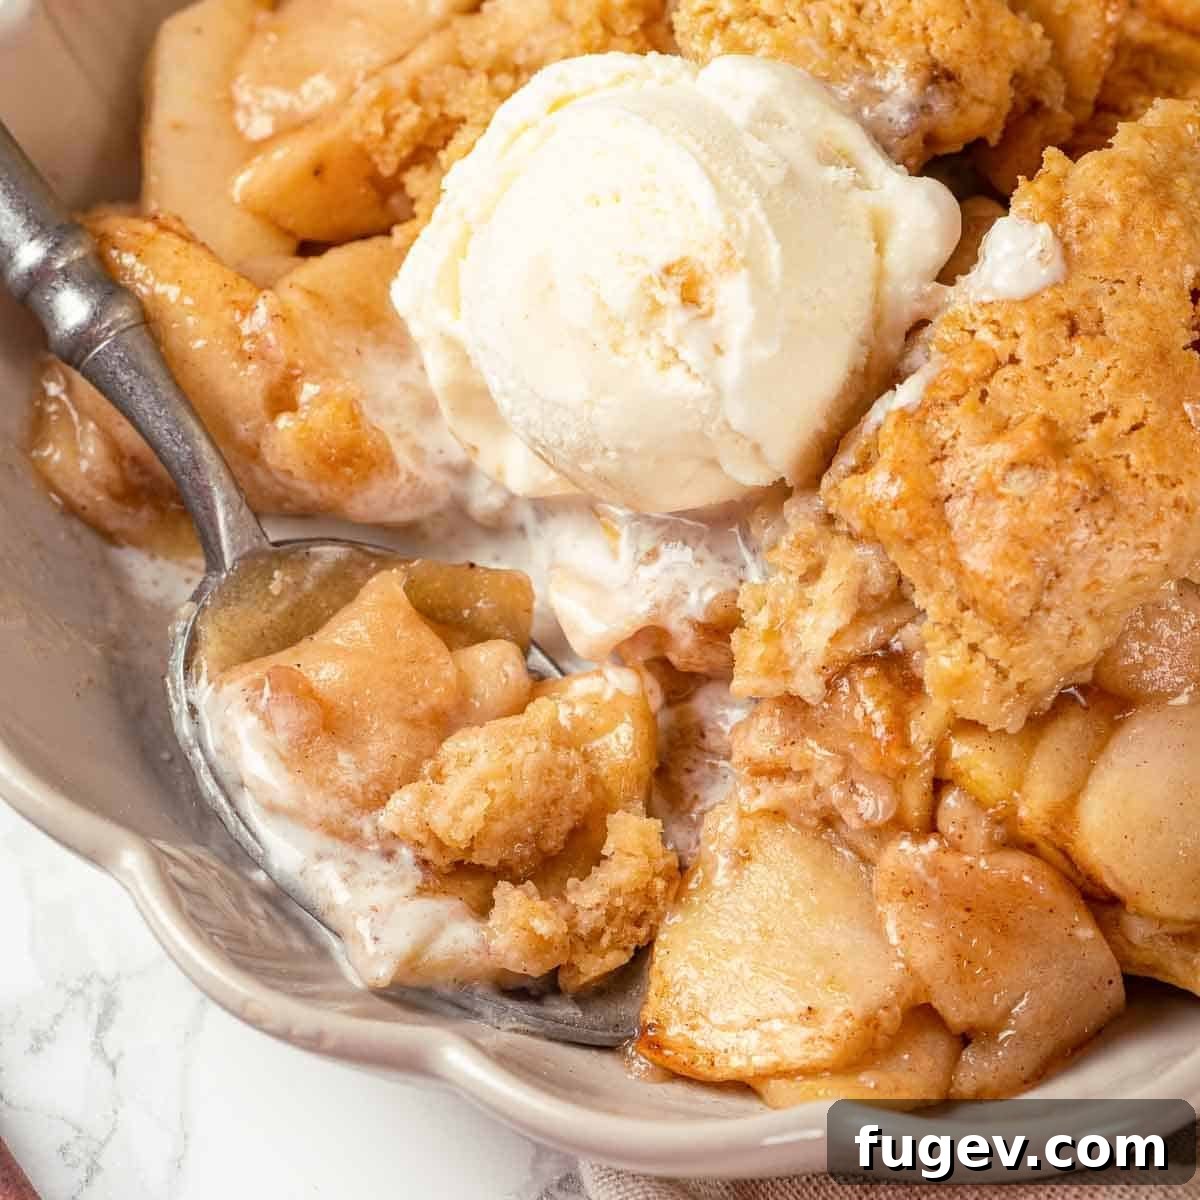
The Best Easy Apple Cobbler Recipe: A Simple Delight with Tender Biscuit Topping
Are you searching for a dessert that embodies cozy comfort, sweet apples, and a perfectly golden topping, but without the fuss of a traditional pie? Look no further! This incredible apple cobbler recipe delivers all the warmth and flavor you crave with minimal effort. Imagine a sweet, warmly spiced apple filling bubbling underneath a tender, fluffy drop biscuit topping – a true culinary masterpiece that comes together quickly and easily, making it an ideal choice for any home baker.
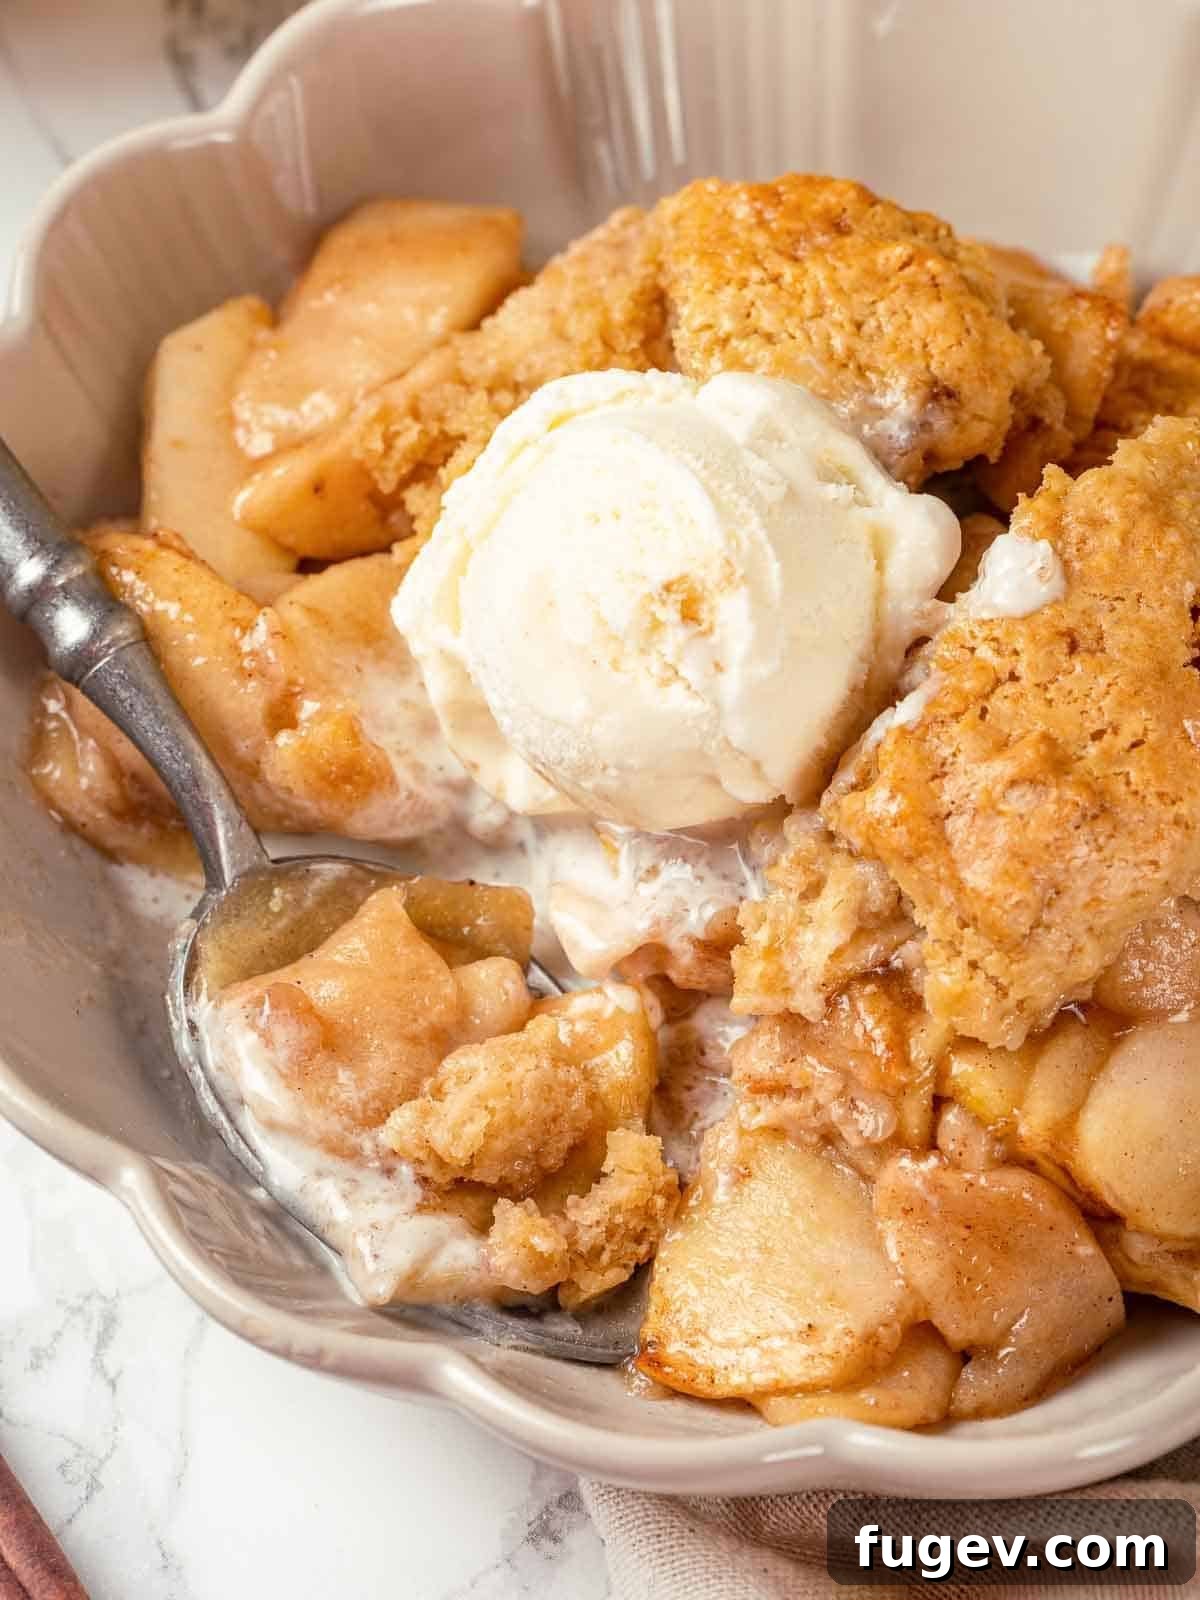
While a classic apple pie holds a special place in our hearts, sometimes time simply isn’t on our side for intricate crust preparation. This easy apple cobbler recipe offers a delightful and satisfying alternative, providing all the beloved flavors of autumn’s favorite fruit dessert with significantly less prep time. Forget the complexities of rolling out pie dough – our simple drop biscuit topping is quick to mix and effortlessly spooned over the fruit, resulting in a perfectly tender and crisp crust that beautifully complements the sweet, spiced apple filling. It’s the ultimate comfort food, made accessible.
As autumn arrives and apple orchards burst with ripe fruit, it’s the perfect season to indulge in apple-centric treats. Beyond this fantastic cobbler, we invite you to explore other delightful easy apple recipes from our collection. Discover classics like our classic apple pie, Mom’s comforting brown sugar apple crisp, or the rich and moist Jewish apple cake, a fresh apple cake that’s perfect for any gathering. For those who love to experiment with unique flavor combinations, don’t miss our apple butterscotch pie, scrumptious apple cinnamon rolls, or festive spiced apple cider cranberry cupcakes. Each recipe promises to bring warmth and joy to your kitchen.
Table of Contents
- Why This Easy Apple Cobbler Is a Must-Try
- Essential Tips for a Perfect Apple Cobbler
- Equipment You Will Need
- Key Ingredients and Their Roles
- Creative Variations for Your Apple Cobbler
- Step-by-Step Guide to Making Apple Cobbler
- Chef Lindsey’s Pro Tip
- Storage and Reheating Tips
- Frequently Asked Questions About Apple Cobbler
- Delicious Serving Suggestions
- Easy Apple Cobbler Recipe
- More Delicious Dessert Inspiration
Why This Easy Apple Cobbler Is a Must-Try
This recipe isn’t just easy; it’s designed to give you a magnificent dessert with maximum flavor and minimal fuss. Here’s why this best apple cobbler recipe will quickly become a cherished favorite in your kitchen:
- Effortless Preparation: Easier Than Pie! Say goodbye to complicated pie crusts and lengthy chilling times. This cobbler offers all the rich, comforting flavors of a classic apple pie in a fraction of the time. The apple filling doesn’t require tedious pre-cooking, and the drop biscuit topping is quickly mixed and simply spooned over the fruit. You can have this delicious dessert prepped and in the oven in under 20 minutes, making it absolutely perfect for last-minute cravings, spontaneous gatherings, or busy weeknights when you desire a homemade treat without the stress.
- Irresistible Texture: Tender and Crisp Drop Biscuit Topping. Our signature drop biscuit topping is what truly elevates this cobbler. We thoughtfully incorporate a touch of light brown sugar into the biscuit dough, infusing it with a subtle, warm molasses flavor that perfectly complements the natural sweetness and spice of the apples. The clever combination of both baking powder and baking soda ensures a beautifully even rise, creating a topping that is wonderfully crisp and golden on the outside, yet incredibly tender, moist, and fluffy on the inside. It’s the ideal textural contrast to the soft, juicy apple filling, promising a delightful bite every time.
- Convenient & Prep-Ahead Friendly: Make Components in Advance. For ultimate convenience and flexibility, many elements of this easy apple cobbler can be prepared ahead of time. You can easily slice and mix the apple filling ingredients (excluding the cornstarch) and store it in the refrigerator for up to a week. Alternatively, you could even use a homemade apple pie filling made on the stovetop. The versatile drop biscuit dough can also be prepared 2-3 days in advance and kept chilled, ready when you are. When it’s baking day, simply assemble your prepped components and pop the cobbler into the oven for a freshly baked dessert with minimal day-of effort and maximum enjoyment!
- Bursting with Autumnal Flavors: Perfectly Spiced Apple Filling. The very heart of this homemade apple cobbler is its apple filling, which is a harmonious blend of sweet, tart, and warmly spiced flavors. By using a thoughtful mix of crisp baking apples, we ensure a delightful textural experience even after baking. The generous addition of cinnamon and other carefully chosen spices creates an intoxicating aroma that will fill your kitchen with comforting notes of fall, inviting everyone to the table.
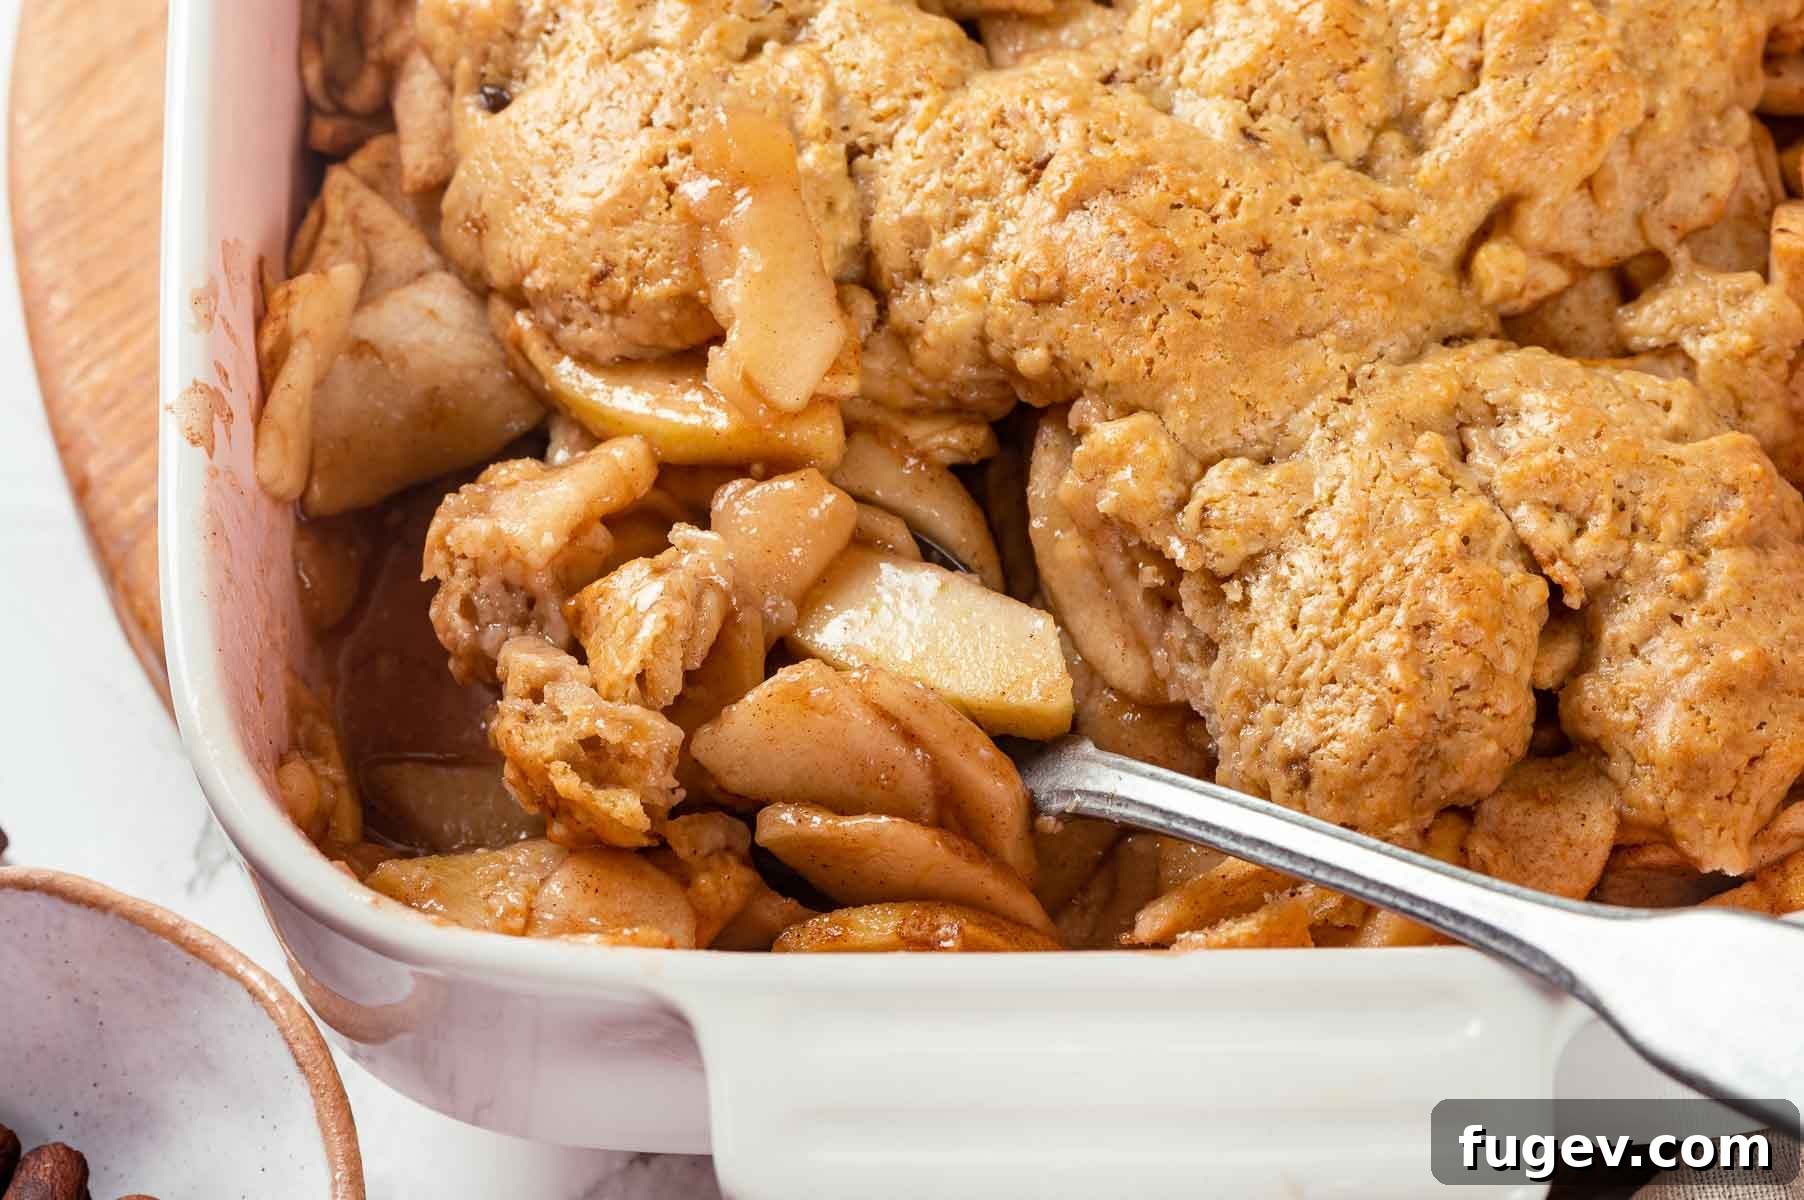
Essential Tips for a Perfect Apple Cobbler
Achieving a truly exceptional apple cobbler is simpler than you might think, especially when you follow these expert tips designed to ensure a perfect bake every time:
- Don’t Overmix the Drop Biscuit Dough: This is arguably the most important tip for a tender and flaky drop biscuit topping. Overworking the dough can lead to excessive gluten development, resulting in tough, chewy biscuits. Because we use melted butter and heavy cream, the dough is already quite moist and forgiving. Mix just until the dry ingredients are barely combined with the wet, and a few small lumps of flour still remain. A light hand here guarantees an incredibly soft and melt-in-your-mouth topping.
- Always Taste Your Apple Filling Before Adding the Cornstarch: Apples are wonderfully diverse, and their flavor, sweetness, and tartness can vary significantly depending on the variety and ripeness. To ensure your filling is absolutely perfect for your palate, always taste a small piece of the apple mixture before you add the cornstarch. This allows you to adjust the balance of sugar or lemon juice to your preferred flavor profile – whether you like it sweeter, tarter, or perfectly balanced. This small step makes a huge difference in the final taste of your spiced apple cobbler.
- Let the Filling Bubble for at Least a Minute (or Two) in the Oven: Since this apple filling isn’t pre-cooked on the stovetop, it needs sufficient time in the oven for the apples to soften, release their delicious juices, and most importantly, for the cornstarch to fully activate and thicken the sauce. Once you start to see the apple filling bubbling vigorously through the gaps in the biscuit topping, set a timer for an additional minute or two. This crucial step ensures that the cornstarch has done its job, preventing a watery filling and creating that lusciously thick, glossy sauce that is characteristic of a truly great homemade apple cobbler.
- Choose the Right Apples: The type of apples you select can significantly impact the final texture and flavor of your cobbler. Always opt for firm, crisp baking apples that hold their shape well when cooked. A mix of sweet and tart varieties, such as Granny Smith with Honeycrisp or Gala, often yields the most complex and delicious flavor profile. (More detailed recommendations can be found in our Ingredients section below.)
- Embrace a Blend of Spices: While ground cinnamon is a classic and indispensable spice for apple desserts, don’t be afraid to experiment with a harmonious blend of warm spices. A pinch of ground nutmeg, a whisper of allspice, or a tiny touch of ground cloves can elevate your cobbler’s flavor profile, adding depth and a more complex aroma that makes this a truly special fall dessert.
Essential Equipment You Will Need
Having the right tools ready before you begin will make the baking process for your easy apple cobbler smooth, efficient, and enjoyable. Here’s a list of the basic kitchen equipment you’ll need:
- 9×13-inch Baking Dish: This standard size is perfect for creating a generous, family-sized cobbler that serves a crowd. A ceramic or glass dish works wonderfully for even baking.
- Large Mixing Bowls (2): You’ll need one large bowl for tossing your apple filling ingredients and another medium-sized bowl for preparing your biscuit topping.
- Whisk and Silicone Spatula: A whisk is essential for combining dry ingredients evenly, especially in the biscuit topping. A silicone spatula is ideal for gently folding the wet and dry biscuit ingredients together without overmixing.
- Vegetable Peeler and Paring Knife: These are indispensable for efficiently peeling and coring your apples, preparing them perfectly for the filling.
- Measuring Cups and Spoons: Accurate measurements are crucial in baking. Ensure you have a full set for both dry and liquid ingredients. For flour, using a kitchen scale for accuracy is always recommended if possible.
- Cutting Board: A sturdy cutting board is necessary for safely slicing your apples.
- Oven Mitts: Always keep a reliable pair of oven mitts handy for safely handling the hot baking dish when placing it in and removing it from the oven.
Key Ingredients and Their Roles in Your Apple Cobbler
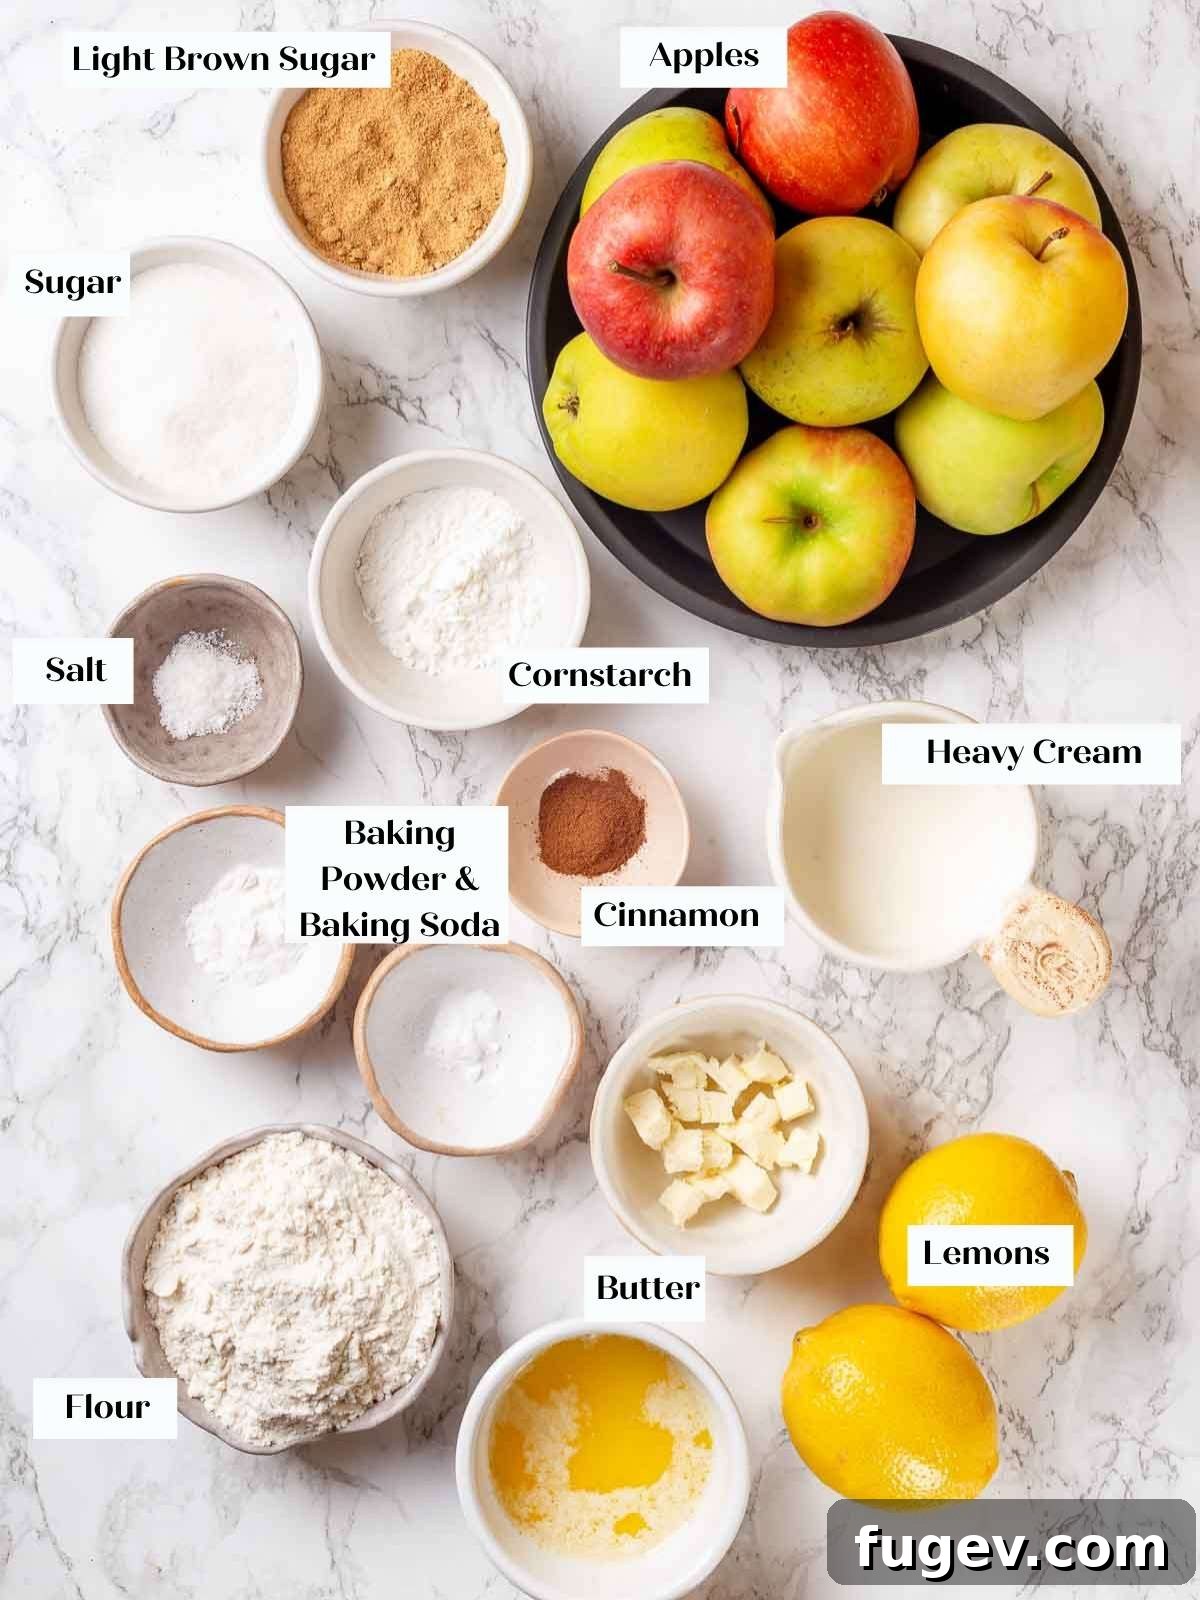
Each ingredient plays a vital role in creating the perfect balance of flavor and texture for the best apple cobbler. Understanding their purpose will help you appreciate this recipe even more:
- Apples: The undeniable star of this homemade apple cobbler! It’s crucial to use crisp, firm baking apples that can withstand the heat of the oven without turning into an overly mushy consistency. Excellent choices include tart Granny Smith apples (which provide a wonderful counterpoint to the sweetness), sweet and crunchy Honeycrisp, Gala, Braeburn, Macoun, Cortland, or Pink Lady apples. For the most nuanced and delicious flavor profile, we highly recommend using a blend of 2-3 different varieties, combining both sweet and tart apples to add complexity and depth to your filling.
- Lemon Juice: Freshly squeezed lemon juice serves multiple essential functions. Beyond its well-known role in keeping the sliced apples from turning brown, it provides a crucial bright acidity that beautifully cuts through the sweetness, balancing the rich flavors of the apple filling. This ensures your spiced apple cobbler is never overly saccharine. While fresh is always best, high-quality pure lemon juice can be a convenient substitute.
- Light Brown Sugar: This ingredient is key for adding a rich, caramel-like sweetness and a distinctive hint of molasses flavor to both the luscious apple filling and the tender biscuit topping. Its inherent moisture content also significantly contributes to a softer, more tender crumb in your biscuits.
- Granulated Sugar: Providing a clean, pure sweetness to the apple filling, granulated sugar also plays an important role in the thickening process by helping to draw out natural moisture from the apples. When incorporated into the biscuit topping, it aids in achieving that desirable golden-brown and satisfyingly crispy exterior, much like its function in other delightful recipes such as our strawberry rhubarb crumble.
- Ground Cinnamon: This warm, aromatic spice is quintessential to virtually all classic apple desserts, and our quick apple cobbler is no exception. It generously infuses the filling with a comforting fragrance and depth of flavor that evokes the essence of autumn. For those looking to explore a more complex spice blend, you could substitute it with a smaller quantity of homemade apple pie spice, a unique speculoos spice mix, or even our cozy pumpkin spice mix.
- Cornstarch: This is the indispensable thickening agent for your apple filling. It expertly creates a beautifully glossy, thick sauce that perfectly coats the apples without leaving a gummy residue. For a gluten-free alternative, tapioca flour can be used with similar excellent results.
- Unsalted Butter: In the apple filling, butter contributes a luxurious richness and a delightful mouthfeel. In the biscuit dough, melted butter is crucial for creating that supremely tender texture. It achieves this by shortening the gluten strands in the flour, which effectively prevents toughness and ensures you get a melt-in-your-mouth biscuit with every bite. Using unsalted butter also gives you precise control over the overall saltiness of your delicious dessert.
- All-Purpose Flour: This forms the primary structural foundation for our wonderfully tender drop biscuit topping. For consistent and reliable baking results, always ensure your flour is accurately measured, ideally by weight for precision.
- Baking Powder & Baking Soda: These two powerhouse leavening agents work in perfect harmony to give the biscuits their characteristic high rise and an incredibly light, airy texture. Baking powder reacts both with liquid and heat, while baking soda reacts with an acid (like the light brown sugar or buttermilk if used as a cream substitute) to produce carbon dioxide, collectively ensuring an even, fluffy, and tender rise in your biscuit topping.
- Kosher Salt: A small but mighty ingredient, a pinch of kosher salt plays a critical role in enhancing and balancing all the other flavors. It makes the sweet and spiced notes of both the apples and the biscuits shine brighter, preventing the dessert from tasting flat. It’s a crucial but often overlooked component in successful baking.
- Heavy Cream: This rich dairy product provides the necessary liquid to bring the biscuit dough together, resulting in a wonderfully moist and tender topping. Its high fat content also contributes significantly to a richer flavor and superior texture in the finished biscuit. If heavy cream isn’t readily available, whole milk or buttermilk can be used as effective substitutes, though buttermilk will lend a slight, pleasant tang to the biscuits.
For precise quantities and a complete, comprehensive list of ingredients, please refer to the detailed apple cobbler recipe card provided at the end of this article.
Creative Variations for Your Apple Cobbler
This easy apple cobbler recipe is wonderfully versatile, offering a fantastic canvas for your creativity in the kitchen. Don’t hesitate to experiment with different flavors and presentations to make it uniquely yours. Here are some inspiring ideas:
- Change Up the Topping: While our tender drop biscuit topping is superb, you can easily switch it up to suit your preference or to add variety!
- For a lighter, more cake-like topping, consider adapting the shortcake recipe from our beloved classic blueberry cobbler.
- Craving a delightful crunchy texture? Opt for the wholesome oat streusel topping found in Mom’s comforting easy apple crisp.
- Transform this dessert into a delightful apple crumble by preparing the cinnamon-spiced crumble from our popular mixed berry crumble recipe.
- Hot Infuse the Apple Filling for Deeper Flavor: For an extra layer of sophisticated flavor, consider gently pre-cooking your apple filling with whole, aromatic spices. Add ingredients like a split vanilla bean, whole cinnamon sticks, a few whole nutmeg pieces, cardamom pods, or whole cloves to the apple mixture (before adding cornstarch) and simmer briefly on the stovetop until fragrant. Remember to remove the whole spices before assembling the cobbler. This infusion process deepens the flavor profile significantly. Just be careful not to fully cook the apples at this stage, as they will bake further in the oven; they should still retain a slight crispness.
- Individual Apple Cobblers: These mini cobblers are perfect for elegant dinner parties, holiday gatherings, or simply for personalized portions. They are both charming and incredibly convenient. Simply chop your apples into smaller, bite-sized pieces and scoop the prepared filling into individual ramekins or small baking dishes. Top each with a generous dollop of the drop biscuit dough. Be aware that these individual portions will bake faster than a large cobbler, so keep a close eye on them and ensure the filling is visibly bubbly and the topping is golden brown before removing from the oven. For another delightful individual dessert, try our individual lemon strawberry shortcake.
- Mix in More Fruits for Flavorful Combinations: Apples pair beautifully with many other fruits, opening up a world of exciting flavor combinations for your homemade apple cobbler.
- Apple Cranberry Cobbler: Add 1 to 1½ cups of fresh or frozen cranberries (no need to thaw) to the apple filling. For an even warmer, more festive feel, incorporate a touch of ground ginger and a tiny pinch of ground cloves. This delightful variation is particularly perfect during the holiday season.
- Apple Pear Cobbler: Replace one-third to half of the apples with firm, ripe pears (such as Bosc or Anjou) for a subtle flavor twist and a slightly different texture.
- Apple Berry Cobbler: A handful of fresh or frozen blueberries, raspberries, or blackberries (about 1 cup) can add a wonderful burst of color, tang, and sweetness to your apple filling.
- Caramel Apple Cobbler: For an utterly indulgent twist, drizzle homemade or high-quality store-bought salted caramel sauce generously over the apple filling before you add the biscuit topping. This creates a decadent caramel apple treat that is truly irresistible.
Step-by-Step Guide to Making the Best Easy Apple Cobbler
Follow these detailed instructions to create a truly irresistible easy apple cobbler in your own kitchen. You’ll find full measurements and quantities in the comprehensive recipe card located at the end of this article.
Preparing the Flavorful Apple Filling:
- Preheat Your Oven: Begin by preheating your oven to 350°F (175°C). Ensure you are using the conventional setting (without the fan) to allow for even baking and to achieve that perfectly golden-brown, crisp topping.
- Prepare the Apples with Precision: Carefully peel all your chosen apples. Once peeled, slice each apple in half, and then in half again, creating four equal quarters. Using your knife on a diagonal, efficiently remove the core and stem from each quarter. Finally, slice each apple quarter into even 1/8 to ¼-inch thick slices across. Consistency in thickness is paramount here, as it ensures all the apple pieces cook evenly. For a helpful visual guide on the best technique for slicing apples, you can refer to this informative apple pie video.
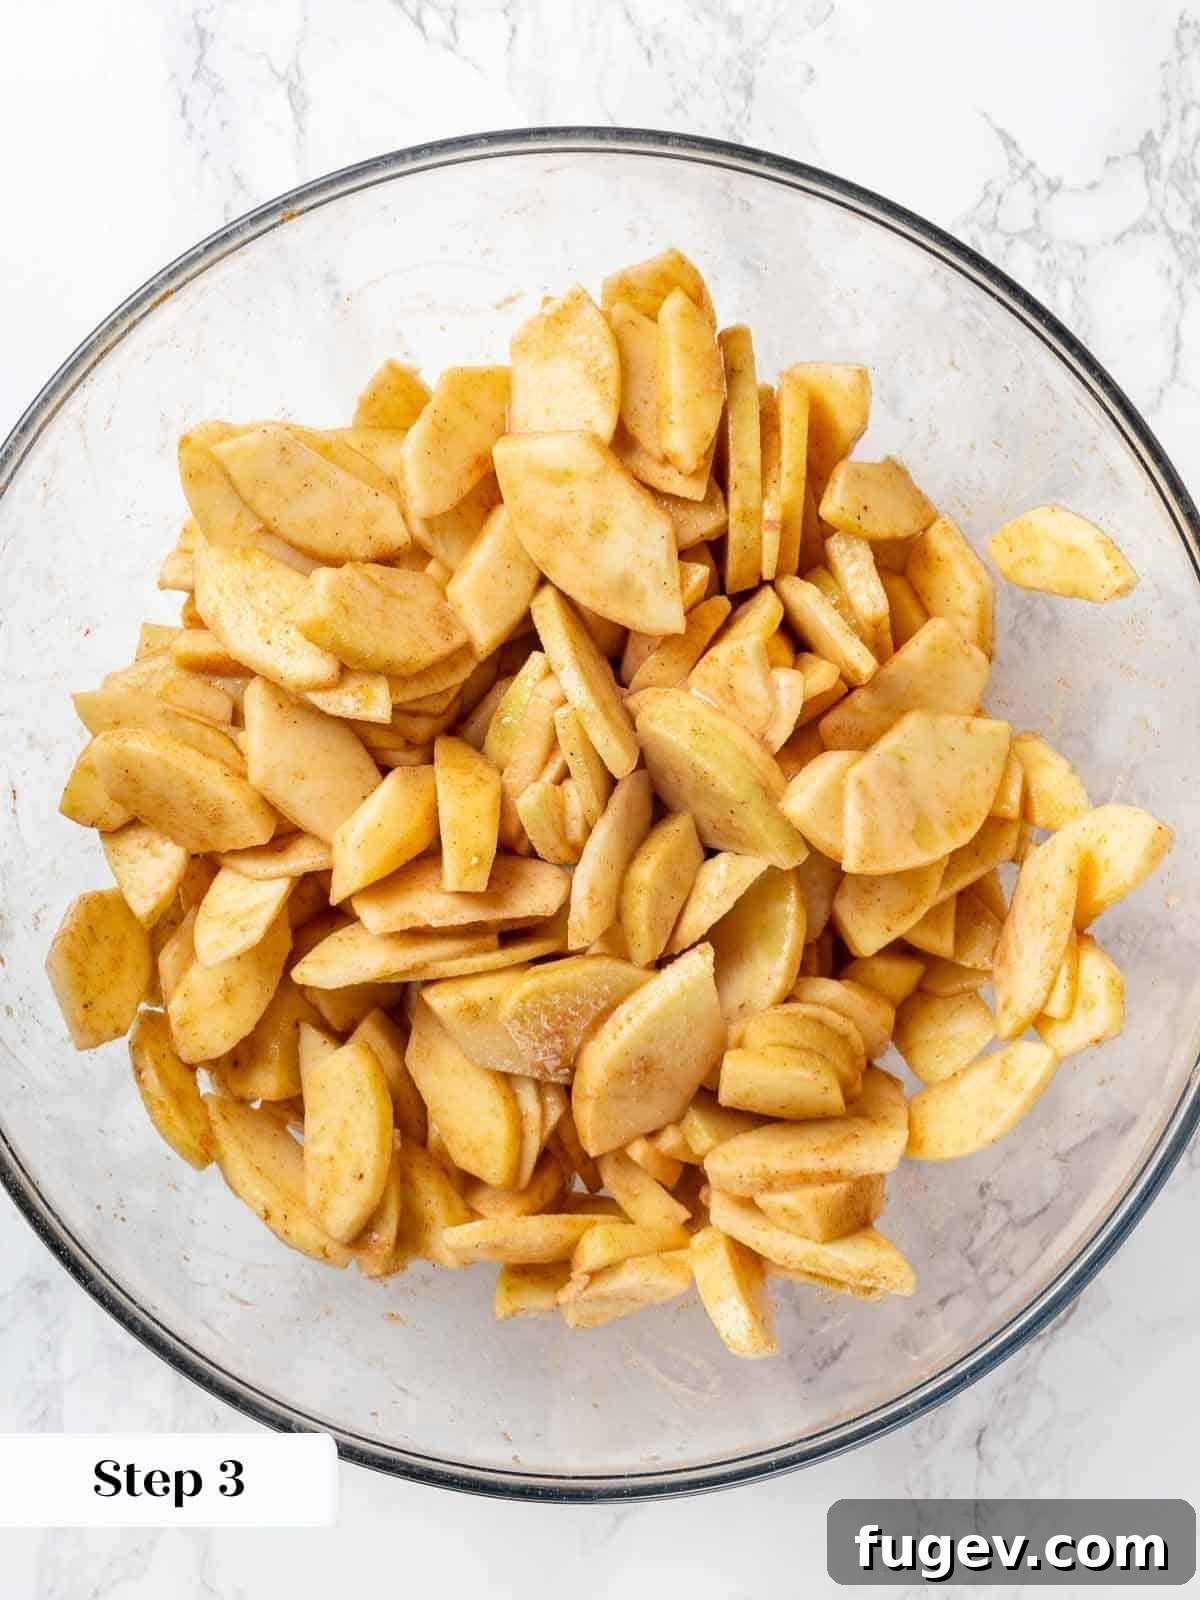
- Combine Filling Ingredients in a Large Bowl: In a spacious mixing bowl, gently combine the uniformly sliced apples, fresh lemon juice, kosher salt, both granulated sugar and light brown sugar, and aromatic ground cinnamon. Toss everything together thoroughly until all the apple pieces are evenly coated with the spices and sugars.
- Taste and Adjust Seasoning: This is a crucial step that sets a good cobbler apart! Take a small bite of an apple slice from your mixture. Based on the natural sweetness and tartness of your apples, adjust the seasoning if desired. You might add a little more sugar for sweetness or a dash more lemon juice for brightness and tartness, ensuring the filling is perfectly tailored to your preferred flavor profile.
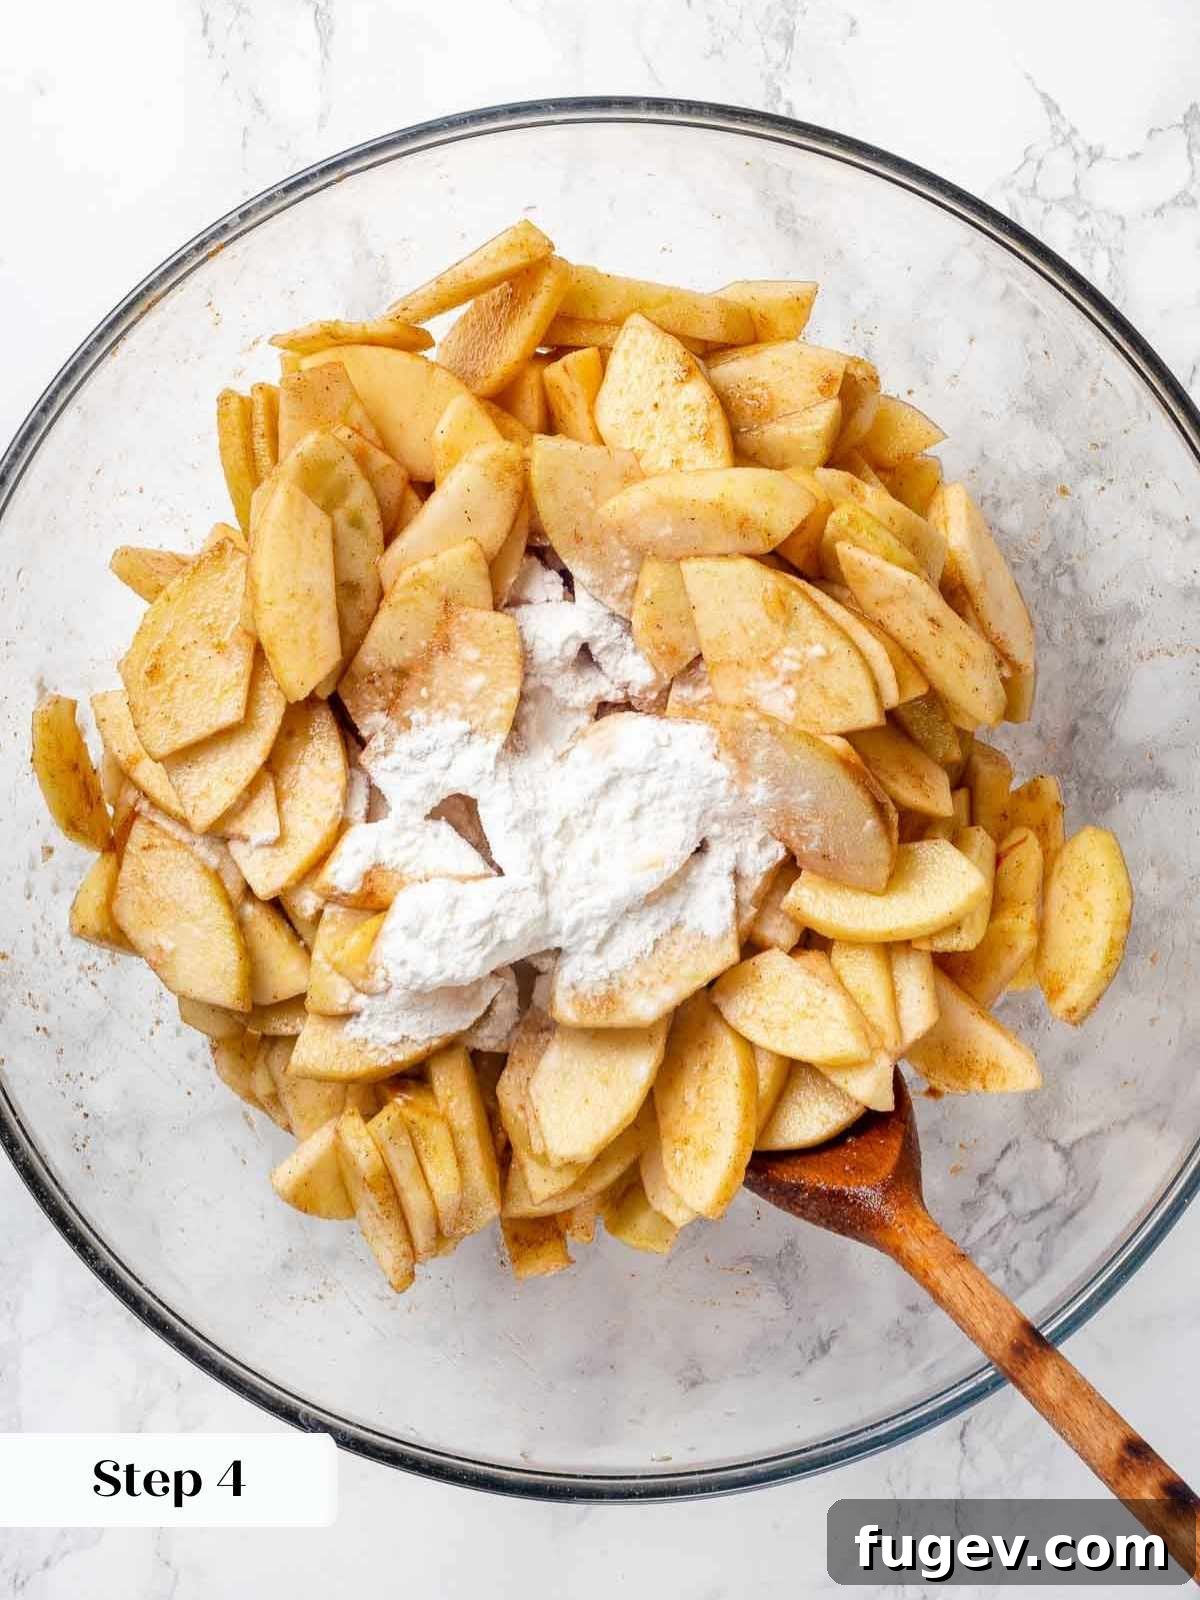
- Stir in Cornstarch for Thickening: Once you are completely satisfied with the flavor balance of your apple mixture, add the cornstarch. Stir it in thoroughly and consistently until no dry lumps remain and all the apple pieces are evenly coated. The cornstarch is vital for thickening the delicious juices that the apples will release during baking, creating that luscious, cohesive filling.
Chef’s Apple Selection Tip for Depth of Flavor: For the most nuanced and delicious apple cobbler, we highly recommend using at least three different varieties of crisp baking apples. Each apple variety offers its own unique flavor profile, sweetness level, and textural contribution, which will collectively create a more well-rounded and exciting apple filling.
Crafting the Tender Biscuit Topping:
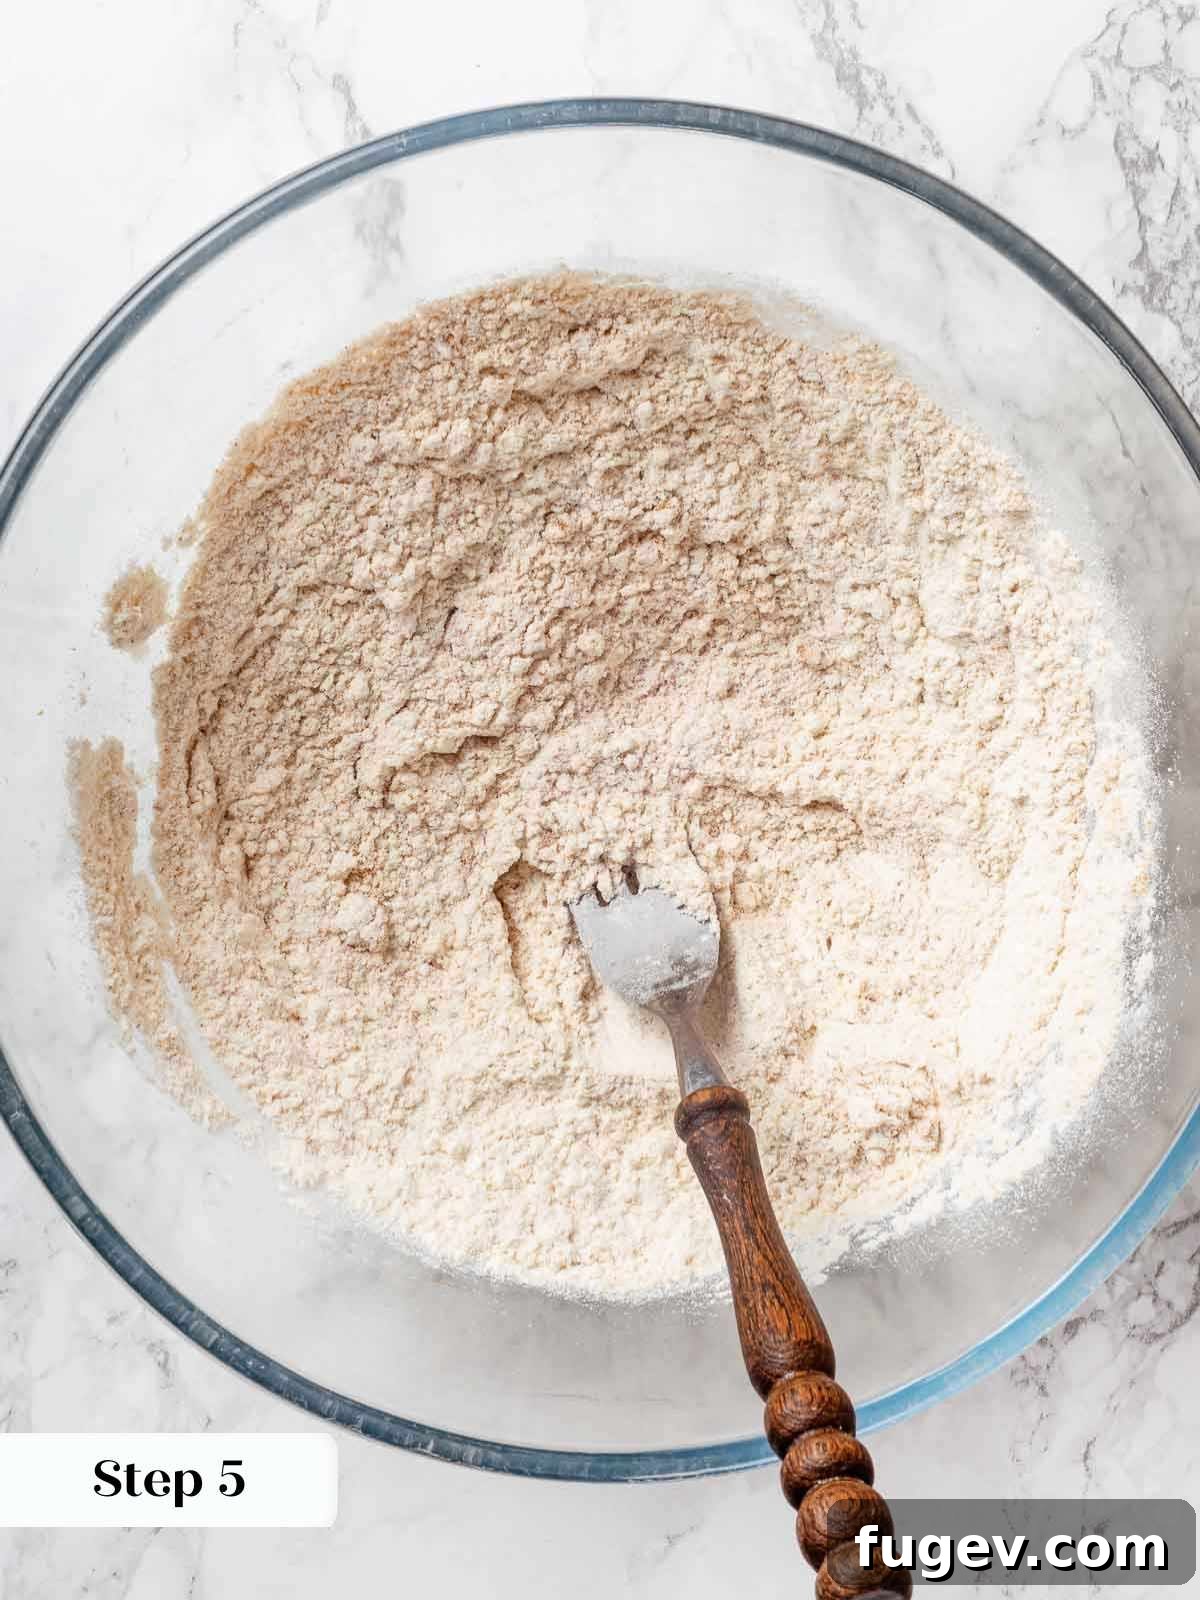
- Combine Dry Ingredients: In a separate medium bowl, whisk together the all-purpose flour, granulated sugar, light brown sugar, baking powder, baking soda, and kosher salt. Whisking vigorously ensures that all the leavening agents are evenly distributed throughout the flour mixture and helps to break up any stubborn sugar clumps.
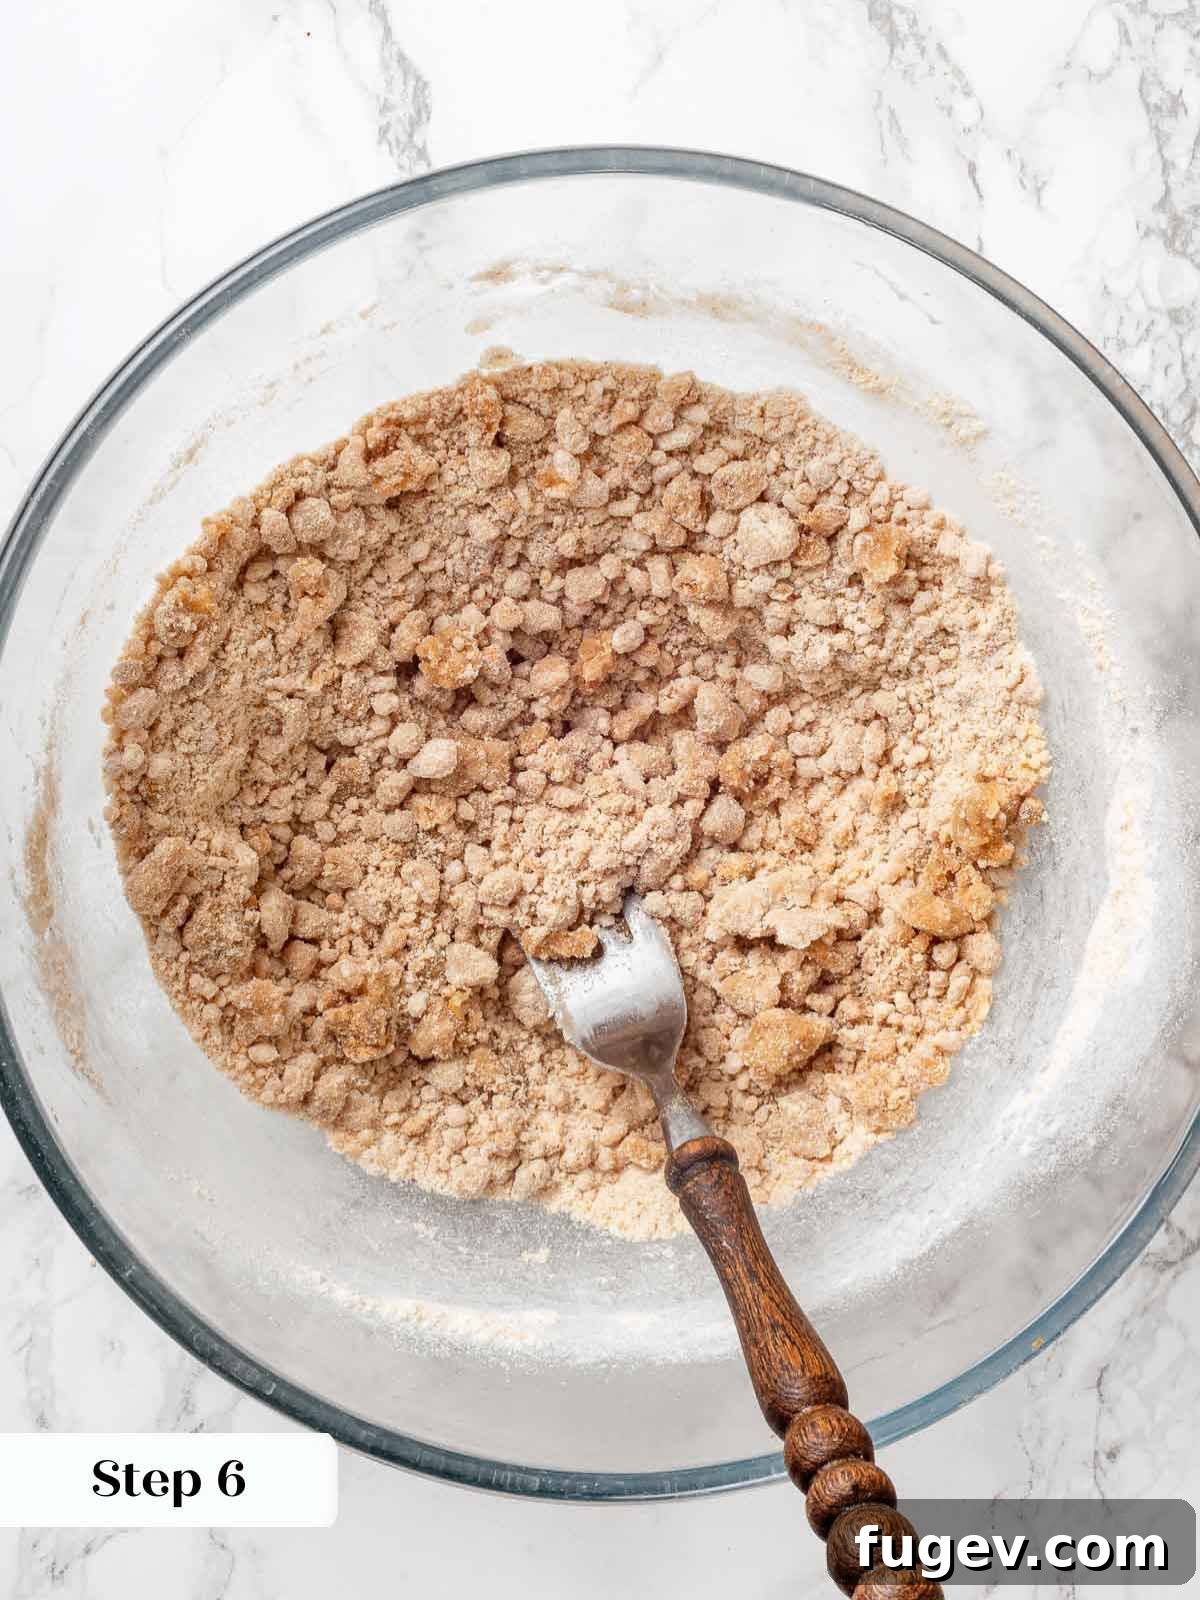
- Incorporate Melted Butter: Pour the warm, melted unsalted butter into the dry ingredients. Use a fork to mix the butter into the flour until the mixture resembles coarse crumbs. This technique with melted butter helps create a very tender and moist biscuit.
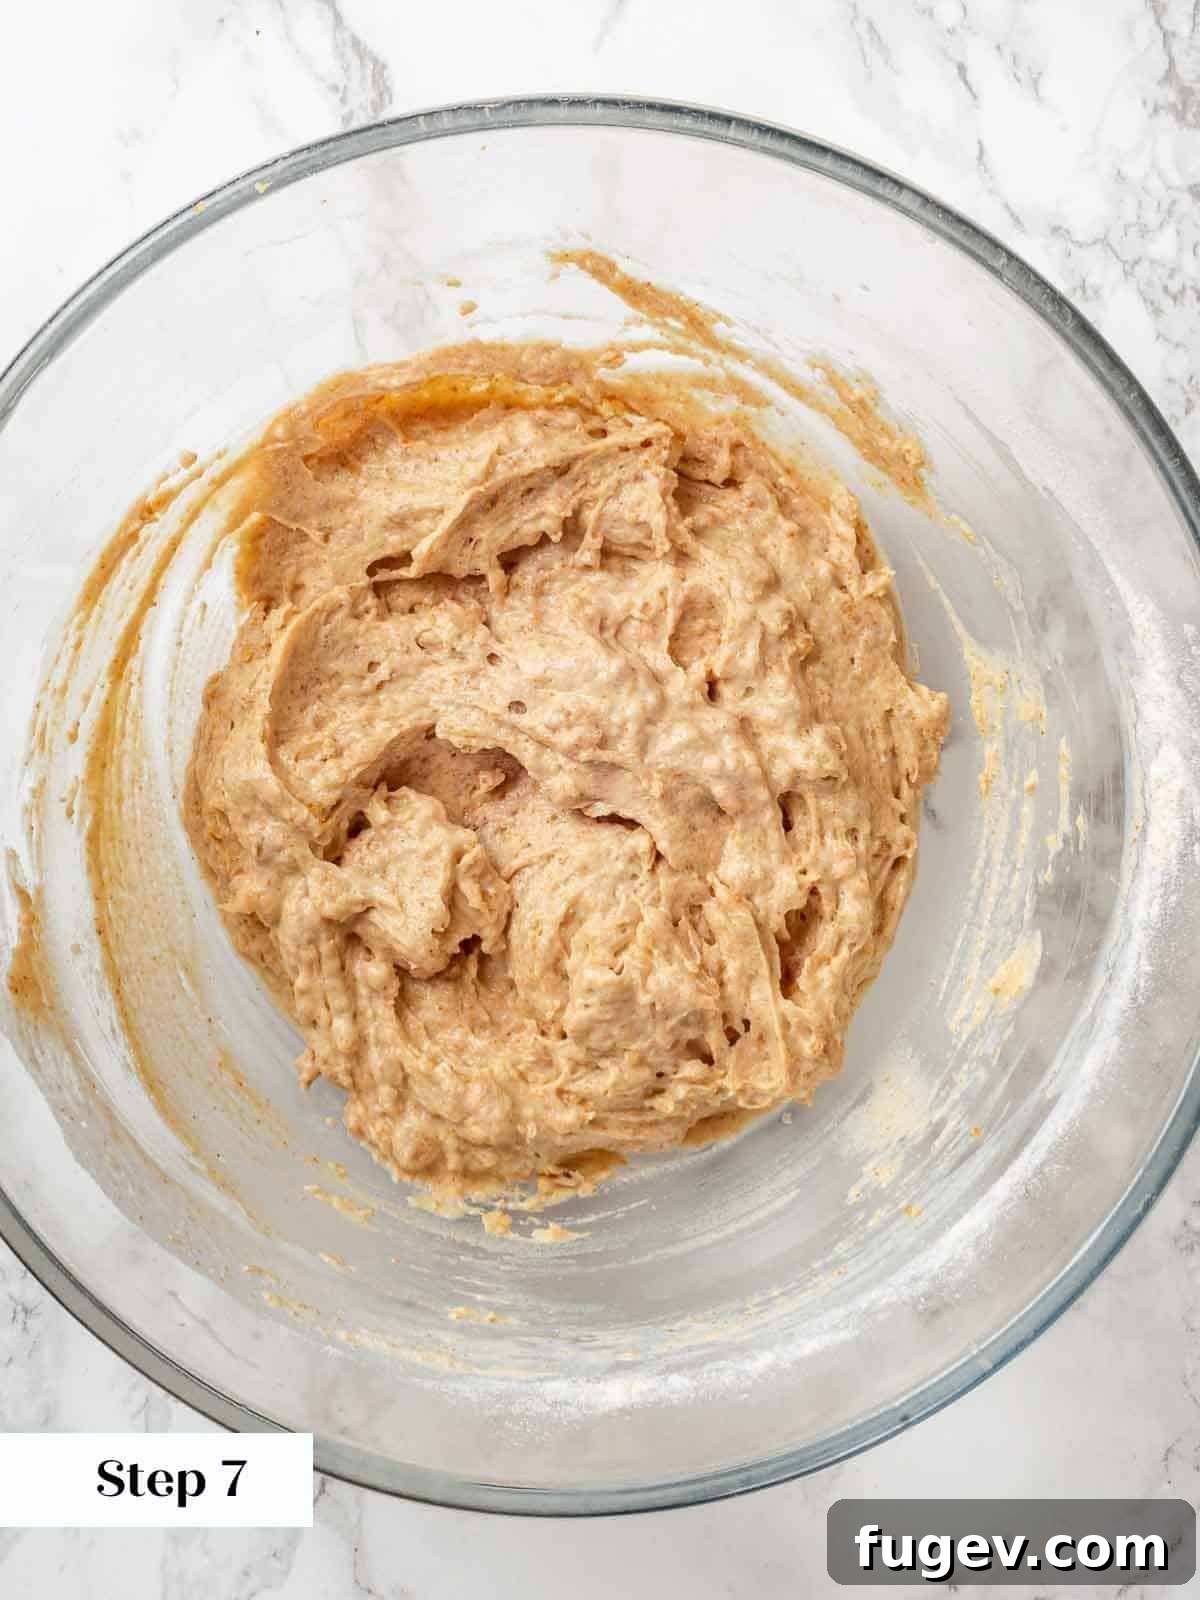
- Add Heavy Cream and Mix Gently: Pour the heavy cream into the dry ingredient-butter mixture. Switch to a silicone spatula or even use your hands for this step, and mix just until a few lumps of flour still remain and the ingredients are mostly combined. It is absolutely crucial not to over-mix at this stage; overworking the dough will develop too much gluten, which will inevitably result in tough, rather than tender, biscuits.
Mixing Your Biscuit Dough: Hands-On Approach: While a stand mixer fitted with a paddle attachment can be used for the biscuit dough, it dramatically increases the risk of overmixing. For the most superior and tender results, we always find it best to finish combining the dough by hand with a spatula, giving you better control and ensuring you don’t overdevelop the gluten.
Assemble and Bake Your Perfect Apple Cobbler:
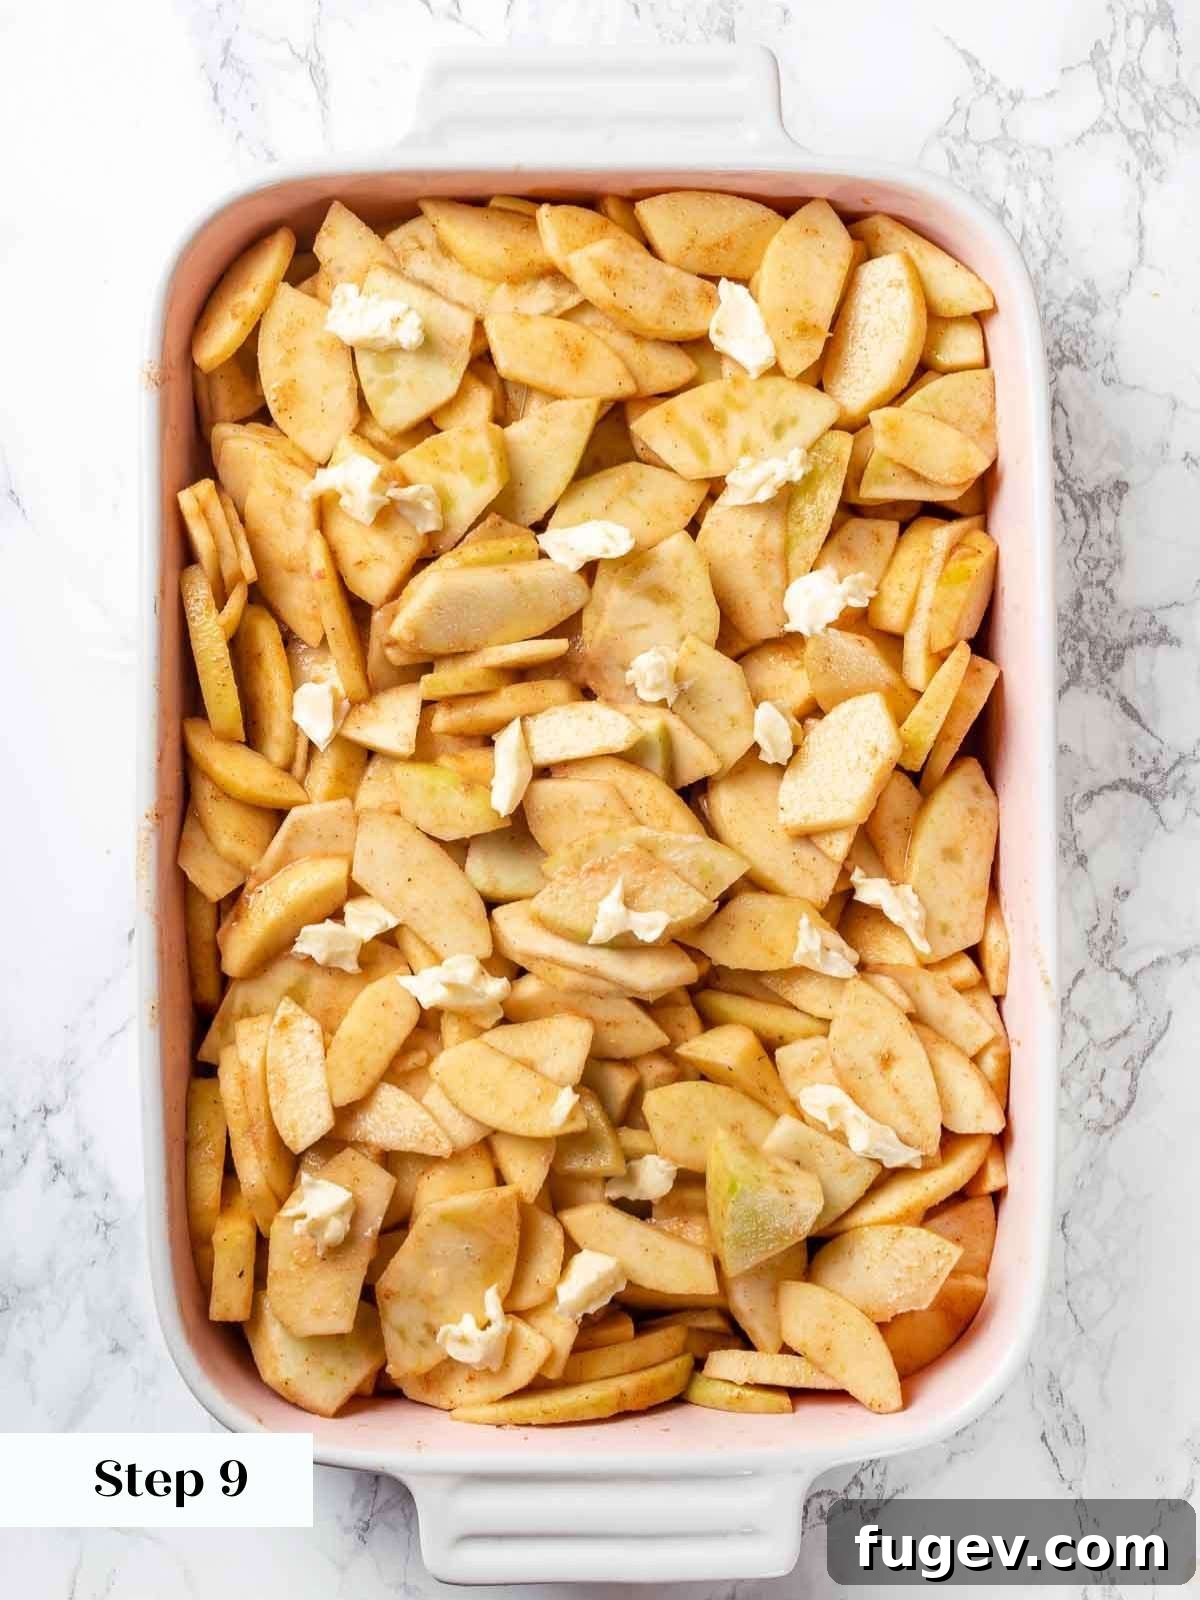
- Fill the Baking Dish and Dot with Butter: Pour the prepared apple mixture evenly into a 9×13-inch baking dish, spreading it out into a uniform layer. Then, dot the top of the apple filling with the small pieces of the remaining tablespoon of butter. This thoughtful addition provides extra richness and ensures the filling bubbles beautifully as it bakes.
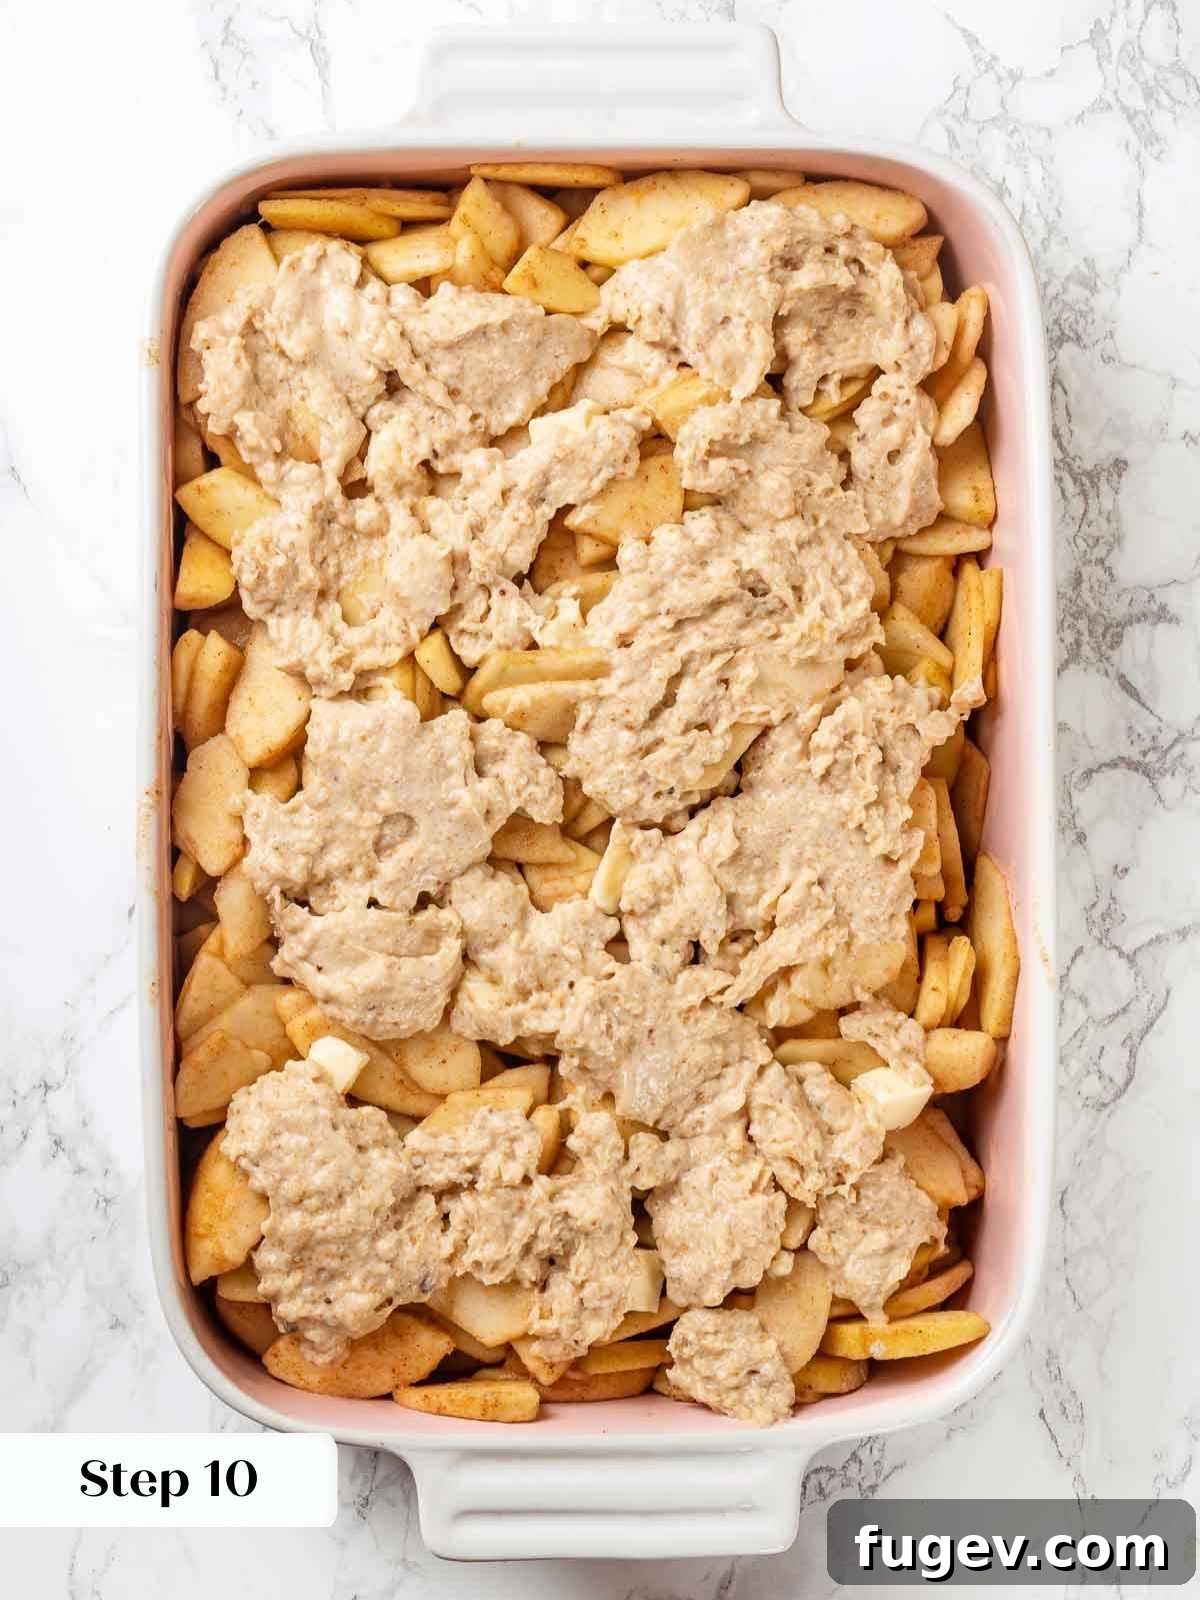
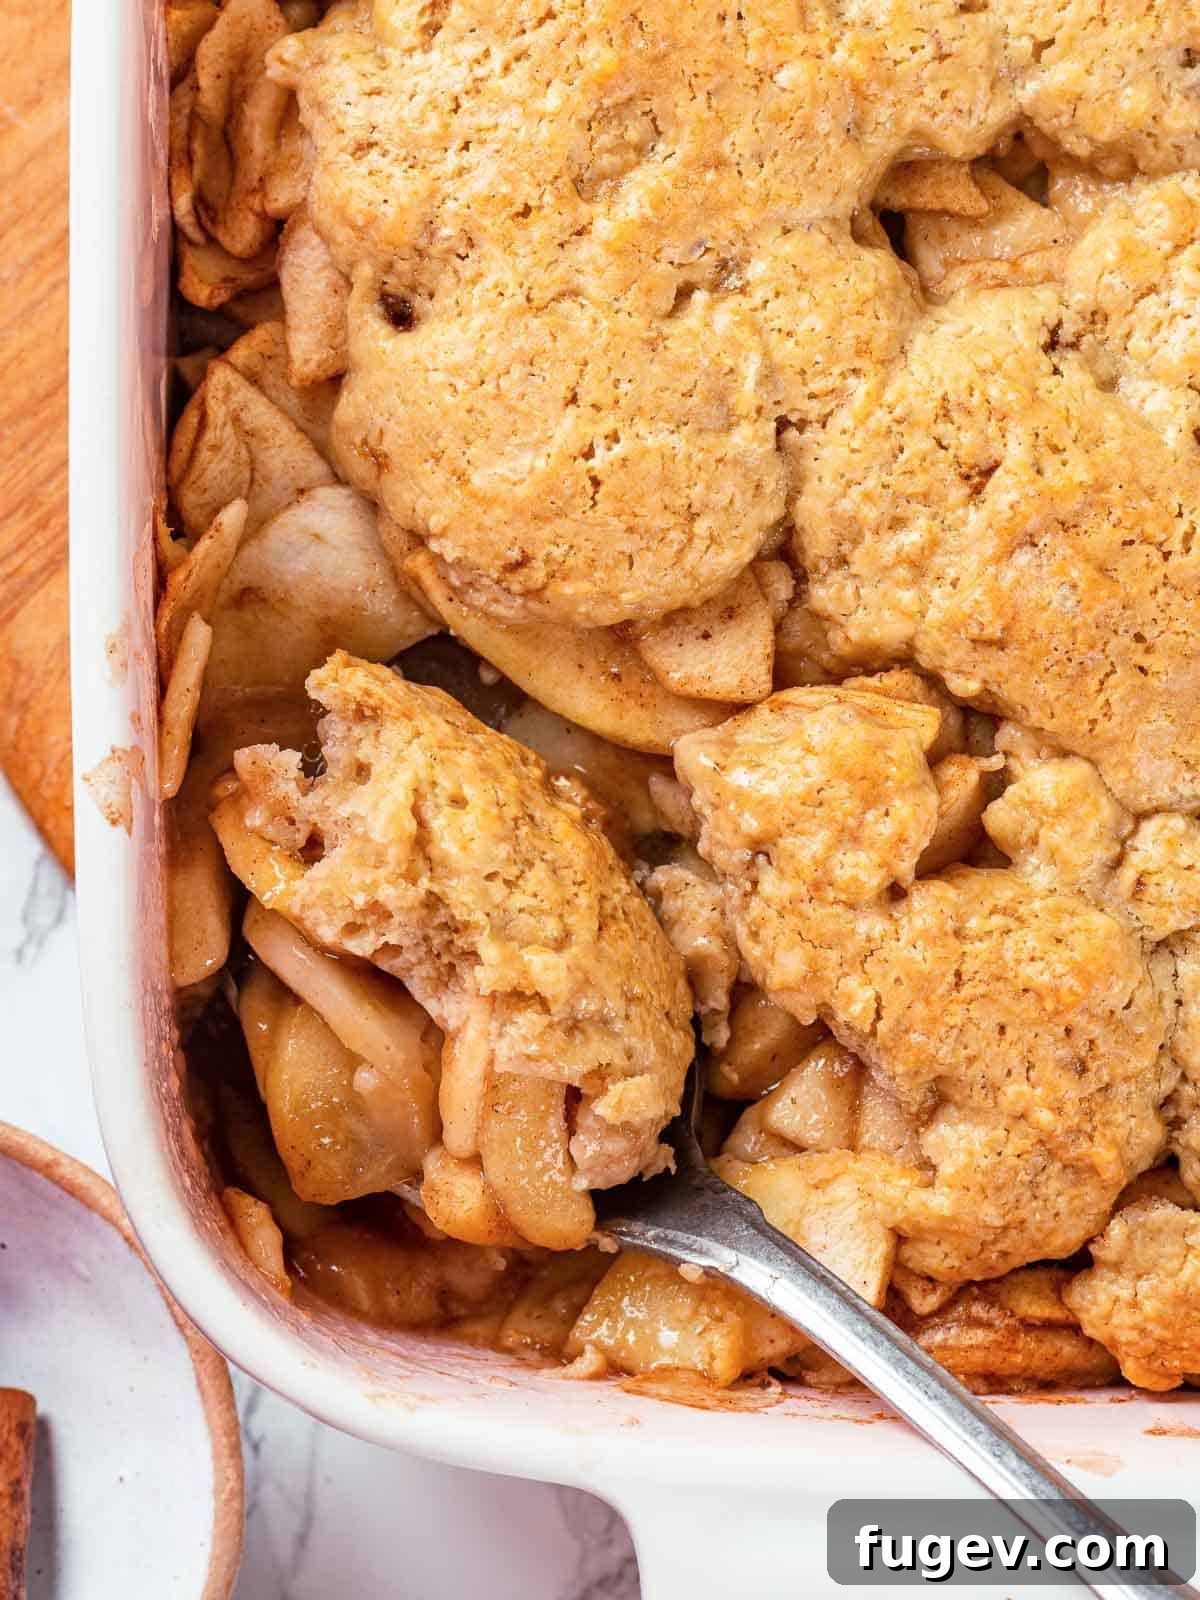
- Add the Rustic Biscuit Topping: Using a spoon or a small cookie scoop, carefully dollop spoonfuls of the biscuit topping evenly around the surface of the apples. Don’t worry about spreading it out into a perfectly smooth or uniform layer; the inherent charm of a classic cobbler lies precisely in its rustic, “cobblestone” appearance. The topping will naturally spread and bake beautifully as it cooks, creating a stunning visual and textural contrast.
- Bake to Golden Perfection: Carefully transfer the prepared baking dish into your preheated oven. Bake for approximately 40-45 minutes, or until several key indicators are met: the apple filling should be visibly bubbly around the edges and through the gaps in the topping, and the biscuit topping should be gloriously golden brown and cooked through. The vigorous bubbling indicates that the cornstarch has fully activated and thickened the filling to perfection.
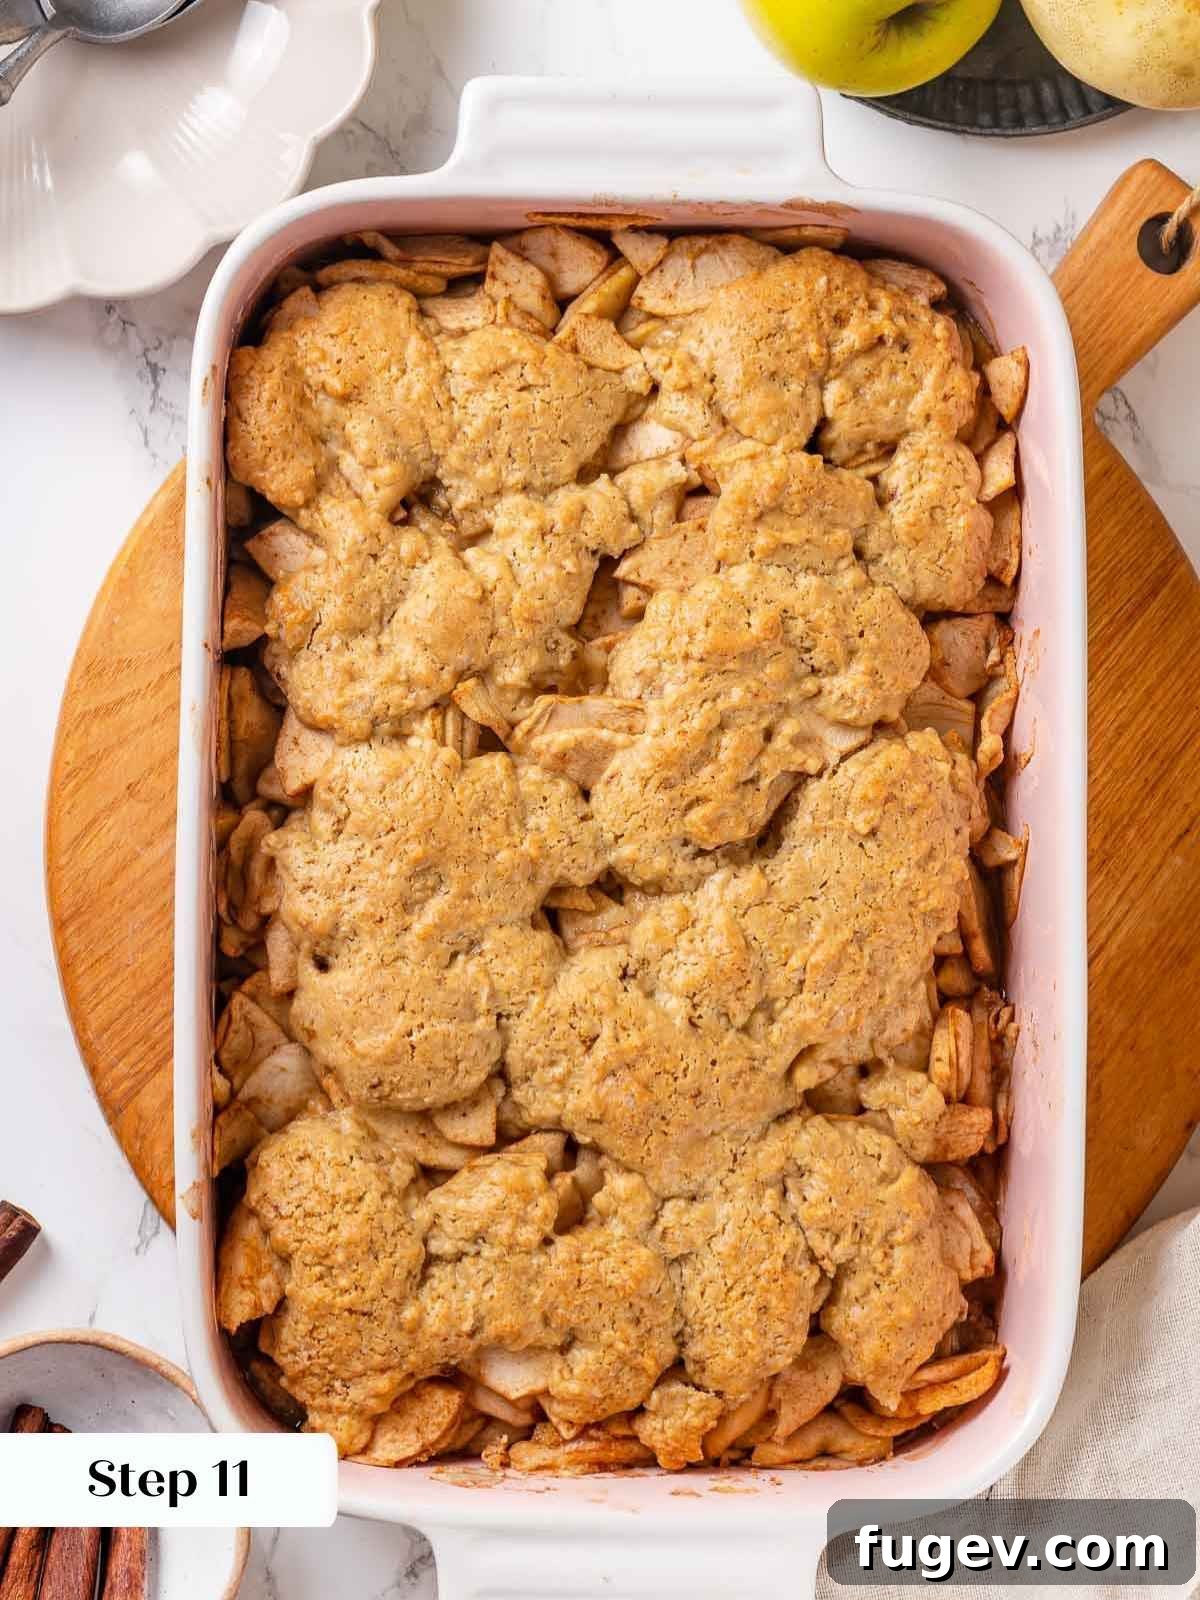
- Cool Slightly and Serve: Allow the baked cobbler to cool slightly before serving. While it’s utterly delightful served warm straight from the oven, it’s equally delicious at room temperature. For the ultimate indulgence and a truly memorable experience, serve it warm with a generous scoop of creamy French vanilla ice cream, allowing it to gently melt over the spiced apples and tender biscuit.
Chef Lindsey’s Pro Tip for Fluffier Biscuits
For the most incredibly tender, light, and flaky biscuit topping, a professional secret is to ensure all your biscuit ingredients—especially the flour, baking powder/soda, and heavy cream—are as cold as possible before you begin mixing. While this recipe utilizes melted butter, keeping other components thoroughly chilled helps significantly in preventing excessive gluten development during the mixing process. This subtle but impactful technique, widely employed by professional bakers, results in a significantly more tender, higher-rising, and melt-in-your-mouth biscuit, making your apple cobbler with biscuit topping truly exceptional!
Storage and Reheating Tips for Your Apple Cobbler
Proper storage is key to ensuring your delicious homemade apple cobbler stays fresh, flavorful, and enjoyable for as long as possible. Here’s how to store and reheat your leftovers:
- Room Temperature Storage: Once your baked apple cobbler has cooled completely to room temperature, cover it tightly with plastic wrap or aluminum foil. A properly covered cobbler can be safely stored at room temperature for up to 3 days. This is often preferred for maintaining the topping’s texture.
- Refrigeration for Extended Freshness: For a longer shelf life, transfer the cooled and tightly covered cobbler to the refrigerator. It will keep well in the fridge for up to one week, maintaining its delightful flavors.
- Freezing for Long-Term Enjoyment: To store your cobbler for even longer, wrap the cooled cobbler (you can freeze the entire dish or individual portions) very well in several layers of plastic wrap, followed by a layer of heavy-duty aluminum foil. Label and date it, then freeze for up to 2 months. When you’re ready to enjoy it, thaw the frozen cobbler overnight in the refrigerator before reheating.
- Reheating Instructions: To reheat your apple cobbler, whether from room temperature or refrigerated, place the covered dish (with foil) in a warm oven preheated to 325°F (160°C). Heat until it is thoroughly warmed through, which usually takes 20-30 minutes for refrigerated cobbler. Covering it with foil helps prevent the biscuit topping from browning further or drying out. If you prefer a crisper topping, remove the foil for the last 5-10 minutes of reheating.
Frequently Asked Questions About Apple Cobbler
Store your cooled cobbler, wrapped well, at room temperature for up to 3 days. For longer storage, refrigerate it for up to a week, or freeze it for up to 2 months. When reheating, cover it with foil and warm in an oven preheated to 325°F (160°C) until heated through.
Both cobblers and crisps are delightful fruit desserts, but their key difference lies in their toppings. Cobblers typically feature a topping made from biscuits, shortbread, cake batter, or even cookie dough, which is usually spooned or dropped over the fruit. This creates a characteristic “cobblestone” appearance, giving cobblers a heartier, more cake-like or biscuit-like topping. Crisps, on the other hand, are topped with a streusel-like mixture composed primarily of flour, sugar, butter, and often oats, which bakes to a deliciously crunchy, crumbly texture. This makes crisps generally lighter in topping texture compared to cobblers.
While technically not mandatory, it is strongly suggested that you peel your apples for this apple cobbler recipe. Apple skins can become tough, chewy, or stringy when baked in a cobbler, and they also have a tendency to burn or become unpleasant in texture, detracting from the overall tender and smooth fruit experience. Peeling ensures a uniformly luscious and melt-in-your-mouth apple filling.
For the best apple cobbler, choose firm, crisp baking apples that hold their shape well when cooked and don’t turn mushy. Great options include tart Granny Smith (for crucial acidity), sweet and crunchy Honeycrisp, Gala, Braeburn, Macoun, Cortland, or Pink Lady apples. Using a combination of 2-3 sweet and tart varieties often yields the most balanced, complex, and flavorful filling.
Absolutely! This easy apple cobbler is very prep-ahead friendly. You can prepare the apple filling (without cornstarch) and the biscuit dough separately and store them in the refrigerator for 2-3 days. When ready to bake, simply assemble and proceed with the baking instructions. You can also bake the entire cobbler a day in advance, store it (covered), and gently reheat it before serving.
The classic accompaniment is a generous scoop of creamy vanilla ice cream or a dollop of slightly sweetened homemade whipped cream. For an extra touch of decadence, consider drizzling it with a rich salted caramel sauce, elegant vanilla bean crème anglaise, or even a scoop of unique cherry caramel ice cream. Spiced whipped cream and crunchy candied nuts can also add a delightful textural and flavor contrast.
If you tried this easy apple cobbler recipe and absolutely loved it, please take a moment to leave a 🌟 star rating and share your thoughts in the comments below. Your feedback truly makes our day and helps others discover this delightful dessert!
Easy Apple Cobbler Recipe
Chef Lindsey
Look no further for the best apple cobbler recipe! A warmly spiced and perfectly sweet apple filling topped with an easy, quick, and tender drop biscuit topping. This comforting dessert is perfect for any occasion, especially during the fall season.
20 mins
40 mins
1 hr
10 people
Comment
Print Recipe
Ingredients
Filling:
- 8 apples (approximately 1375g after cutting, mix of Fuji, Granny Smith, Honeycrisp, etc.)
- 2 lemons, juiced (about ¼ cup)
- ¼ teaspoon salt
- ¼ cup light brown sugar
- ¼ cup granulated sugar
- 1 teaspoon ground cinnamon
- 2 tablespoons cornstarch
- 1 tablespoon butter, cut into small pieces
Biscuits:
- 1 cup all-purpose flour
- 2 tablespoons granulated sugar
- 2 tablespoons light brown sugar, packed
- 1 teaspoon baking powder
- ¼ teaspoon baking soda
- ¼ teaspoon kosher salt
- 4 tablespoons unsalted butter, melted
- ½ cup heavy cream
Instructions
Apple Filling:
- Preheat the oven to 350°F (175°C) conventional (no fan).
- Peel the apples and slice them in half, then in half again. Cut out the core and stem from both sides with your knife on a diagonal. Repeat with all apples. Slice each quarter into 1/8- ¼ inch thick slices across. You can watch what I’m talking about in this apple pie video.
- Mix the sliced apples, lemon juice, salt, sugars, and cinnamon in a large bowl. Taste an apple and adjust the seasoning if desired.
- Stir in the cornstarch once you are satisfied with the flavor.
Biscuit Topping:
- In a medium bowl, combine the flour, granulated sugar, light brown sugar, baking powder, baking soda, and salt. Whisk together to break up the sugar clumps and ensure even distribution of the leavening agents.
- Add the melted butter to the dry ingredients and mix with a fork until the mixture looks crumbly.
- Pour the cream into the dry ingredient mixture and mix gently until a few lumps remain. Using a silicone spatula is recommended for this step. Be careful not to over-mix.
Assemble and Bake:
- Pour the apple mixture into a 9×13-inch baking dish and dot the remaining tablespoon of butter pieces on top.
- Dollop the biscuit topping around the surface of the apples and spread it out slightly. It will not be perfectly smooth, but it will bake beautifully!
- Bake in the preheated oven until the filling is bubbly and the topping is golden brown, about 40-45 minutes.
- Allow to cool slightly before serving. It can be served warm or at room temperature. It is just lovely served warm with vanilla ice cream.
Notes
Yield: 1, 9×13-inch Cobbler (serves 10 generously)
Flavor Tips: Always taste the apple filling before adding the cornstarch. Apples vary significantly in tartness and sweetness, so adjust the sugar or lemon juice to achieve your desired perfect balance of flavors. Don’t be afraid to make it your own!
Variations: For an extra decadent treat, add a generous drizzle of homemade or store-bought caramel sauce into the apple filling before baking for a truly irresistible caramel apple cobbler.
Storage: Allow the baked apple cobbler to cool completely at room temperature. Wrap it well and store leftovers at room temperature for up to 3 days, refrigerated for up to a week, or frozen for up to 2 months. Reheat covered with foil in a warm oven set to 325°F (160°C) until heated through.
Nutrition (per serving)
Calories: 283 kcal | Carbohydrates: 49g | Protein: 2g | Fat: 10g | Saturated Fat: 6g | Polyunsaturated Fat: 1g | Monounsaturated Fat: 3g | Trans Fat: 0.2g | Cholesterol: 28mg | Sodium: 203mg | Potassium: 224mg | Fiber: 5g | Sugar: 31g | Vitamin A: 434IU | Vitamin C: 18mg | Calcium: 58mg | Iron: 1mg
Dessert
American
Delicious Serving Suggestions for Your Apple Cobbler
A warm, freshly baked apple cobbler is truly a versatile and comforting dessert that pairs wonderfully with a variety of accompaniments. While it’s absolutely fantastic on its own, here are some delightful ideas to elevate your serving experience and impress your guests:
- Classic Vanilla Ice Cream: The quintessential and most beloved pairing! A generous scoop of cold, creamy vanilla ice cream slowly melting over the warm, spiced apples and tender biscuit topping is pure, unadulterated bliss. The contrast in temperature and texture is simply heavenly.
- Homemade Whipped Cream: For a lighter yet equally decadent option, a dollop of lightly sweetened homemade whipped cream adds a delicate richness and airiness that beautifully complements the dense fruit filling.
- Salted Caramel Sauce: For an extra layer of sweet and savory indulgence, consider drizzling our luxurious and easy-to-make salted caramel sauce generously over each serving. It’s a flavor match made in heaven with apples.
- Vanilla Bean Crème Anglaise: For a touch of refined elegance, serve your homemade apple cobbler with a silky smooth, rich vanilla bean crème anglaise. This delicate custard sauce adds a sophisticated touch.
- Spiced Whipped Cream & Candied Nuts: Elevate your ordinary whipped cream by gently infusing it with a hint of cinnamon, nutmeg, or even a touch of apple pie spice. Then, sprinkle generously with crunchy candied pecans or walnuts for a delightful textural contrast and added autumnal flavor.
- Tangy Crème Fraîche or Rich Custard: A dollop of slightly tangy crème fraîche or a rich, creamy custard can provide a lovely counterpoint to the sweetness of the spiced apples, adding depth and complexity to each bite.
- Aromatic Coffee or Tea: For a more relaxed pairing, a steaming cup of freshly brewed coffee or a comforting herbal tea, especially a chai or apple cider blend, can make for a delightful after-dinner treat alongside your cobbler.
More Delicious Dessert Inspiration from Our Kitchen
We sincerely hope you thoroughly enjoyed preparing and tasting this professional chef’s recipe for the ultimate easy apple cobbler. If you loved creating and savoring this comforting dessert, we warmly invite you to explore even more of our expertly developed and chef-tested recipes.
Dive into our diverse collection of cobbler, crisps, and crumble recipes for other delightful fruit-filled treats. Or, for those who can’t get enough of fall’s favorite fruit, browse through the best apple dessert recipes for even more autumnal delights. And, if you’re looking for a taste of summer, don’t miss our incredibly popular old-fashioned Ozark peach cobbler recipe, perfect when made with fresh, juicy peaches!
Happy baking, and may you enjoy every comforting, flavorful bite from our kitchen to yours!