
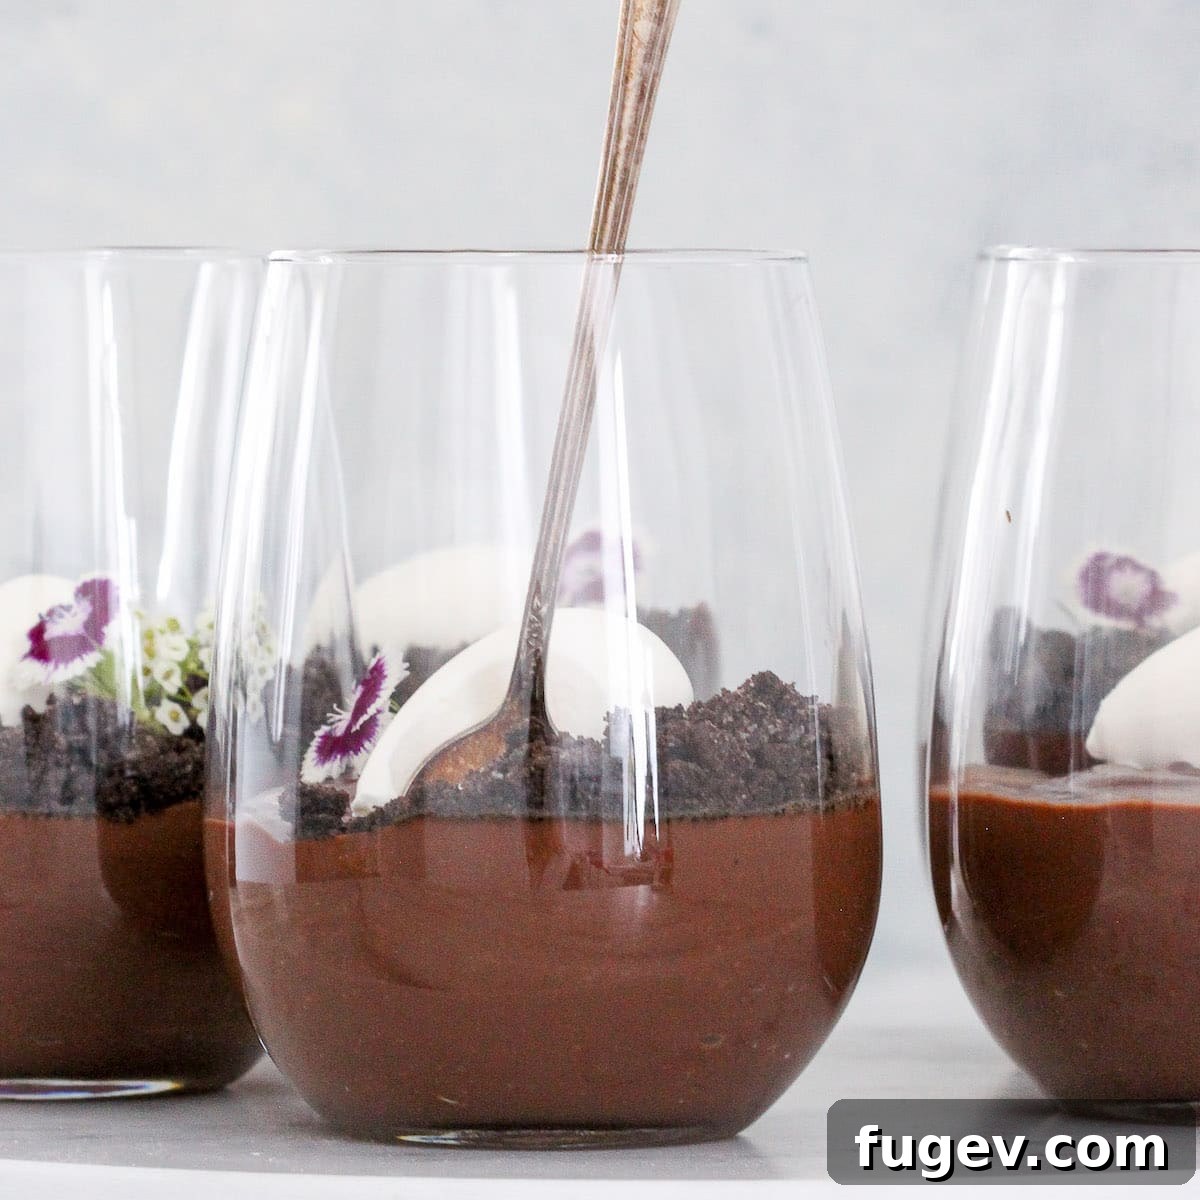
Velvety Dark Chocolate Pudding: A Professional No-Bake Recipe for Ultimate Decadence
Indulge in the ultimate dessert experience with this chocolate pudding recipe – a rich, silky, and delightfully easy no-bake creation that delivers professional-level results in under 30 minutes. Forget complicated baking; pure chocolate bliss is just a whisk away!
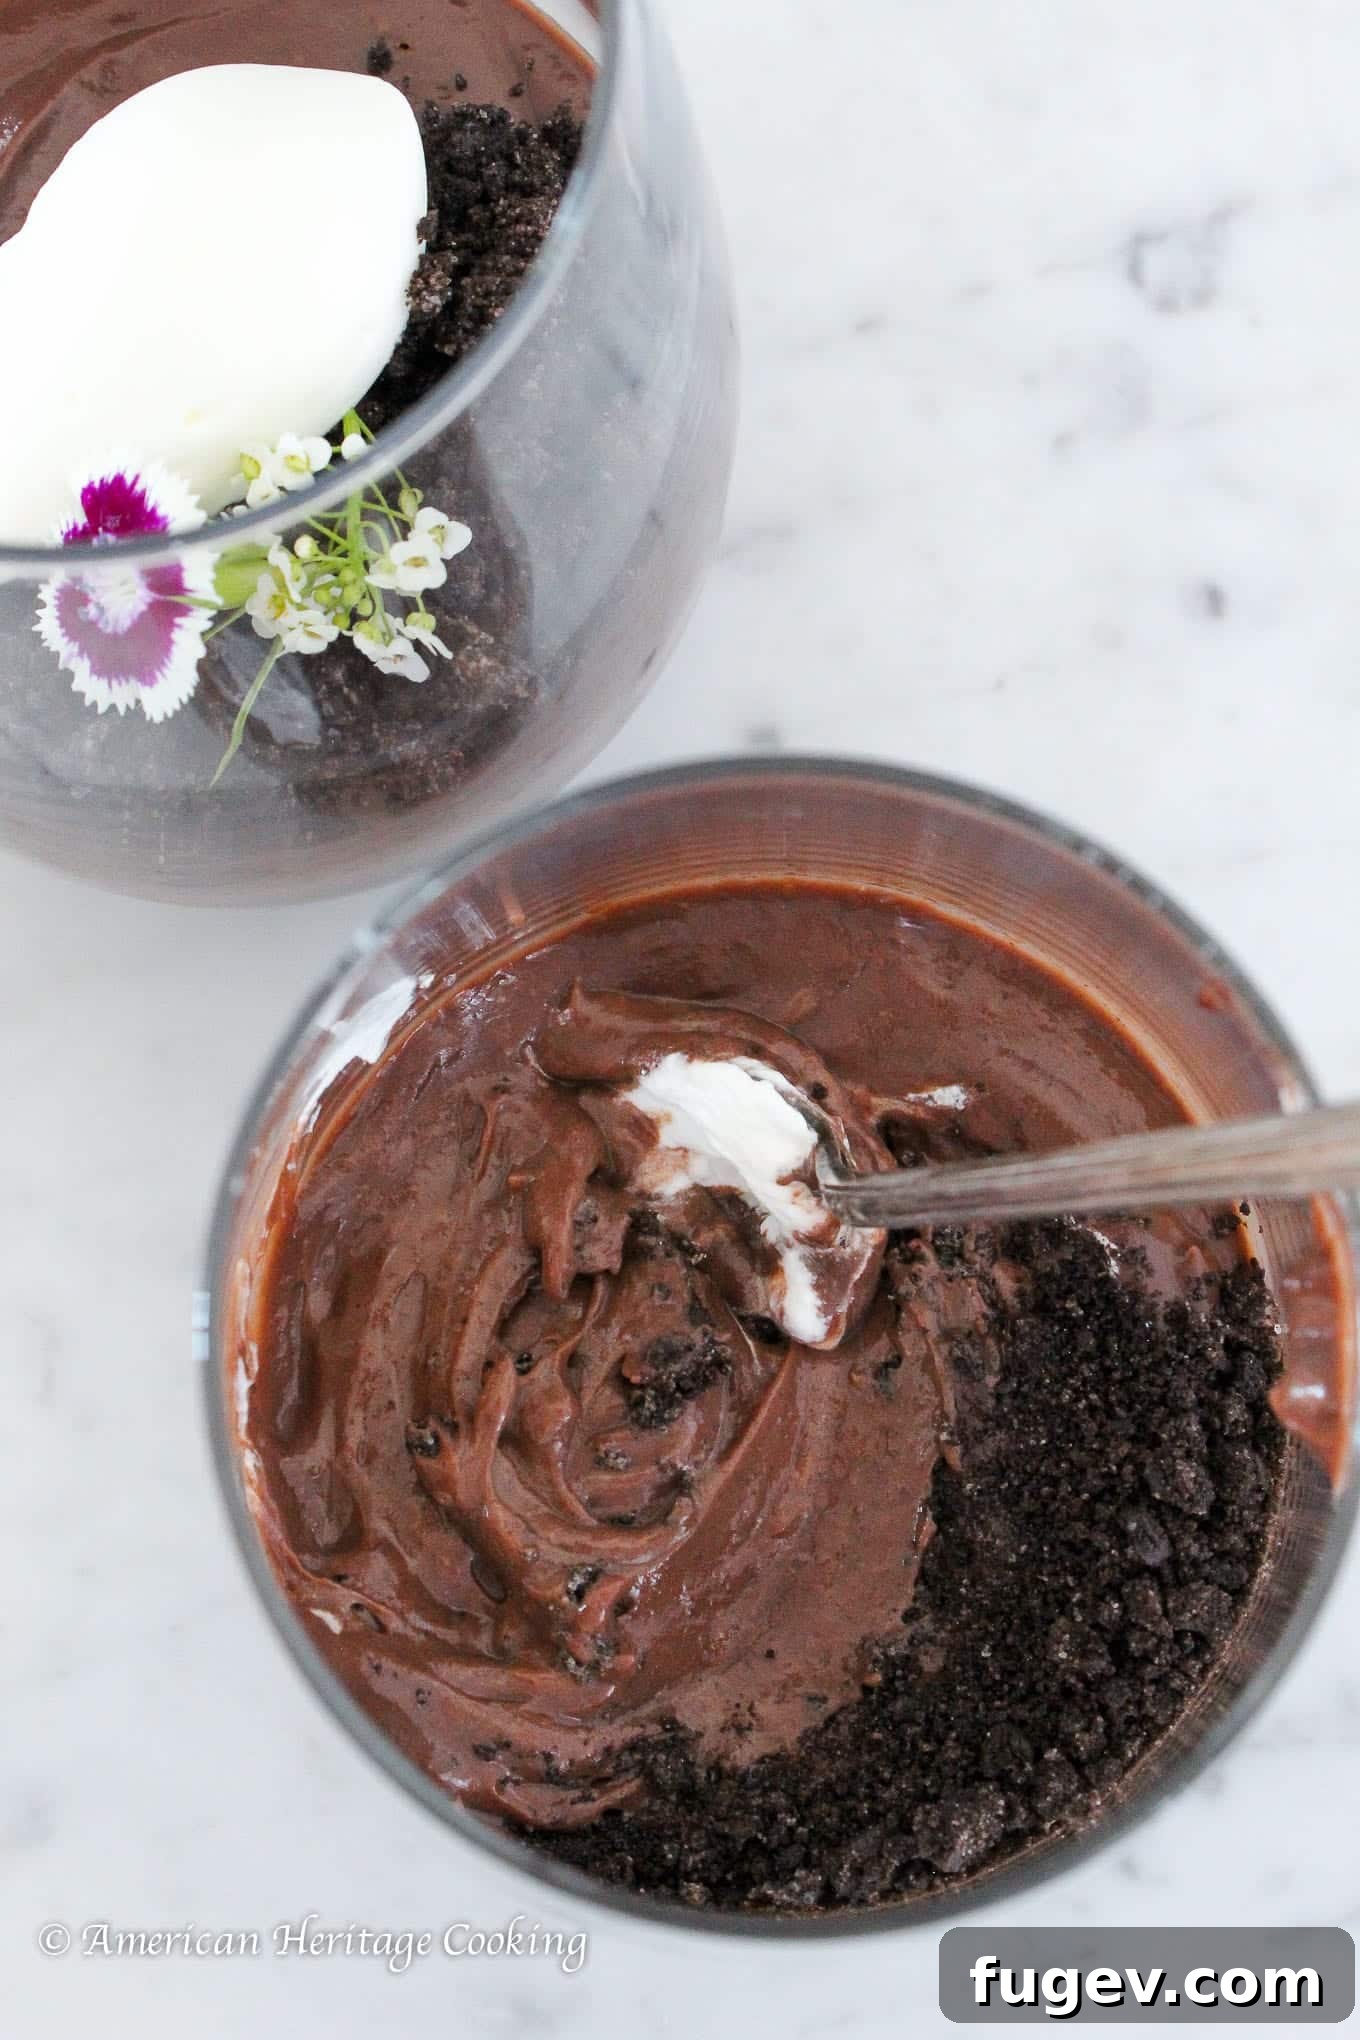
This isn’t just any chocolate pudding; it’s a perfect harmony of decadent richness and comforting nostalgia, designed to bring you back to cherished childhood memories, but with a gourmet twist. Unlike the overly sweet, sometimes artificial pudding cups of years past, this homemade version boasts a profoundly rich, sophisticated chocolate flavor and an impeccably silky texture that truly melts in your mouth.
Crafted with straightforward instructions and everyday pantry ingredients, this dessert requires less than 30 minutes of active preparation, making it an ideal treat for any day of the week. For those curious about the culinary science, here’s a professional chef’s insight: classic pudding is a stirred custard! This puts it in the same esteemed family as other creamy delights like a bright and zesty lemon curd, a fragrant and delicate crème anglaise, and a versatile vanilla pastry cream. Mastering this fundamental technique will unlock a world of delicious possibilities in your kitchen.
Table of Contents
- Why You Will Love This Velvety Chocolate Pudding
- Professional Tips for Crafting Homemade Chocolate Pudding
- Key Ingredients for Decadent Chocolate Pudding
- Creative Variations to Elevate Your Chocolate Pudding
- How to Make Silky-Smooth Chocolate Pudding
- Chef Lindsey’s Essential Recipe Tip: Mastering Mise en Place
- How to Serve Chocolate Pudding Like a Pro
- Frequently Asked Questions About Chocolate Pudding
- Chocolate Pudding Recipe Card
- Before You Go: Explore More Custard Delights
Why You Will Love This Velvety Chocolate Pudding
This isn’t just another chocolate pudding; it’s an experience meticulously crafted to deliver unparalleled satisfaction. Here’s why this recipe will quickly become your go-to dessert:
- Unrivaled Rich Chocolate Flavor: We don’t just use chocolate; we celebrate it. This recipe strategically combines two forms of chocolate – premium cocoa powder and high-quality dark chocolate – to build a flavor profile that is both intense and exquisitely balanced. The cocoa powder provides a deep, earthy chocolate foundation, while the dark chocolate adds layers of nuanced bitterness and a luxurious melt-in-your-mouth quality, ensuring a truly profound chocolate experience with every spoonful. This dual-chocolate approach guarantees a depth of flavor far beyond typical pudding recipes.
- Flawlessly Smooth and Creamy Texture: Achieving that coveted, lump-free, velvety consistency is an art, and this recipe provides all the professional guidance to master it. Through careful whisking techniques and precise cooking methods, you’ll create a pudding that glides effortlessly across your tongue. The secret finishing touch? A generous swirl of unsalted butter, which not only enhances the flavor but also imparts an irresistible silkiness that elevates this pudding to gourmet status, making every bite incredibly luscious.
- Effortlessly Scalable for Any Occasion: Whether you’re whipping up a single serving for a quiet evening treat or preparing a grand dessert for a dinner party, this recipe adapts seamlessly. Its robust formulation means you can easily scale the ingredients up or down without compromising quality or consistency. And with its excellent refrigerator life—staying perfectly fresh for up to a week—you can prepare it in advance, making it a perfect make-ahead dessert solution. The only limitation is the size of your pot and perhaps the strength of your whisking arm! Get ready to indulge in as much glorious, homemade chocolate pudding as your heart desires.
Professional Tips for Crafting Homemade Chocolate Pudding
Elevate your homemade chocolate pudding from good to extraordinary with these expert insights, honed in professional kitchens, ensuring perfect results every time:
- The Significance of Pot Height and Size: Just like finding the perfect bed, your pot needs to be “just right” for the batch size. A pot that’s too tall will make it difficult to reach and scrape the bottom and sides effectively, leading to potential scorching and uneven cooking. Conversely, a pot that’s too shallow risks messy overflow, especially when you’re vigorously whisking the thickening pudding. Choose a pot that allows ample space for whisking while still letting you easily reach every part of the interior to prevent any ingredient from sticking and burning. This ensures uniform heat distribution and helps prevent lumps from forming.
- Whisking: Your Key to a Lump-Free Pudding: Whisking is paramount at every stage of making a stirred custard. Begin by thoroughly whisking all dry ingredients (sugar, cocoa, cornstarch, salt, cinnamon) together *before* adding any liquids. This crucial step ensures the cornstarch is evenly distributed, preventing any starchy lumps later. After incorporating the eggs, whisk vigorously until the mixture is completely homogenous, with no visible streaks of egg. Once you introduce heat, commit to constant, unceasing whisking. This continuous motion prevents the delicate egg proteins from scrambling, ensures even thickening as the cornstarch activates, and breaks down any potential small lumps as they form, guaranteeing that incredibly smooth, professional texture.
- Keep a Strainer Handy – Your Culinary Safety Net: In the fast-paced environment of a professional kitchen, preparedness is everything. A fine-mesh strainer is your ultimate backup plan for a perfectly smooth pudding. Despite your best efforts, sometimes eggs can curdle slightly from overheating or insufficient whisking. If you notice any small lumps or curdled bits during cooking, don’t despair! Immediately pass your hot pudding through a fine-mesh strainer directly over your pre-measured chocolate and butter. This will expertly filter out any imperfections, rescuing your pudding and leaving you with a perfectly smooth base to finish. It’s an easy fix that ensures a perfect outcome, so always have one within arm’s reach!
- Patience is a Virtue: Slow and Steady Wins the Race: Cooking stirred custards, including this luxurious chocolate pudding, is a delicate dance of patience and precision. Resist the urge to crank up the heat. Cooking over consistent medium heat is absolutely essential. High heat dramatically increases the risk of scorching the bottom of your pudding and can cause the egg proteins to coagulate too quickly and curdle, creating an undesirable, grainy texture. A steady, moderate heat allows the cornstarch to properly gelatinize and the eggs to thicken gently and uniformly, resulting in a stable, smooth, and perfectly cooked custard without any unpleasant surprises.
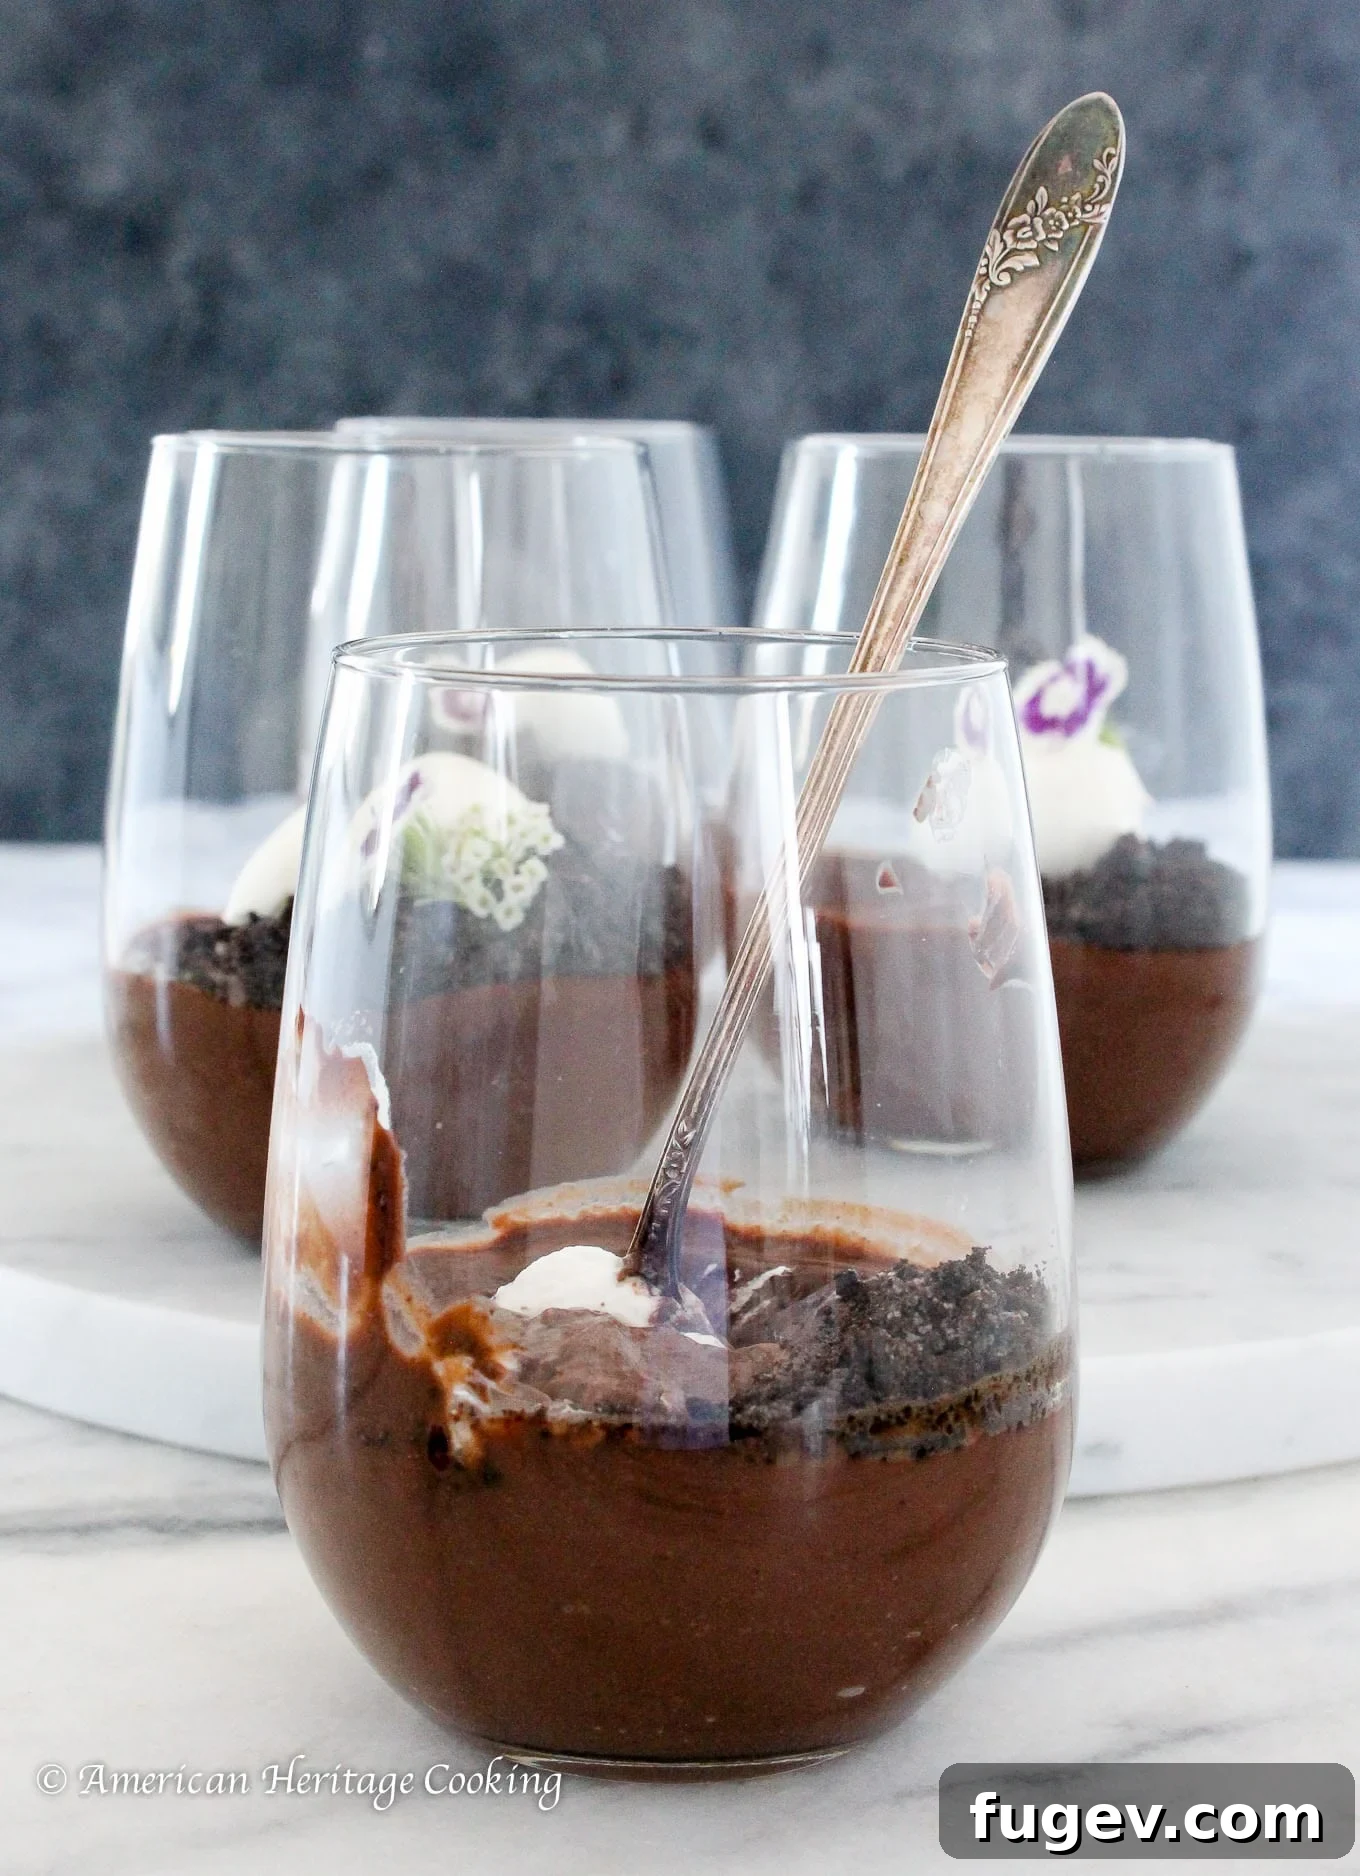
Key Ingredients for Decadent Chocolate Pudding
Every ingredient in this recipe plays a vital role in creating the ultimate chocolate pudding. Using high-quality components ensures the best flavor and texture, transforming simple elements into an extraordinary dessert:
- Granulated Sugar: More than just a sweetener, sugar is a multi-tasking hero in this custard. It balances the inherent bitterness of the dark chocolate and cocoa powder, contributes significantly to the pudding’s luxurious mouthfeel and smooth texture, and importantly, helps protect the delicate egg proteins from curdling prematurely when heated. It also prevents the milk from scorching on the bottom of the pot, ensuring even and controlled cooking.
- Dutch-Processed Cocoa Powder: The choice of unsweetened Dutch-processed cocoa powder is intentional and critical for this recipe. Unlike natural cocoa, Dutch-processed cocoa is alkalized, giving it a distinctly darker color and a smoother, less bitter, and more mellow chocolate flavor profile. This depth of flavor is paramount for a truly rich and nuanced pudding. Always opt for the highest quality Dutch-processed cocoa powder you can find, as its robust and complex character will profoundly influence the final product.
- Cornstarch: A powerful and reliable thickening agent, cornstarch works in perfect synergy with the eggs to create the pudding’s ideal consistency. When heated with liquid, its starch granules swell and burst, a process known as gelatinization, which effectively binds all the ingredients together and forms a stable, smooth gel. This ensures your pudding sets beautifully, maintains its exquisite silky mouthfeel, and holds its shape without being rubbery.
- Kosher Salt: A small but mighty pinch of kosher salt is not for making the pudding salty, but rather for its incredible ability to enhance and balance the overall flavor. It subtly cuts through the sweetness and, more importantly, intensifies the deep chocolate notes, making them taste even richer, more complex, and vibrant. It’s a crucial flavor enhancer that brings all the elements together harmoniously.
- Cinnamon (Optional): While entirely optional, a delicate ¼ teaspoon of cinnamon can add a warm, subtle, and sophisticated nuance to your chocolate pudding. It harmonizes beautifully with chocolate, offering a hint of exotic spice that elevates the overall flavor profile and adds an intriguing “wow” factor without ever overpowering the star ingredient.
- Eggs: The eggs are absolutely integral to both the thickening and the luxurious richness of this stirred custard. Their proteins coagulate when heated, contributing significantly to the pudding’s stable structure and providing that wonderfully smooth, custardy texture. They also enrich the flavor, making the pudding feel more decadent and full-bodied.
- Milk: As the primary liquid component, milk provides the essential base for our pudding. While the fat content of whole milk generally contributes to a richer flavor and creamier mouthfeel, it’s not strictly essential for the pudding to set properly, offering welcome flexibility. You can confidently experiment with different fat percentages (e.g., 2% or skim milk) or even plant-based alternatives like full-fat coconut milk (for a unique, subtle tropical twist) to achieve equally delicious and creamy results.
- Dark Chocolate: For the most luxurious and authentic chocolate flavor, I highly recommend using a high-quality dark chocolate with at least 54% and up to 65% cocoa solids. This specific range offers a perfect balance between deep chocolate intensity and palatable sweetness. Crucially, avoid standard chocolate chips, as they often contain stabilizers that prevent smooth melting and can result in a grainy texture. Instead, choose a solid bar of quality chocolate and chop it finely; this ensures it melts evenly and incorporates beautifully into the hot pudding, creating an impeccably smooth, glossy, and shiny finish.
- Unsalted Butter: Adding unsalted butter at the very end is a chef’s secret for unparalleled richness and a truly silky mouthfeel. Using unsalted butter allows you precise control over the overall seasoning of the custard. It melts into the warm pudding, lending a luscious sheen and an incredibly smooth finish that makes each spoonful feel incredibly decadent and indulgent.
- Vanilla Extract: Vanilla extract is a classic and indispensable complement to chocolate. It brightens and enhances the chocolate’s natural flavors, adding a fragrant warmth and depth that rounds out the pudding beautifully. Always choose a good quality pure vanilla extract for the best aromatic contribution to your dessert.
For precise measurements and detailed quantities, please refer to the comprehensive recipe card located further down this page.
Creative Variations to Elevate Your Chocolate Pudding
While this decadent chocolate pudding is magnificent on its own, it also serves as a versatile and robust base for culinary creativity. Here are some delightful variations to experiment with, allowing you to tailor this classic dessert to any occasion or craving:
- A Sophisticated Hint of Alcohol: For an elegant adult twist, introduce a sophisticated splash of your favorite liqueur. Up to 1 ½ tablespoons of dark rum, rich bourbon, smooth brandy, or zesty Grand Marnier can be expertly whisked in after the butter and chocolate have been fully incorporated. The alcohol will gently evaporate during cooling, leaving behind a wonderfully fragrant essence that beautifully complements and deepens the chocolate notes.
- Elegant Layered Budino: Transform your chocolate pudding into an impressive Italian-inspired dessert, known as a “budino.” Pair this dark chocolate creation with a complementary, contrasting flavor, such as our luscious caramel pudding. Pipe alternating layers into clear glasses or swirl them together with a knife or spoon for a beautiful, artful marbling effect. Crown this masterpiece with a dollop of lightly sweetened homemade whipped cream for an exquisite dessert that’s perfect for a formal dinner party or a simple yet elegant Tuesday night treat.
- Decadent Chocolate Cherry Trifle: Assemble a show-stopping trifle that combines textures and flavors in perfect harmony. Begin by layering this rich chocolate pudding, perhaps lightened slightly with a fold of whipped cream, with sweet and tart cherry preserves and tender cubes of moist cherry almond pound cake. Repeat the layers for a truly indulgent dessert that is both visually stunning and incredibly flavorful, a true crowd-pleaser.
- Espresso Infusion for Deeper Flavor: To profoundly deepen the chocolate flavor and introduce a subtle, alluring coffee kick, incorporate espresso powder directly into the milk. Whisk a teaspoon or two of high-quality instant espresso powder (or finely ground instant coffee) into the cold milk before adding it to the dry sugar mixture. Coffee is a well-known enhancer of chocolate, making the pudding taste even more intensely chocolatey without tasting overtly like coffee itself.
How to Make Silky-Smooth Chocolate Pudding
Follow these meticulously detailed, step-by-step instructions to create a consistently smooth, rich, and utterly irresistible chocolate pudding every single time. For precise measurements and ingredient quantities, please refer to the comprehensive recipe card located further down this page.
Phase 1: Preparing Your Pudding Base for Perfection
- Combine Dry Ingredients Thoroughly: In a sturdy, medium-sized heavy-bottomed saucepan, combine the granulated sugar, Dutch-processed cocoa powder, cornstarch, kosher salt, and the optional cinnamon. Whisk these dry ingredients together thoroughly and vigorously until they are completely uniform and free of any visible lumps. This initial dry whisking step is absolutely crucial for preventing lumps, especially from the cornstarch and cocoa powder, ensuring a homogenous mixture before any liquids are introduced.
- Incorporate Eggs and Milk Seamlessly: Gradually whisk the beaten eggs into the dry mixture until the entire combination is completely smooth and uniform. Take your time during this step; ensure there are absolutely no visible streaks of egg and no undissolved pockets of cornstarch. If you notice any stubborn lumps of cocoa or cornstarch, use the back of a spoon to press them firmly against the side of the pot and break them up, then whisk again until fully incorporated. Once the egg mixture is perfectly smooth, slowly and steadily whisk in the milk until all components are well combined.
- Set Up Your Finishing Touches (Mise en Place): Before you even think about turning on the heat, gather and precisely measure all your final ingredients: the dark chocolate (finely chopped for optimal, quick melting), unsalted butter (cubed for easy incorporation), and vanilla extract. Place them within easy reach of your stovetop. Stirred custards cook quickly and require your undivided attention once the heat is on; once the pudding reaches its target consistency, there’s no time to stop and measure. Being fully prepared ensures a seamless transition and a flawless finish to your pudding.
Phase 2: Cooking and Cooling for Optimal Texture and Flavor
- Cook to Thickened Perfection: Place your saucepan over medium heat. Whisk the mixture continuously and vigorously. This constant motion is vital to prevent scorching on the bottom of the pan and to ensure the eggs and cornstarch thicken evenly without clumping or curdling. Continue whisking until the pudding begins to bubble actively and noticeably thickens to a spoon-coating consistency. Once it starts bubbling, continue whisking for at least one full minute. This extended whisking time ensures the cornstarch is fully cooked out, preventing any starchy, raw flavor or unpleasant mouthfeel. If your heat is too high and small lumps start to appear, immediately reduce the heat or remove the pot from the burner and whisk vigorously until the lumps dissipate. If they persist, don’t worry – you can still save it by straining later!
- Finish with Chocolate, Butter, and Vanilla: Immediately remove the pot from the burner. Add the pre-measured finely chopped dark chocolate, cubed unsalted butter, and vanilla extract into the hot pudding. Whisk continuously until the chocolate is completely melted and smoothly incorporated, and the butter has fully emulsified into the pudding, leaving no visible streaks of either. The residual heat from the cooked pudding will perfectly melt these additions, enriching the flavor and enhancing the silky texture to pure perfection.
- Chill for Optimal Set and Smoothness: Pour the hot pudding into your desired serving containers—individual ramekins, elegant glasses, a large serving bowl, or a plastic-lined sheet tray for easier cooling and portioning later. Immediately press a piece of plastic wrap directly onto the surface of the pudding, ensuring it touches every part. This crucial step prevents an undesirable “skin” from forming as it cools. Poke a few small holes in the plastic wrap to allow any remaining steam to escape. Refrigerate the pudding for several hours, or until it is thoroughly chilled and perfectly set, typically 3-4 hours or overnight.
Pro Tip for Ultra-Smooth Pudding: For the silkiest possible pudding and to actively prevent any clumping during the cooling process, place your bowl of hot pudding into an ice bath immediately after removing it from the heat. Then, actively whisk or stir the pudding over the ice bath until it cools down considerably. This rapid, even cooling locks in the smooth texture. Once completely chilled, if the pudding seems a little stiff, a vigorous whisk or a quick beat with a paddle attachment in a stand mixer will easily loosen and smooth it beautifully, making it ready for elegant serving.
Chef Lindsey’s Essential Recipe Tip: Mastering Mise en Place
In the culinary world, “mise en place” (a French term meaning “everything in its place”) is not just a suggestion—it’s the fundamental foundation of successful and stress-free cooking. For stirred custards like this chocolate pudding, it’s absolutely non-negotiable. Before you even think about turning on the stove, ensure all your ingredients are precisely measured, chopped, and readily available, and all your tools (whisk, appropriate-sized pot, fine-mesh strainer, serving dishes) are laid out and accessible. These custards cook incredibly quickly, and once they reach their peak thickness, you need to act with precision and speed. Removing the pudding from the heat source and transferring it out of the hot pot as swiftly as possible is critical to prevent any residual heat from overcooking or scorching the bottom, which can ruin your perfectly smooth creation. Precision and speed, born from proper preparation, are your best allies for achieving a truly professional and flawless finish.
How to Serve Chocolate Pudding Like a Pro
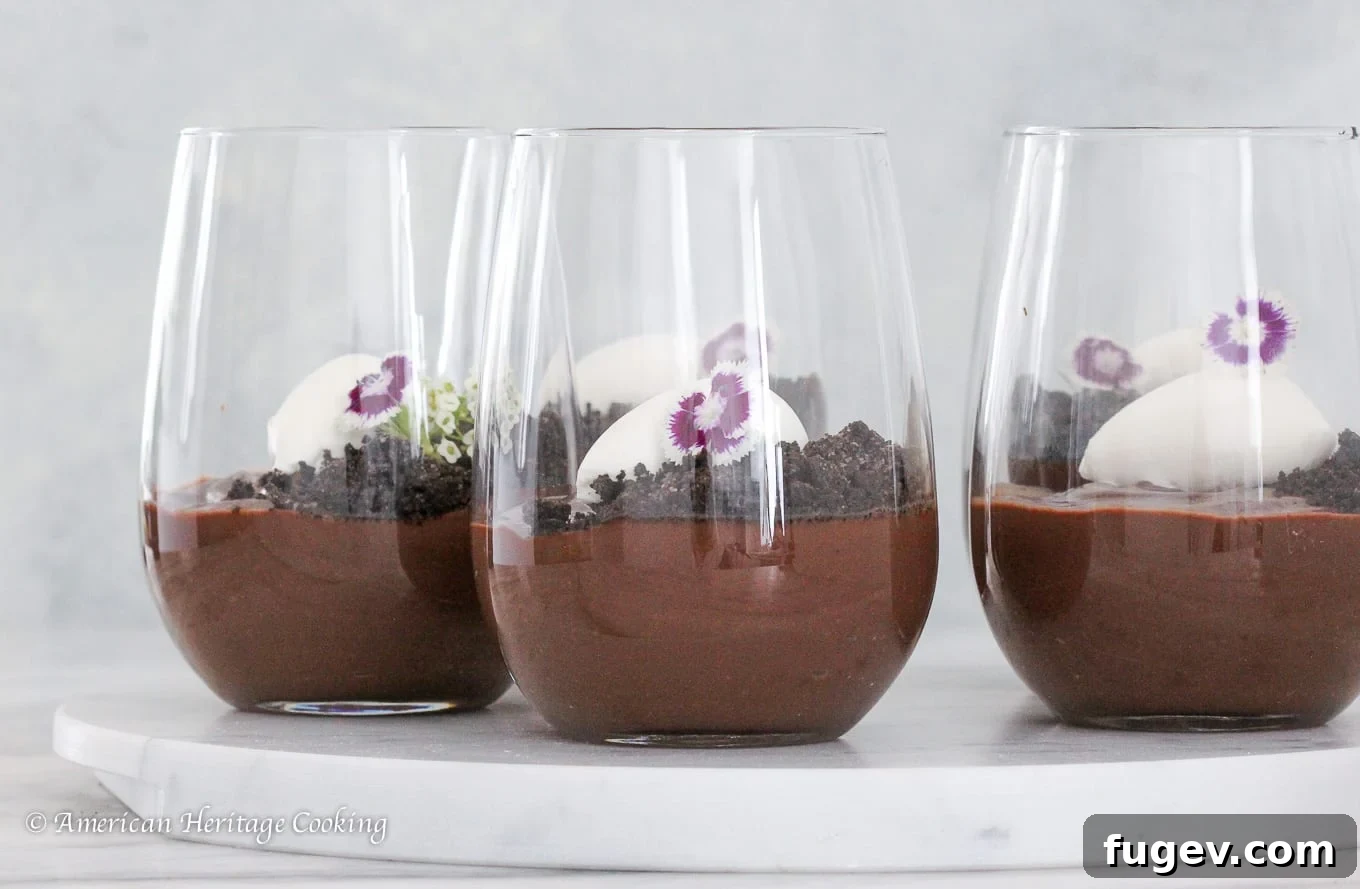
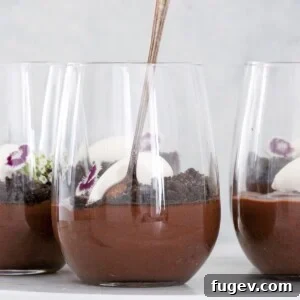
This decadent chocolate pudding is a delightful dessert on its own, but with a few creative touches, you can transform it into an unforgettable culinary experience, worthy of any occasion. Here are some chef-inspired serving suggestions to elevate your creation:
- Embrace the S’mores Theme: Recreate the beloved campfire classic in a sophisticated pudding form. Start by adding a foundational layer of crumbled graham cracker crust at the bottom of your serving cups. Top the rich chocolate pudding with a generous dollop of our airy marshmallow fluff or luscious marshmallow frosting. For an authentic and visually appealing touch, use a kitchen torch to lightly toast the marshmallow topping until it’s beautifully golden brown and delightfully gooey. The combination of creamy chocolate, crunchy graham, and warm, toasted marshmallow is pure bliss.
- Introduce a Crunchy Element for Contrast: A contrasting texture is often the key to an exciting and multi-dimensional dessert experience. Add an element of delightful crunch to your smooth pudding to enhance each bite. Try scattering crushed double chocolate biscotti cookies, spicy homemade gingersnaps, crumbly old-fashioned peanut butter cookies, or a delicate baked brown sugar streusel topping. Alternatively, a sprinkle of toasted chopped nuts like pecans, walnuts, or hazelnuts would also provide a fantastic textural counterpoint and nutty flavor.
- Add a Complementary Flavor Harmony: Elevate your pudding with flavors that naturally pair exquisitely with chocolate. I often top creamy puddings, such as our rich butterscotch pudding and comforting vanilla bean rice pudding, with a cloud of unsweetened or lightly sweetened whipped cream to add a delicate, airy contrast. A decadent drizzle of homemade salted caramel sauce introduces a captivating sweet and savory note, while a warm pour of rich hot fudge intensifies the chocolate experience for true aficionados. For a fresh, vibrant touch, consider layering with or topping with fresh berries (strawberries, raspberries, blueberries) or thinly sliced bananas. You could also create a stunning two-tone dessert by layering it with our creamy homemade vanilla pudding for a classic combination.
- Recreate the Iconic Brooklyn Blackout: For true chocolate devotees, transform this thick, rich chocolate pudding into the star component for a legendary Brooklyn Blackout Cake. Alternatively, craft themed pudding cups by layering it with moist chunks of rich devil’s food cake or crumbled chocolate pudding cookies. Finish with a swirl of fluffy chocolate buttercream frosting for an ultimate, multi-layered chocolate indulgence that will impress everyone.
Frequently Asked Questions About Chocolate Pudding
Once fully chilled, your delicious homemade chocolate pudding should be stored in an airtight container in the refrigerator. It will maintain its exquisite flavor and silky texture for up to one week. To prevent an unsightly “skin” from forming on the surface, ensure you press plastic wrap directly onto the surface of the pudding before placing it in the refrigerator. Freezing is generally not recommended for this type of stirred custard pudding, as it can cause the emulsion to break, leading to separation and an undesirable change in texture upon thawing.
Straining your pudding is a valuable “insurance policy” that ensures a perfect texture, but it’s not always strictly necessary. If you’ve followed the whisking instructions carefully throughout the cooking process and your pudding appears perfectly smooth and lump-free after cooking, then straining is entirely optional. However, if you notice even the slightest hint of tiny lumps, or if you suspect your eggs may have overcooked slightly (a common occurrence for even experienced cooks), running the hot pudding through a fine-mesh strainer is a quick, easy, and highly effective way to guarantee a flawlessly silky final product. It’s a simple step that ensures professional results and peace of mind.
The eggs in this recipe play a significant role, contributing not only to the rich flavor and deep color but also, crucially, to the silky, custardy texture that distinguishes this pudding. However, if you have dietary restrictions or simply prefer an egg-free version, you can indeed omit them. In this case, cornstarch becomes the sole thickening powerhouse. To compensate for the absence of eggs and ensure your pudding still achieves a beautifully thick and luscious consistency, I recommend increasing the cornstarch to 3 tablespoons.
If you’ve had the pleasure of trying this amazing chocolate pudding recipe and absolutely loved it, please take a moment to leave a 🌟 star rating and share your experience in the comments section below. Your feedback truly brightens my day, and I love hearing from you!
Chocolate Pudding
Chef Lindsey
20 minutes
15 minutes
35 minutes
6 people
Saved
Pin Recipe
Comment
Print Recipe
Ingredients
- ¾ cups sugar
- ¼ cup cocoa powder
- 2 tablespoons cornstarch
- ½ teaspoon kosher salt
- ¼ teaspoon cinnamon optional
- 2 eggs beaten
- 2 ½ cups milk
- 4 oz dark chocolate I used 55% cocoa solids
- 2 tablespoons unsalted butter cubed
- 2 teaspoons vanilla extract
Instructions
Prepare the pudding:
-
In a pot, whisk together the sugar, cocoa powder, cornstarch, kosher salt, and cinnamon.
-
Whisk in eggs until smooth and homogenous. There should be no streaks of eggs and no lumps of cornstarch. Once fully incorporated, whisk in the milk.
-
Before turning the heat on, have your dark chocolate, butter, and vanilla measured and ready to add. Stirred custards wait for no one.
Cook and cool the pudding:
-
Cook over medium heat, whisking constantly, until bubbly and thickened. Once the pudding has started to bubble, you will need to whisk for at least 1 minute to thicken your pudding and cook away the cornstarch flavor. Improperly cooked cornstarch also has an unpleasant mouth-feel.
-
Remove the pot from the burner and stir in the butter, chocolate, and vanilla extract. Whisk until there are no streaks of butter or chocolate.
-
Pour the pudding into a bowl, plastic lined sheet tray, or individual cups. Cover with a piece of plastic wrap touching the surface of the pudding to prevent a skin. Then, poke a few holes to allow the steam to escape. Refrigerate until set.
Video
Notes
Flavor Tips – Use your favorite high-quality chocolate. It is the main flavor, and you’ll want to make sure you love it!
Storage – If you have them on hand, you can store the pudding in a pastry bag. This is so your pudding is ready to be piped into a desired serving dish for elegant presentation.
Nutrition
Dessert
American
347
Like this? Leave a comment below!
Before You Go: Explore More Custard Delights
We trust you’ve thoroughly enjoyed mastering this chef-tested recipe for an incredibly rich and smooth chocolate pudding. This delightful dessert truly highlights the versatility and elegance of stirred custards. If you’re eager to continue your culinary journey with more creamy creations, we invite you to explore our extensive collection of other custard recipes. For another indulgent chocolate experience, consider trying our famously smooth French Silk Pie, a truly custardy chocolate dream nestled in a flaky crust. Or, if you’re in the mood for a delightful fruity twist, our classic Banana Cream Pie offers a refreshing, creamy escape that’s perfect for any occasion. Happy cooking, and enjoy your wonderfully sweet creations!