
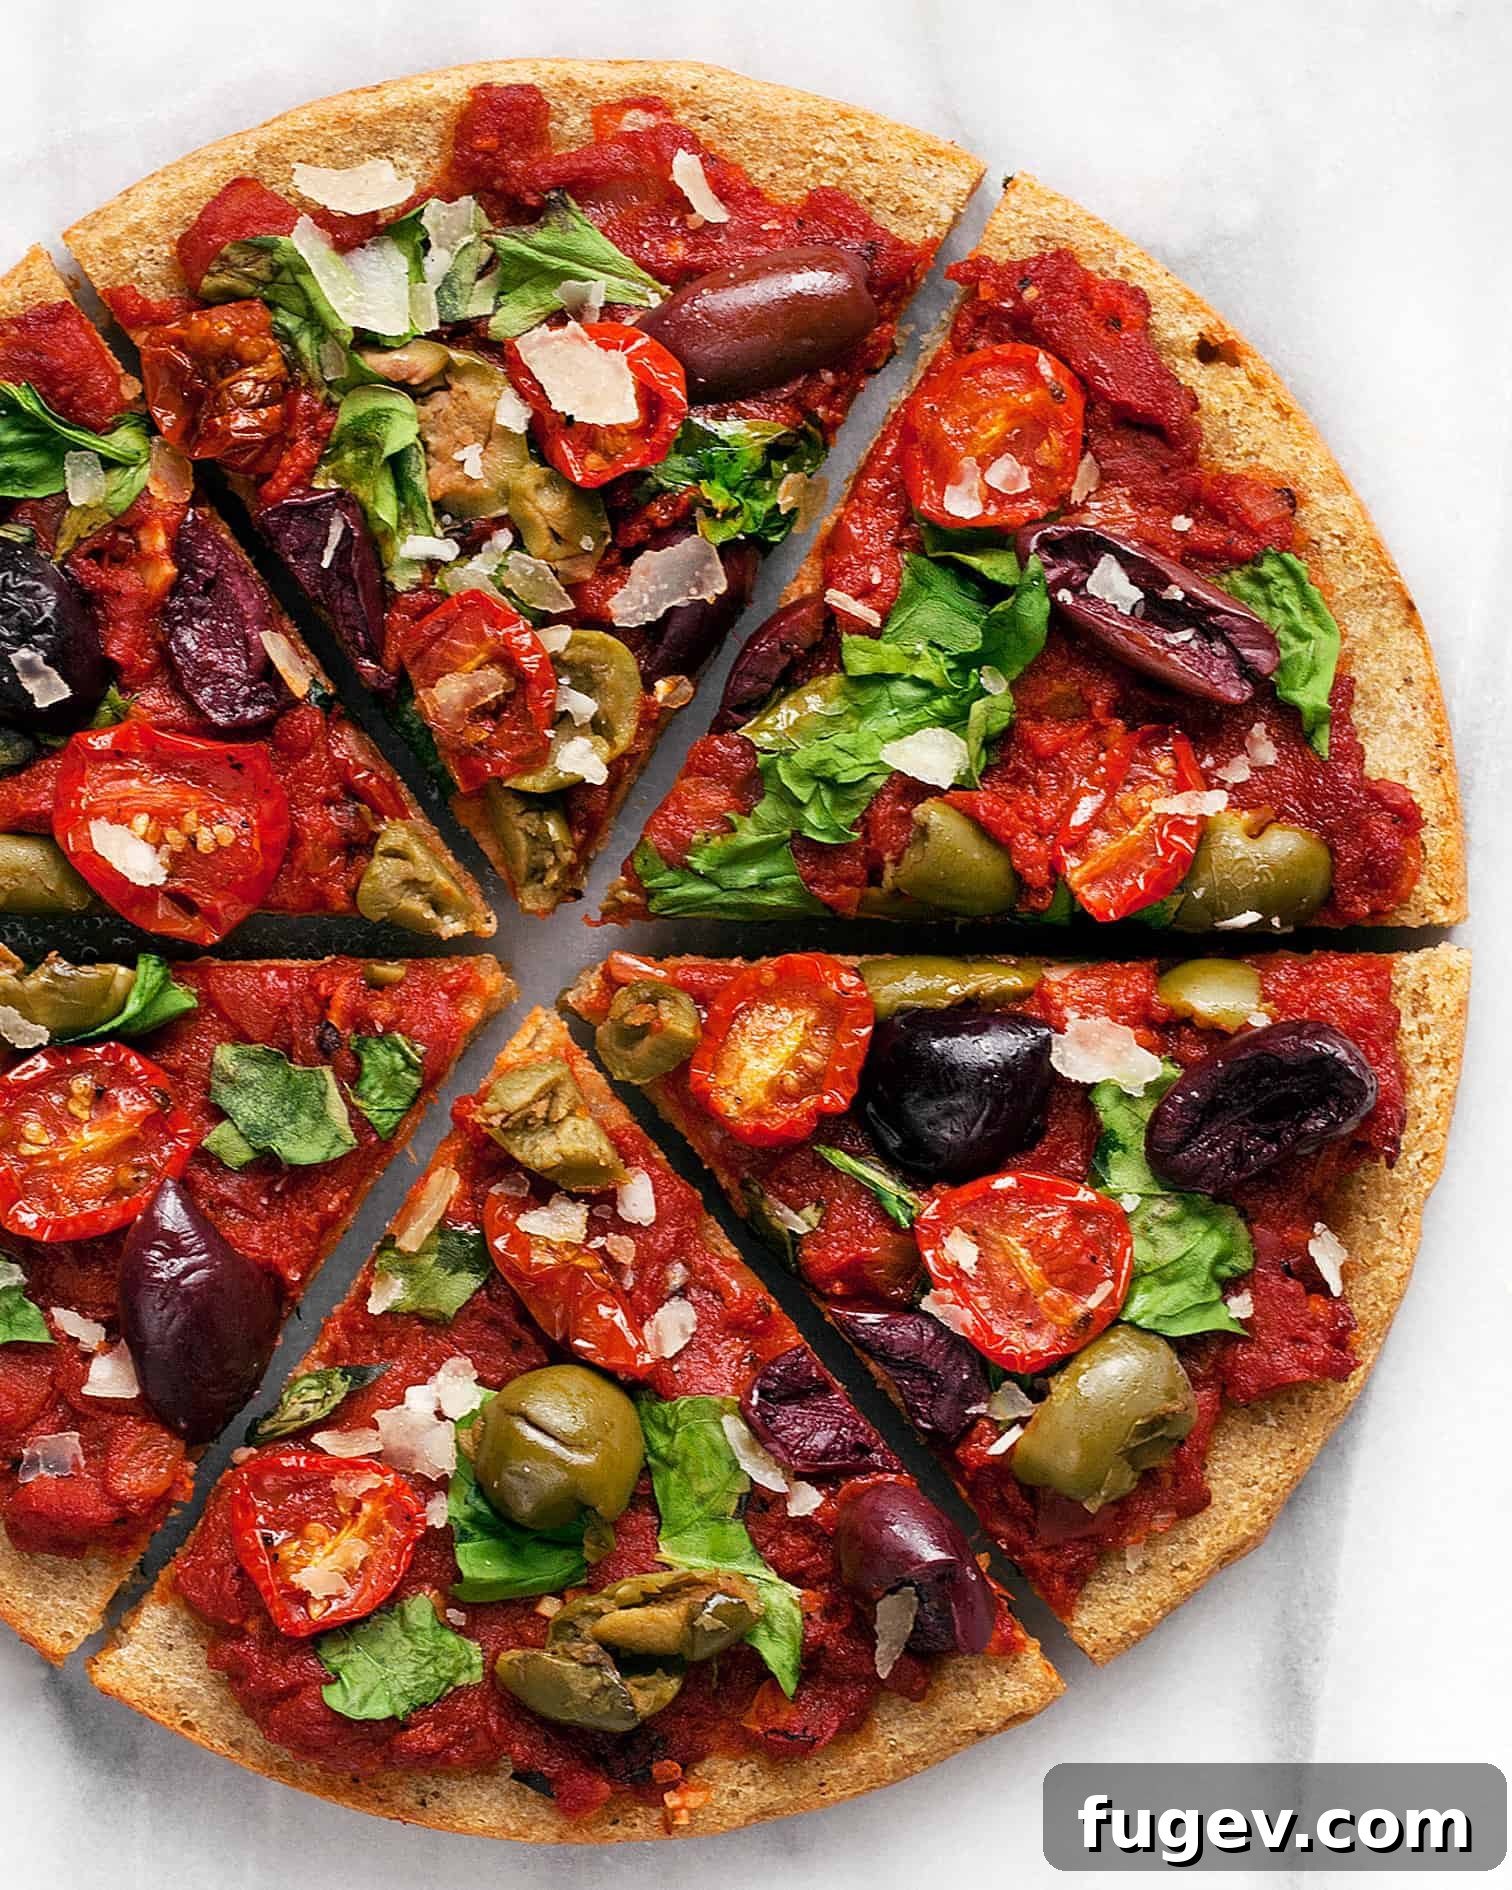
Elevate your weekly pizza night with this incredible gluten-free quinoa pizza crust! Crafted with just six pantry staples and a thoughtful blend of dried spices, this recipe offers a delicious and healthier alternative to traditional pizza dough. Whether you’re navigating a gluten-free diet, aiming for a lighter meal, or simply seeking culinary adventure, this quinoa crust promises a satisfyingly crispy and chewy foundation for all your favorite toppings. It’s also effortlessly vegan-friendly – simply opt for plant-based toppings and skip the cheese, or choose your preferred dairy-free alternative.
As an avid home cook, my pantry often resembles a bustling marketplace, particularly the shelf dedicated to grains. It’s a constant challenge to keep it organized, and I frequently find myself with small, forgotten quantities of various grains. This often leads to a delightful exploration of new ways to utilize these pantry treasures, ensuring nothing goes to waste while injecting exciting variety into my meals.
Quinoa, a true powerhouse grain, is one ingredient I’m never without. Its quick-cooking nature and impressive nutritional profile make it a staple for everything from vibrant grain bowls topped with roasted vegetables and pesto to flavorful side dishes enhanced with tahini or vinaigrettes. In recent weeks, I’ve been on a mission to reimagine familiar ingredients, pushing the boundaries of their culinary potential right here in my kitchen.
This culinary quest led me to merge two of my most beloved meal categories: nutrient-rich vegetable grain bowls and classic, comforting pizza. The result? A revolutionary quinoa pizza crust that combines the best of both worlds. This innovative gluten-free pizza base requires minimal fuss, relying on just six essential ingredients you likely already have on hand, complemented by a selection of aromatic dried spices.
Why Choose Quinoa for Your Pizza Crust?
Quinoa has earned its superfood status for good reason. It’s not only naturally gluten-free but also a complete protein, containing all nine essential amino acids. This makes it an excellent choice for those seeking to incorporate more plant-based protein into their diet. Beyond its protein content, quinoa is rich in fiber, magnesium, B vitamins, iron, potassium, calcium, phosphorus, and vitamin E. Opting for a quinoa crust means you’re not just enjoying a delicious meal; you’re also fueling your body with vital nutrients.
For individuals managing celiac disease or gluten sensitivity, finding a pizza crust that is both flavorful and structurally sound can be a challenge. Many store-bought gluten-free options often contain various starches and gums, lacking the nutritional punch and natural texture of whole grains. This homemade quinoa crust offers a pure, wholesome alternative that doesn’t compromise on taste or texture, providing a satisfyingly chewy interior and a delightfully crispy exterior.
Mastering the Quinoa Pizza Crust: A Simple Guide
Creating this unique pizza crust is surprisingly straightforward, though it does require a little foresight. The essential first step is soaking the quinoa grains. This process is crucial for achieving the perfect texture and consistency for your crust. Ideally, you’ll want to soak your quinoa in a bowl of water for at least 8 hours, or conveniently, overnight. Soaking softens the quinoa, making it much easier to blend into a smooth, uniform batter that will form the foundation of your pizza.
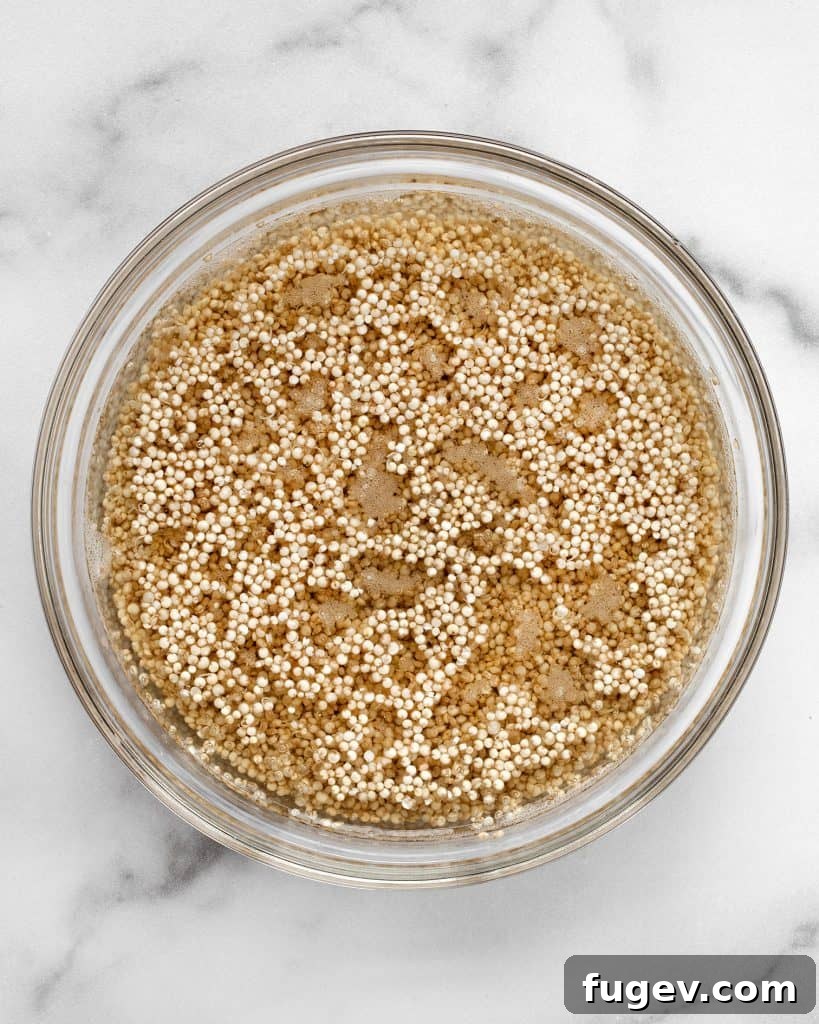
From Soaked Grain to Smooth Batter
Once your quinoa has adequately soaked, drain it thoroughly. Then, transfer the softened grains to a food processor. This is where the magic happens! Along with the drained quinoa, you’ll add a quarter cup of fresh water, baking powder, kosher salt, and your chosen blend of dried spices. I personally believe in infusing flavor directly into the crust itself, rather than relying solely on toppings for taste. My go-to spice combination includes fragrant dried oregano, savory onion powder, pungent garlic powder, a hint of red pepper flakes for a subtle kick, and freshly ground black pepper. This robust spice mix ensures every bite of your pizza crust is bursting with flavor.
Process the mixture for about three minutes, or until you achieve a wonderfully smooth, uniform batter. The consistency should be pourable, more akin to a thick pancake batter than a traditional bread dough. This batter-like texture is what gives the quinoa crust its unique character and requires a specific baking approach.
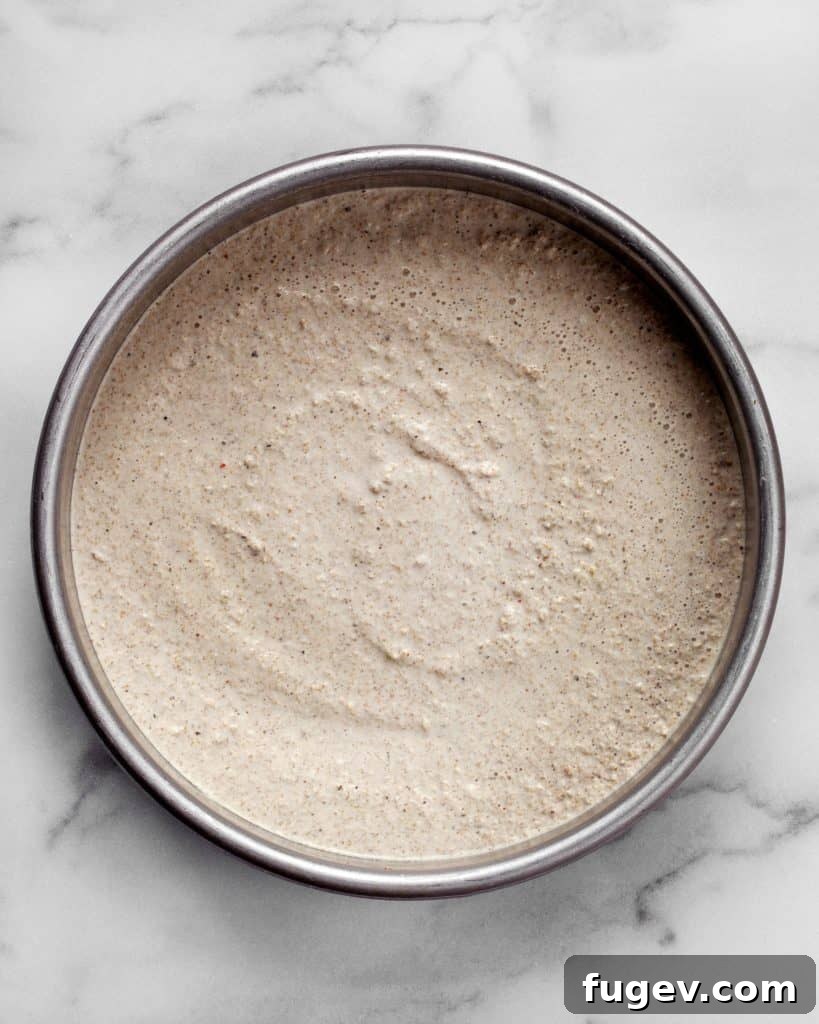
Baking for Perfect Crispness
Due to its liquid consistency, it’s essential to bake this crust in a rimmed pan to prevent the batter from spreading too thin. I typically use an 8-inch or 9-inch round cake pan. To ensure a perfect release and easy flipping, lightly grease the pan with non-stick cooking spray, then line the bottom with a round of parchment paper. This simple step guarantees your crust will lift out beautifully without sticking.
The baking process involves two stages to achieve a golden-brown and satisfyingly crispy crust. First, the crust is baked on one side in the cake pan until it’s set and lightly golden. Once firm enough, carefully flip the crust out of the cake pan onto a parchment-lined sheet pan to finish baking on the opposite side. This two-stage method ensures even cooking and promotes a delightful crispness throughout, making it a fantastic gluten-free alternative to traditional flour-based crusts.
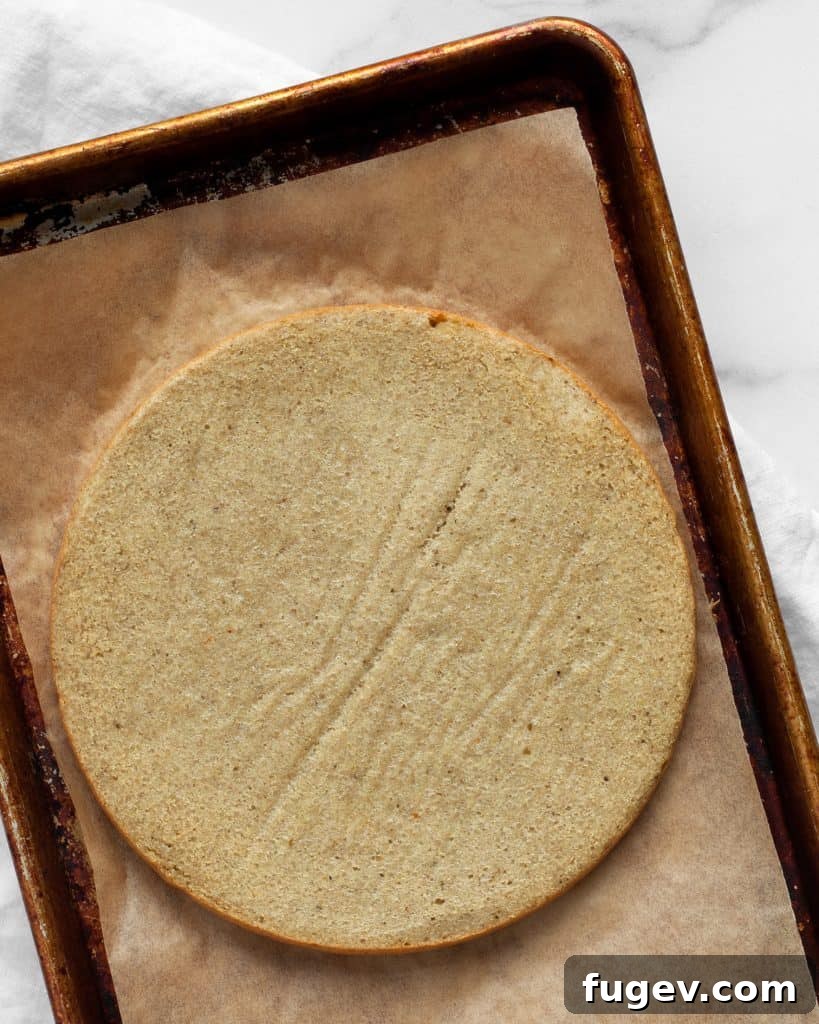
Topping Your Masterpiece
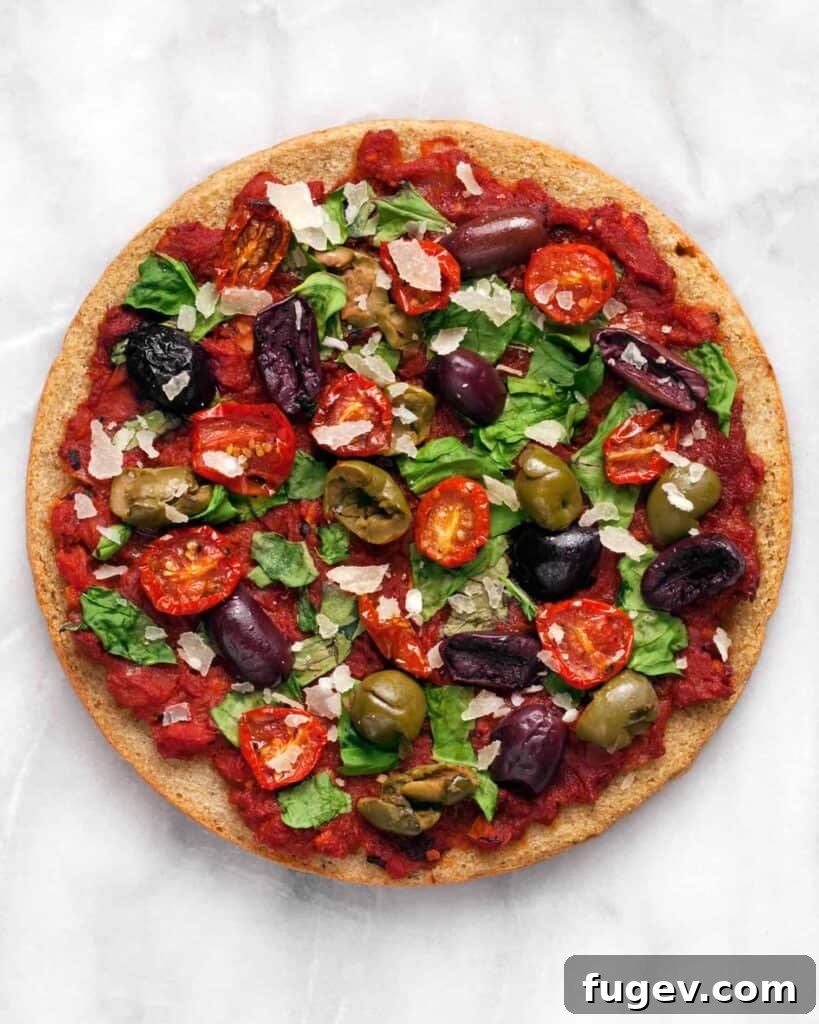
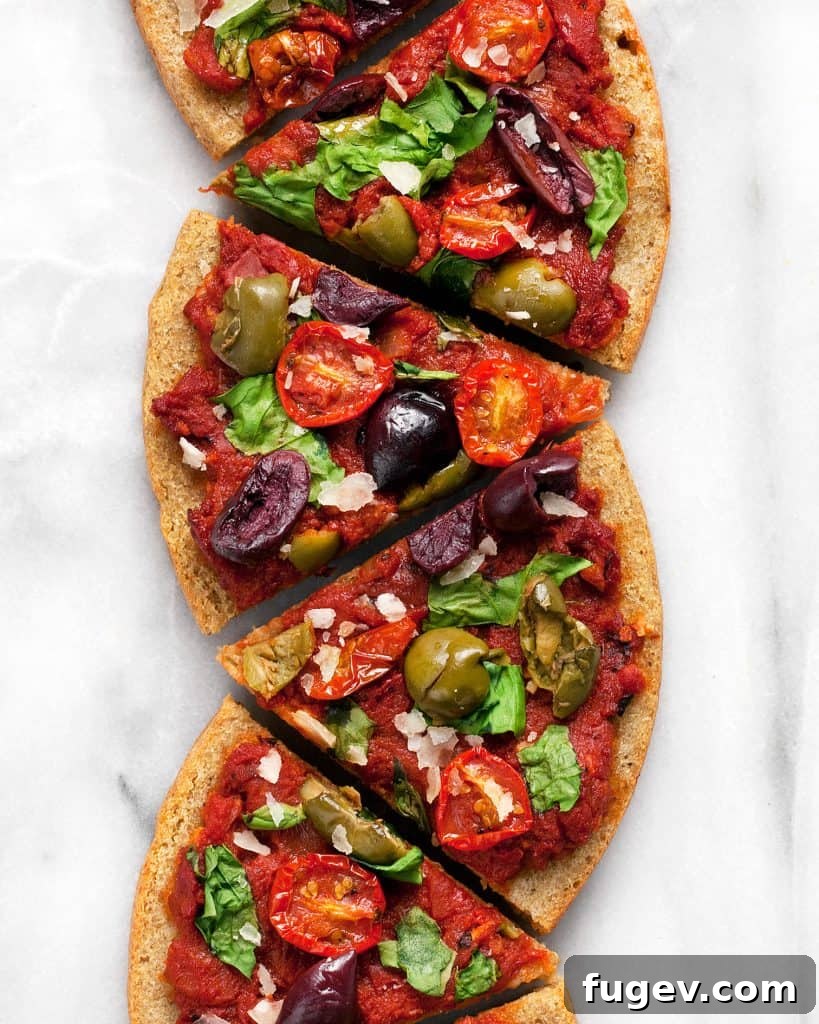
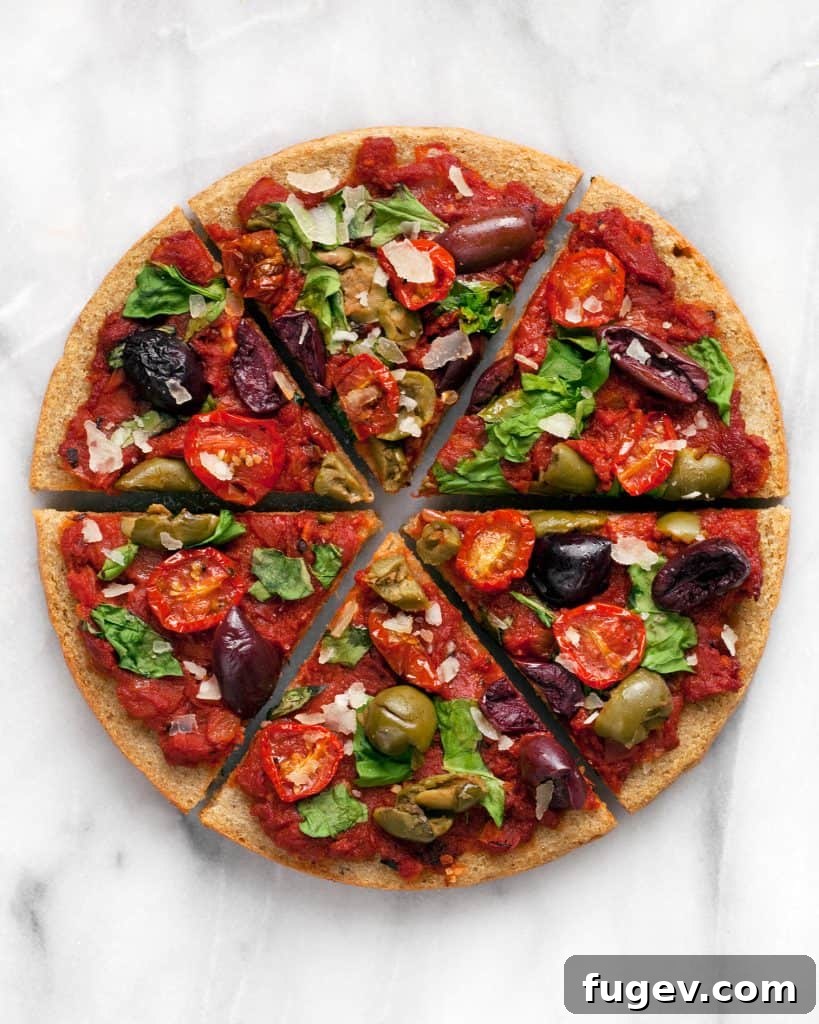
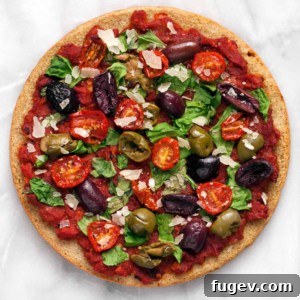
Unlike conventional pizza crusts made with flour, water, yeast, and salt, this quinoa crust shares more similarities with a cauliflower pizza crust in its texture – a wonderfully thin, slightly chewy, almost cake-like base that perfectly holds your chosen toppings without becoming soggy. For toppings, my personal favorites include a rich tomato sauce, briny olives, sweet slow-roasted tomatoes, and fresh spinach. I tend to go light on the cheese, often just crumbling a bit of Parmesan over the pizza after it comes out of the oven to preserve its crispness. However, feel free to melt your favorite shredded cheese directly on top during the final bake for that classic gooey finish.
Creative Topping Inspirations for Your Quinoa Pizza
The beauty of this versatile quinoa pizza crust lies in its ability to pair with a vast array of flavors. Don’t limit yourself to traditional combinations! Consider a Mediterranean-inspired pizza with pesto, sun-dried tomatoes, artichoke hearts, Kalamata olives, and a sprinkle of vegan feta. For a taste of the garden, try a “white pizza” style with a garlic-infused olive oil base, sautéed mushrooms, caramelized onions, and fresh arugula added after baking. If you’re craving something with a kick, a Mexican-inspired pizza with black beans, corn, salsa, jalapeños, and avocado slices would be phenomenal. For a simple yet elegant option, a fresh fig and balsamic glaze pizza (with or without plant-based cheese) offers a sophisticated flavor profile. Remember, the crust itself is subtly flavored, providing a sturdy, delicious canvas for your culinary creativity.
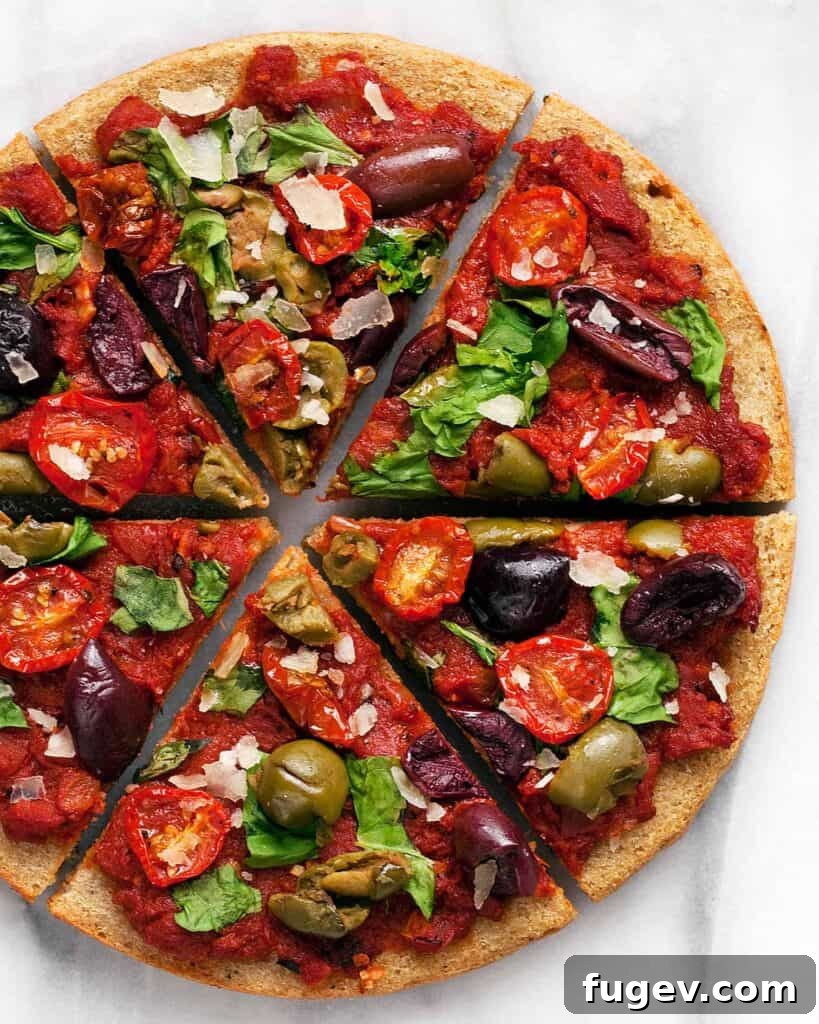
Quinoa Pizza Crust
Ingredients
- 3/4 cup uncooked quinoa
- 1/4 cup water plus more for soaking
- 1 teaspoon baking powder
- 1/4 teaspoon kosher salt
- 1/4 teaspoon black pepper
- 1/4 teaspoon dried oregano
- 1/4 teaspoon onion powder
- 1/4 teaspoon garlic powder
- Pinch of red pepper flakes
- Non-stick cooking spray
9 inch round
Save This Recipe
Get new recipes delivered to your inbox every week! Simply enter your email address below to subscribe and never miss a delicious update.
(Note: This is a static placeholder. Actual subscription functionality would require server-side processing.)
Instructions
- In a small bowl, soak the quinoa in water overnight (for at least 8 hours).
- Preheat the oven to 425 degrees F (220 degrees C).
- Drain the soaked quinoa thoroughly and transfer it to a food processor with 1/4 cup water, baking powder, salt, black pepper, oregano, onion powder, garlic powder, and red pepper flakes. Puree the mixture until completely smooth, which typically takes about 3 minutes.
- Grease an 8-inch or 9-inch round cake pan with non-stick cooking spray. Line the bottom of the pan with a circle of parchment paper. Carefully pour the quinoa batter into the prepared pan and use a spatula to spread it into an even layer.
- Bake the crust for 15 minutes, or until it is set and golden brown around the edges. Carefully flip the crust out of the cake pan onto a clean, parchment-lined sheet pan. Continue baking for an additional 5-10 minutes on the opposite side, until it is beautifully golden brown and crispy.
- Remove the crust from the oven. Add your desired toppings onto the pre-baked crust. Return the pizza to the oven and bake for another 5-10 minutes, or until the toppings are heated through and any cheese, if using, is melted and bubbly.
Notes
Nutrition
Carbohydrates: 21g |
Protein: 5g |
Fat: 2g |
Saturated Fat: 0.2g |
Polyunsaturated Fat: 1g |
Monounsaturated Fat: 1g |
Sodium: 254mg |
Potassium: 186mg |
Fiber: 2g |
Sugar: 0.02g |
Vitamin A: 7IU |
Vitamin C: 0.04mg |
Calcium: 77mg |
Iron: 2mg
Nutrition information is automatically calculated, so should only be used as an approximation.
Additional Info
Tips for Success and Troubleshooting
- Don’t Skip the Soak: This is the single most important step for a pliable, smooth batter. Insufficient soaking will result in a grainy or crumbly crust.
- Achieving the Right Batter Consistency: If your batter seems too thick after blending, add a tablespoon of water at a time and blend again until it reaches a thick, pourable consistency, similar to a pancake batter. If it’s too thin, it may spread too much in the pan.
- Parchment Paper is Your Friend: It makes flipping the crust much easier and prevents sticking, especially during the second bake.
- Even Thickness: Spread the batter evenly in the pan to ensure consistent baking and texture throughout the crust.
- Storage: Leftover cooked crusts can be stored in an airtight container in the refrigerator for up to 3-4 days, or frozen for up to a month. Thaw before reheating.
- Reheating: For best results, reheat leftover pizza or a pre-baked crust in a hot oven (around 375°F/190°C) for 5-10 minutes, or until warmed through and crispy.
Make it Your Own: Variations
- Herbaceous Crust: Add fresh or dried rosemary, thyme, or basil to the food processor with the quinoa for an extra aromatic crust.
- Spicy Kick: Increase the red pepper flakes or add a pinch of cayenne pepper for a spicier base.
- Nutritional Yeast Boost: For a cheesy flavor without dairy, add a tablespoon or two of nutritional yeast to the batter before blending.
- Mini Pizzas: Instead of one large crust, divide the batter into smaller portions and bake in muffin tins or small tart pans for individual mini pizzas, perfect for appetizers or kids’ meals.
This quinoa pizza crust is more than just a gluten-free option; it’s a testament to how creative and nutritious your meals can be. It’s an ideal choice for anyone looking to enjoy the comfort of pizza without the heavy feeling of traditional dough, providing a light, flavorful, and incredibly versatile base for countless culinary creations. Give it a try and transform your pizza night into a wholesome and exciting experience!
Did you make this recipe?Mention @lastingredient on Instagram and tag it #lastingredient!