
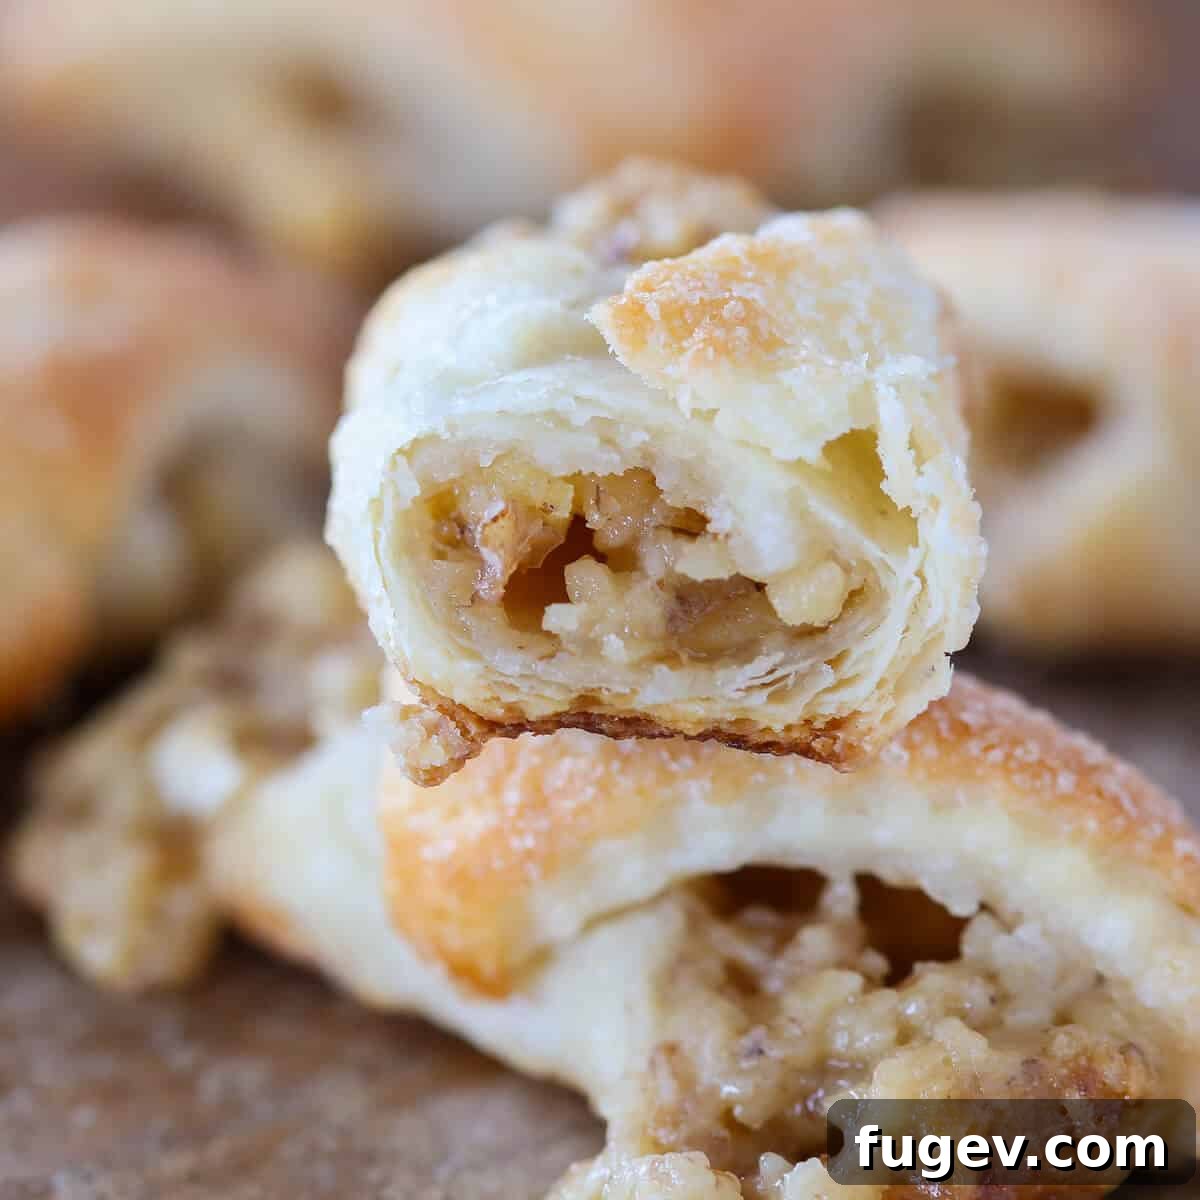
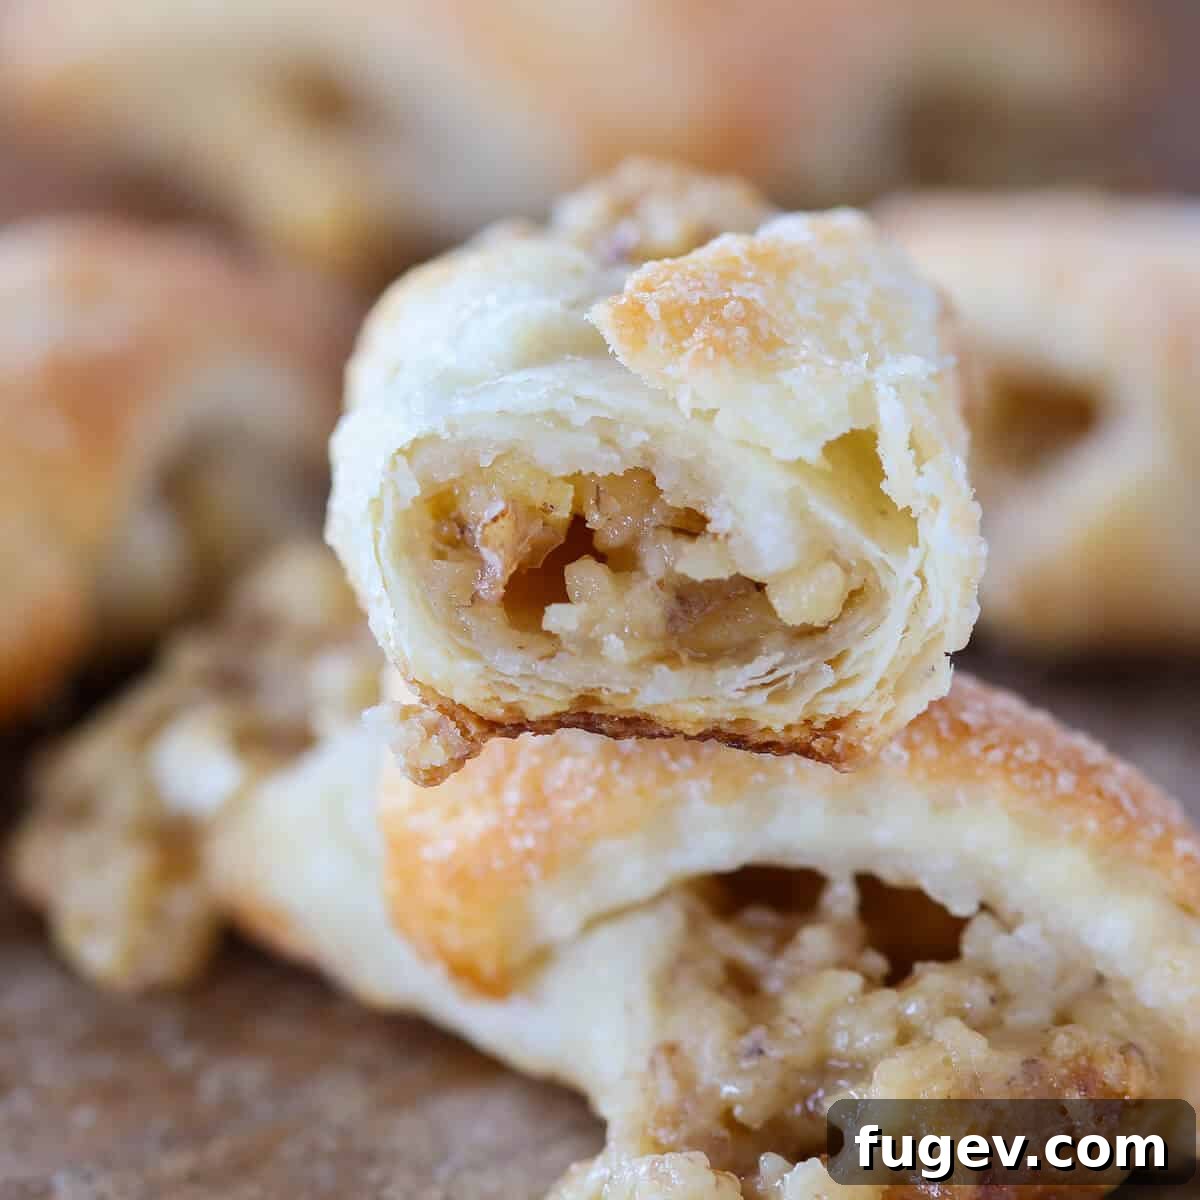
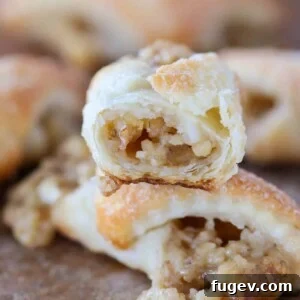
Delight in the irresistible charm of these authentic Hungarian Nut Roll Cookies, also lovingly known as Hungarian Nut Horns. These delectable treats feature a beautifully flaky, tender cream cheese pastry, delicately wrapped around a rich, homemade walnut filling. Each bite promises a symphony of textures and flavors – the pastry melts in your mouth, while the filling offers a sweet, crunchy, and perfectly caramelized experience, especially around the edges. A cherished recipe passed down through generations, these cookies embody the heartwarming spirit of Eastern European baking traditions, making them a perfect addition to any holiday table or a delightful indulgence throughout the year.
A Quick Look At The Recipe
This is a brief summary of the recipe. Jump to the recipe to get the full details.
Jump to Recipe
Prep Time
30 minutes
Cook Time
12 minutes
Chill Time
2 hours
Total Time
2 hours 42 minutes
Servings
48 Cookies
Difficulty
Easy
Calories *
132 kcal per serving
Technique
Make walnut filling, prepare pastry dough, assemble walnut rolls, bake to perfection!
Flavor Profile
Flaky cream cheese pastry embracing a rich, sweet walnut filling.
* Based on nutrition panel
Beats my grandma’s and I didn’t think that was possible! ⭐⭐⭐⭐⭐
Vicki
These exquisite nut roll cookies, often affectionately referred to as Hungarian nut horns or even Kifli in some regions, are a delightful confection known for their crispy texture, sweet flavor, and utterly addictive quality. Deeply embedded in Hungarian, Slovak, and Polish culinary traditions, they traditionally grace tables during Christmas festivities. However, their unique charm and delicious taste make them a fantastic treat to enjoy throughout the entire year, bringing a touch of old-world comfort to any occasion. Their humble yet elegant presence makes them a standout alongside any assortment of baked goods.
The secret to their incredible flakiness lies in a simple yet effective cream cheese pastry crust. This very same versatile dough is also famously used in our beloved apricot kolacky recipe. Despite sharing a common dough, these nut rolls offer a remarkably different taste experience, showcasing the incredible adaptability of this pastry. Both recipes would make a wonderful and impressive addition to any cookie platter, complementing other festive favorites like these light and airy pecan snowball cookies, the soft and spicy chewy gingerbread boys, and the decadent chocolate peppermint kiss cookies. Prepare to be enchanted by their delicate balance of flavor and texture, a true testament to timeless baking.
Table of Contents
- Why You’ll Adore These Hungarian Walnut Roll Cookies
- Essential Ingredients for Perfect Nut Rolls
- Step-by-Step Guide: How to Make Hungarian Nut Rolls
- Crafting the Rich Walnut Filling
- Preparing the Flaky Cream Cheese Dough
- Assembling and Baking Your Walnut Rolls
- Chef Lindsey’s Expert Baking Tip
- Watch the Video Tutorial
- Creative Variations & Smart Substitutions
- Optimal Storage for Freshness
- Frequently Asked Questions About Nut Rolls
- Full Recipe: Hungarian Nut Roll Cookies (Walnut Filling)
- Before You Go!

Why You’ll Adore These Hungarian Walnut Roll Cookies:
- Effortless Cream Cheese Pastry: Prepare to be amazed by how simple it is to create this incredibly tender and flaky crust. The dough comes together in a single bowl, requiring just a hand mixer, making it accessible for even novice bakers. The absence of additional moisture results in a supremely rich and delicate pastry that truly melts in your mouth.
- Divine Homemade Walnut Filling: The heart of these cookies is their exquisite walnut filling. This recipe yields a perfectly sweet, nutty, and wonderfully aromatic mixture that complements the pastry beautifully. What’s more, this versatile filling can be prepared in advance and stored in the freezer, allowing for spontaneous cookie-baking sessions whenever the craving strikes!
- Irresistible Caramelized Crunch: A unique technique involves rolling the dough in granulated sugar before baking. This step is a game-changer, creating a sumptuously caramelized crust on the bottom of each cookie and a delightful, crunchy, sweet coating on top. Since the pastry dough itself contains no sugar, this addition provides a welcome burst of sweetness and an incredible textural contrast that elevates these cookies to perfection.
- Timeless European Tradition: Beyond their taste, these cookies offer a connection to rich culinary heritage. Baking Hungarian nut rolls is more than just a recipe; it’s an experience that brings centuries of tradition into your kitchen, perfect for celebrating holidays or simply enjoying a taste of history.
Essential Ingredients for Perfect Nut Rolls
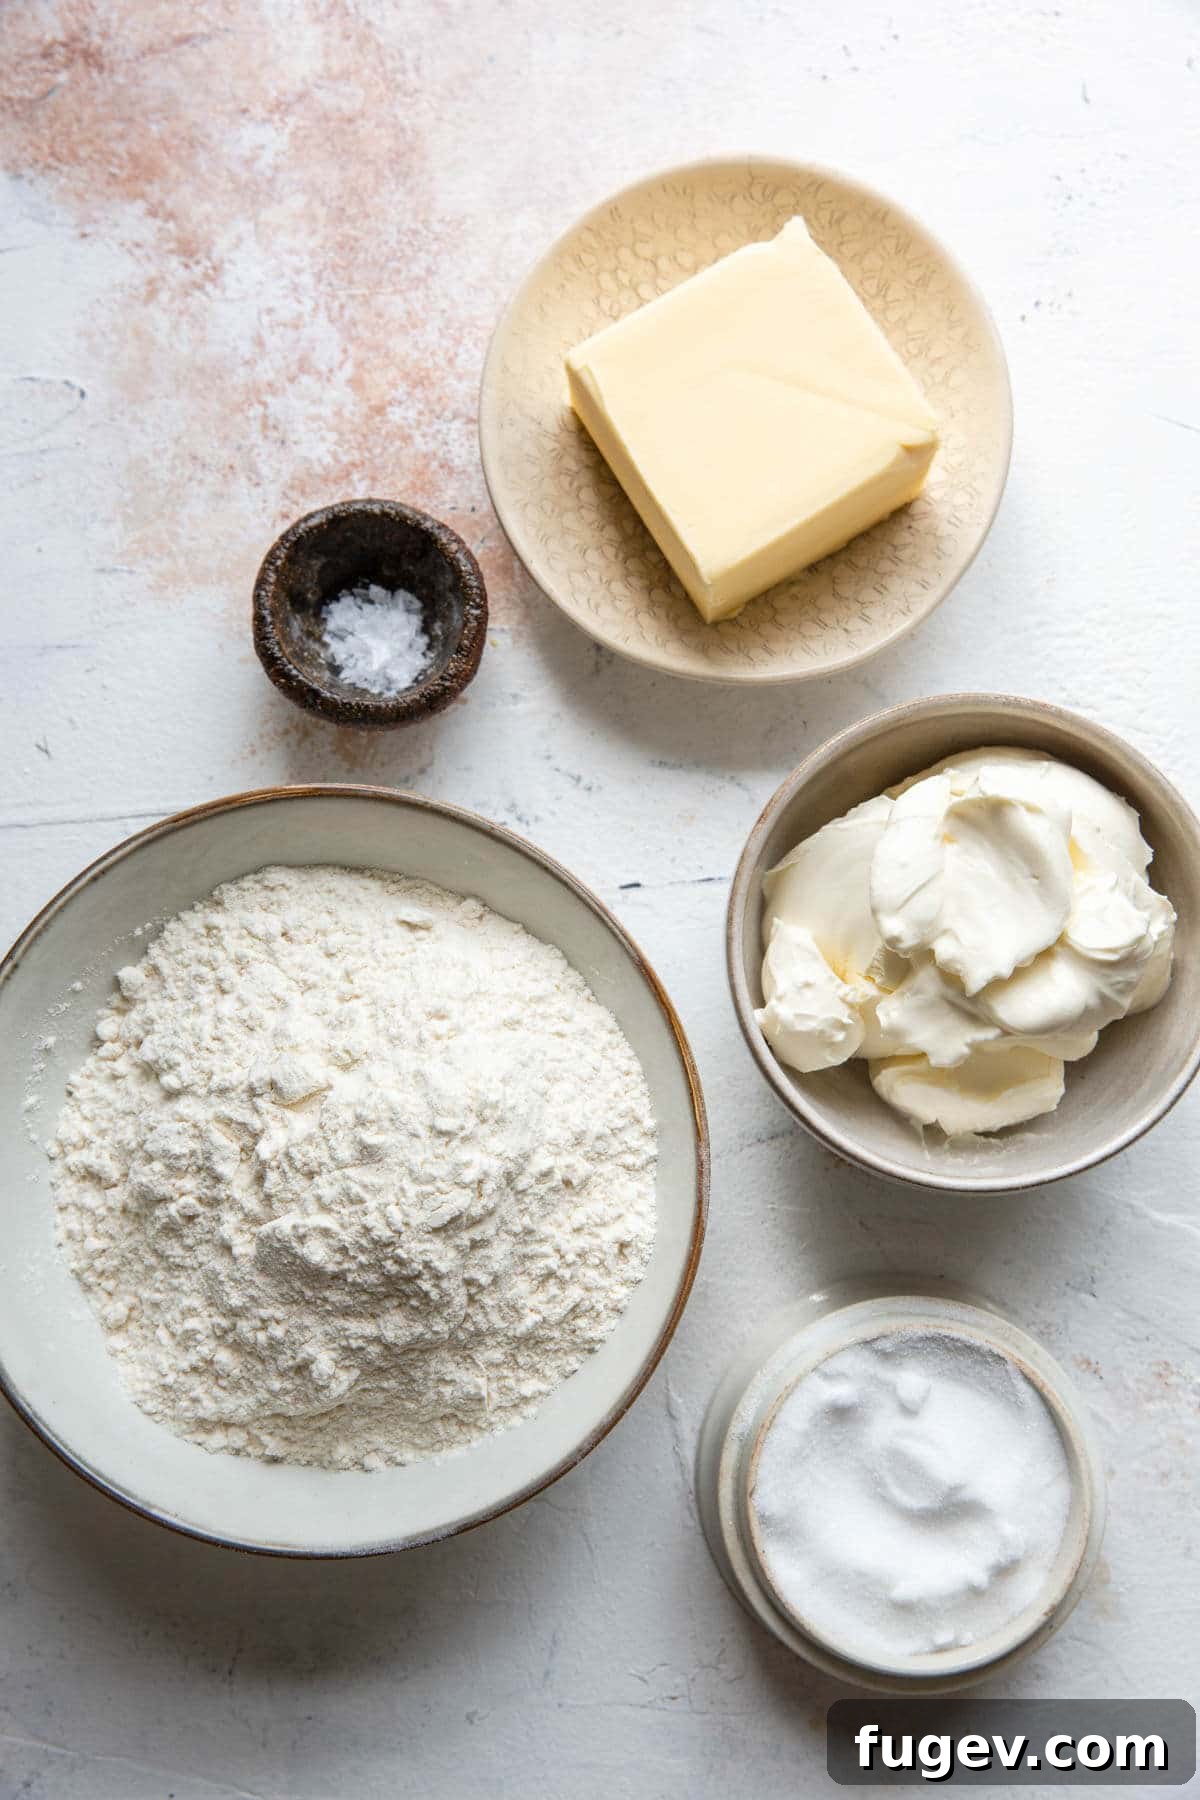
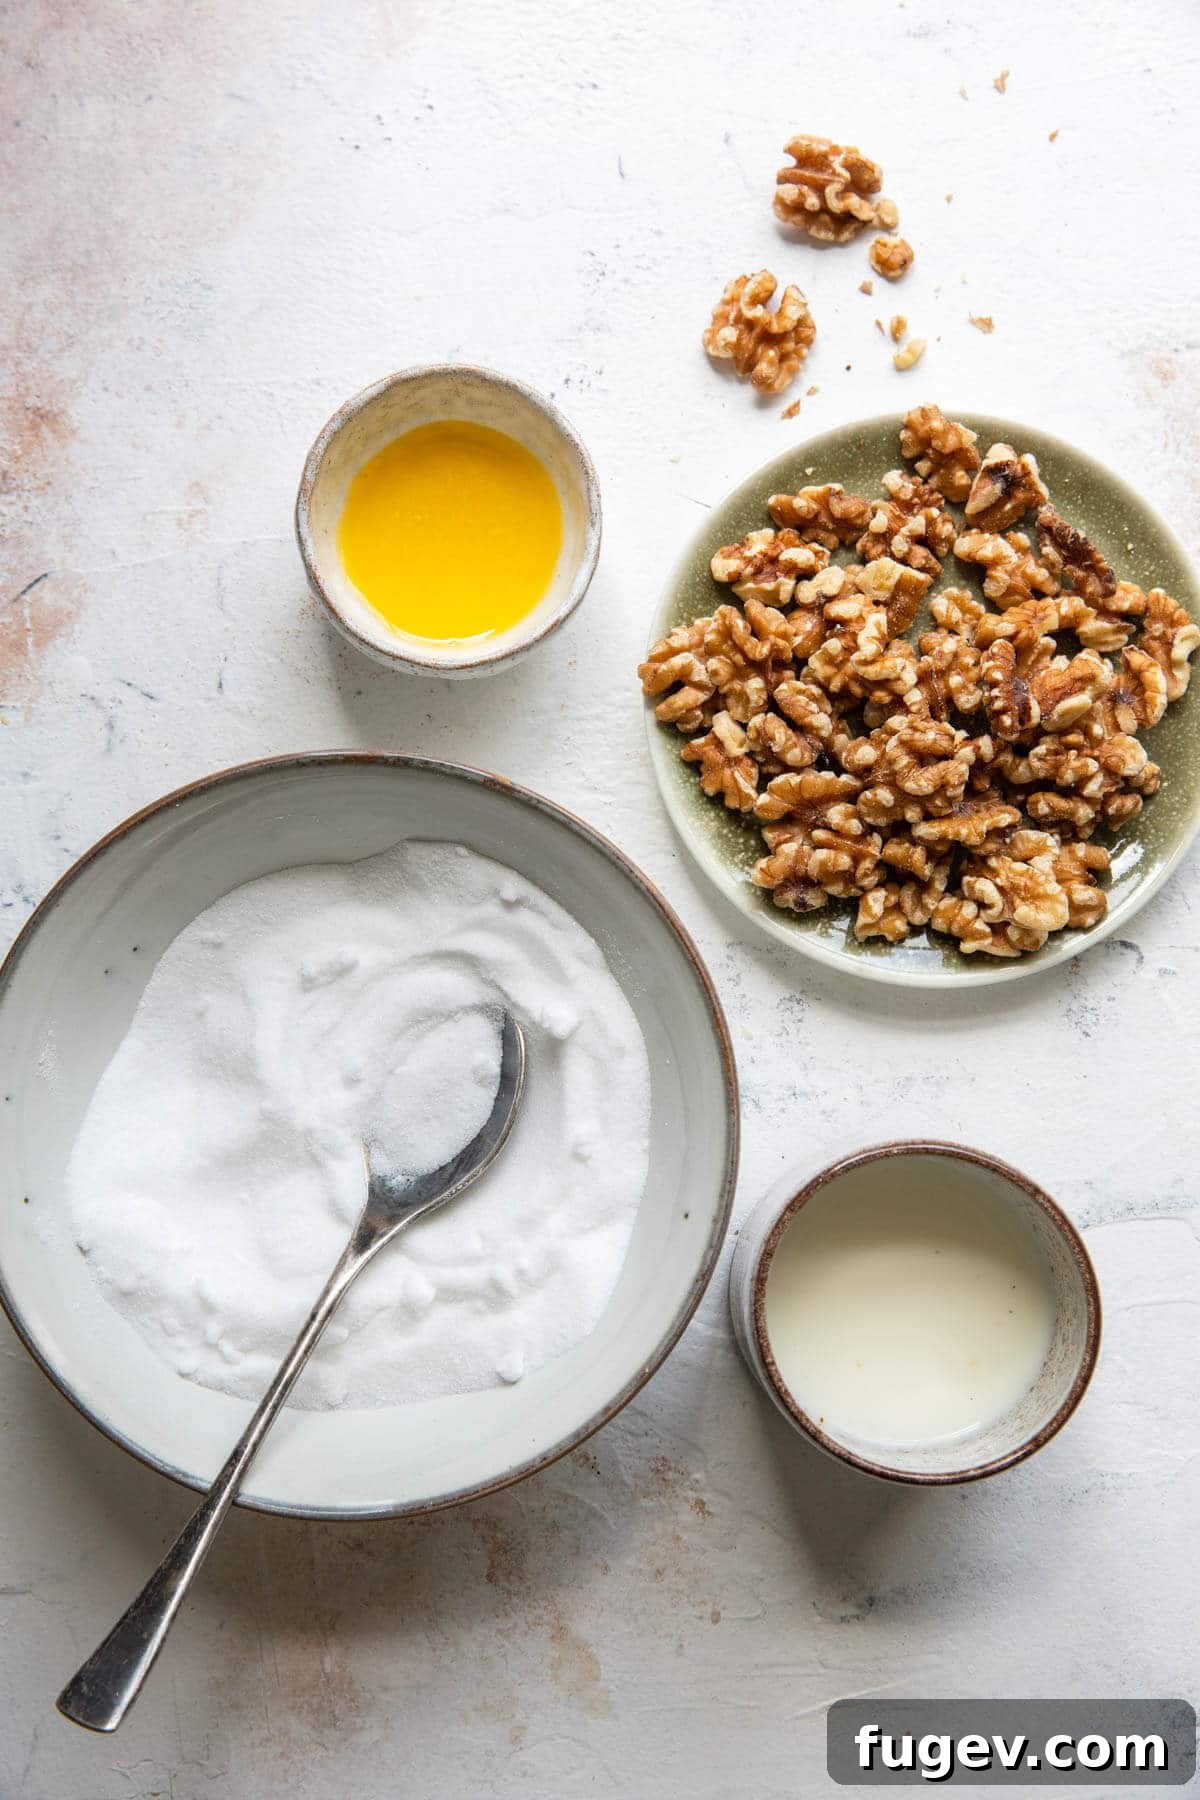
All-purpose flour: Accurate flour measurement is paramount for the perfect pastry texture. Always begin by fluffing the flour in its bag or container, then gently spoon it into your measuring cup. Level it off with the back of a knife or a straight edge, being careful not to tap or compress the flour. Incorrect measurement, particularly too much flour, will inevitably lead to a dry, crumbly, and tough cookie rather than the desired tender, flaky result.
Kosher Salt: More than just adding saltiness, kosher salt plays a critical role in enhancing and balancing the overall flavor profile of these cookies. It’s less concentrated than table salt, meaning a teaspoon weighs less and provides a milder salinity. This subtle addition prevents the pastries from tasting dull or flat, bringing out the best in both the dough and the filling.
Cream Cheese: For optimal results, I strongly recommend using original, full-fat Philadelphia Cream Cheese (or a high-quality equivalent) in all your baked goods, especially this recipe. Incorporating cream cheese into the dough adds a luxurious richness and a delicate tang that butter alone cannot provide. Crucially, cream cheese behaves differently from butter during baking, contributing significantly to the signature flaky and exceptionally tender texture of these cookies.
Unsalted Butter: Using unsalted butter is a golden rule in baking, as it gives you complete control over the salt content in your recipe. Different brands of salted butter vary greatly in their salt levels, making it challenging to achieve consistent results and impossible to adjust the seasoning precisely. Ensure your butter is softened to room temperature for smooth incorporation into the dough.
Granulated Sugar: This versatile ingredient is used in two key ways. In the filling, granulated sugar provides essential sweetness and, when baked, contributes to the delightful caramelization around the edges of the walnut mixture. Additionally, extra sugar is used for rolling out the pastry dough. While optional, this step is highly recommended as it adds an incredible layer of sweet crunch and caramelization to the exterior of the cookies, perfectly complementing the unsweetened dough.
Walnuts: The star of the filling! For the best texture, you can finely chop the walnuts by hand with a sharp knife, or pulse them in a food processor until they reach a finely ground consistency. There’s no need to toast the walnuts separately for this recipe; they will bake long enough inside the nut roll cookies to develop a perfectly toasted flavor and aroma, adding depth to the filling.
Milk: I always opt for whole milk when baking, and for good reason. Its higher fat content imparts a richer flavor and contributes to a more tender, moist texture in the final product. For this recipe, the milk needs to be heated, which helps to soften and bind the walnut filling ingredients together, creating a perfectly spreadable consistency.
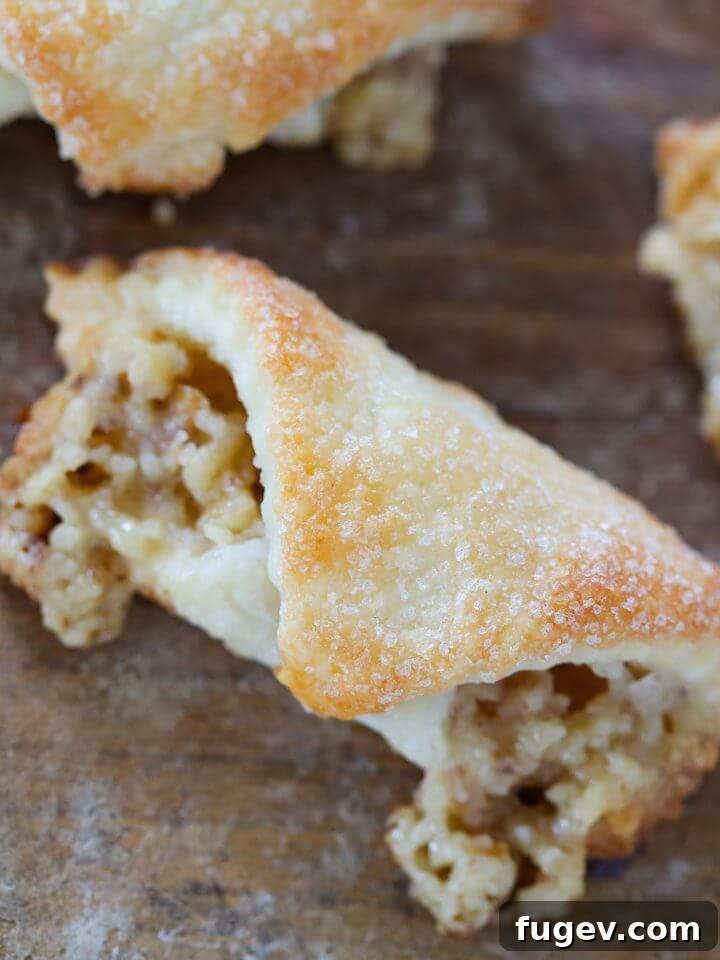
Step-by-Step Guide: How to Make Hungarian Nut Rolls
Creating these delightful Hungarian Nut Roll Cookies is a rewarding process, and with these detailed instructions and accompanying photos, you’ll have all the tips you need to achieve perfection on your very first try! Remember, precision and patience are key for the best results. You’ll find additional instructions and precise measurements conveniently listed in the comprehensive recipe card further down this page.
Crafting the Rich Walnut Filling:
Step 1: Begin by preparing your walnuts. Finely chop them using a sharp knife for a more rustic texture, or pulse them in a food processor until they are finely ground. The consistency should be fine but not pasty.
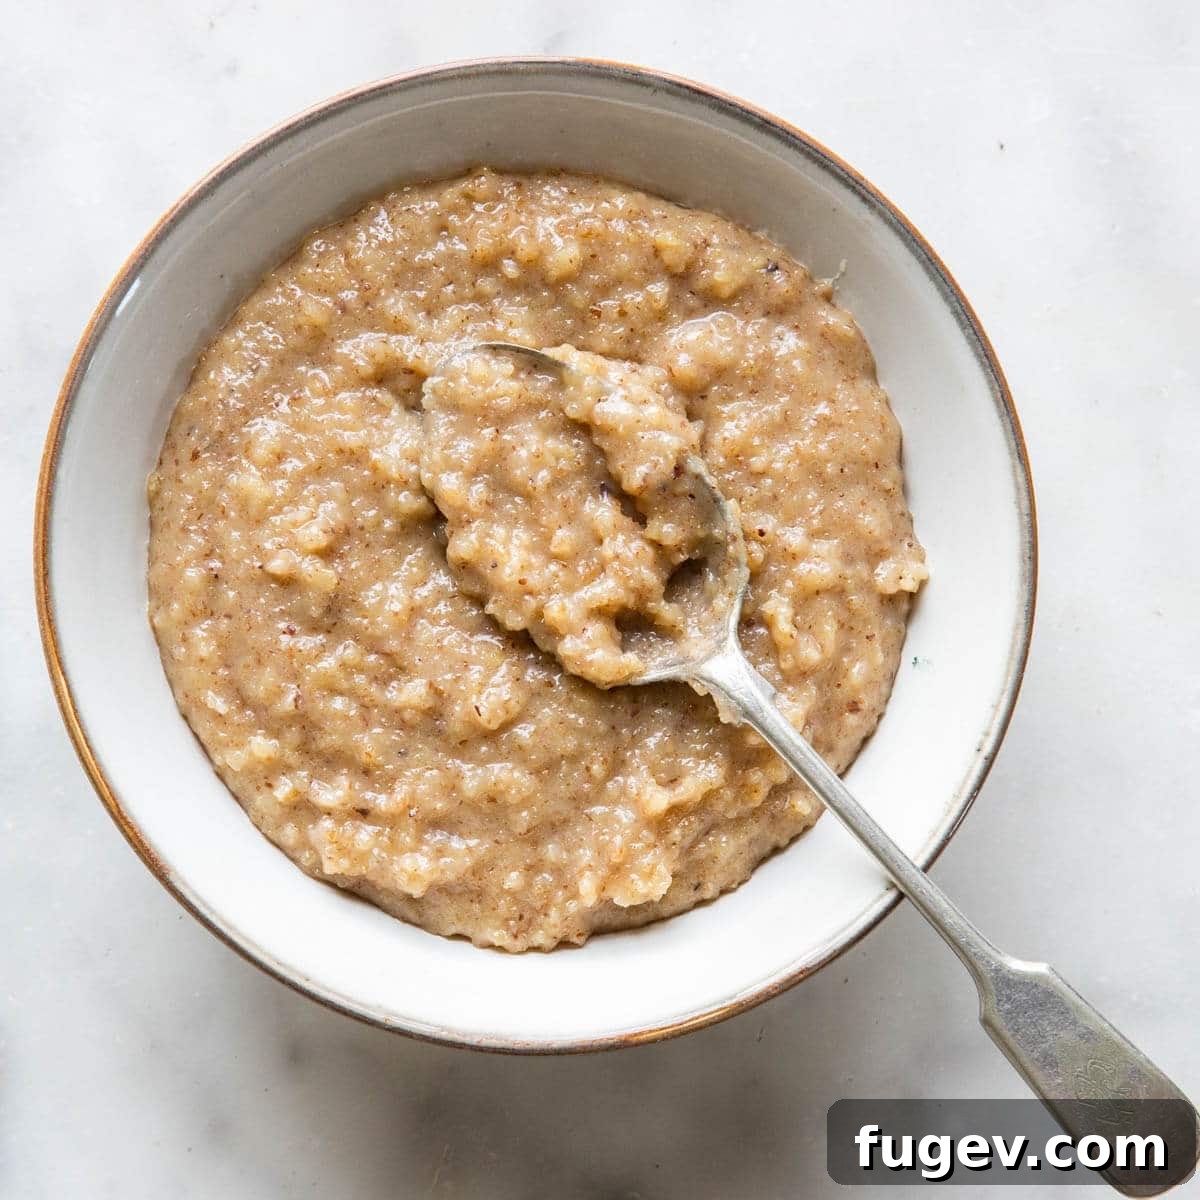
Step 2: In a medium-sized bowl, combine the finely chopped walnuts, granulated sugar, melted butter, and an initial ¼ cup of hot milk. Stir these ingredients together thoroughly until they are well combined. At this stage, the mixture should appear thick and crumbly, but not yet fully spreadable.
Step 3: Allow the walnut mixture to sit for about 10 minutes. This resting period allows the walnuts to absorb the liquid and flavors. After 10 minutes, assess the consistency. If the filling is not easily spreadable, gradually add more hot milk, a tablespoon at a time, until it reaches a thick, spreadable consistency. The exact amount of milk needed can vary based on how finely your walnuts are chopped – finer walnuts tend to absorb more liquid. For the cookies pictured, all the recommended milk was used to achieve the ideal texture. This filling can be prepared in advance and frozen for future use; just be sure to thaw it completely at room temperature before you begin assembling your cookies.
Preparing the Flaky Cream Cheese Dough:
Step 4: In a large mixing bowl, or the bowl of a stand mixer fitted with the paddle attachment, combine the softened cream cheese and unsalted butter. Beat them together on medium speed until the mixture is completely incorporated, smooth, and creamy. This typically takes approximately 3-5 minutes, ensuring a light and airy base for your dough.
Step 5: Reduce the mixer speed to low. Gradually add the kosher salt, followed by small additions of the all-purpose flour. It’s crucial not to add too much flour at once, as this can overwhelm the dough and require excessive mixing. Overworking the dough will develop too much gluten, resulting in tough, dry, and potentially shrinking cookies. Continue adding flour in small increments until the dough is soft and pliable, but no longer sticky to the touch.
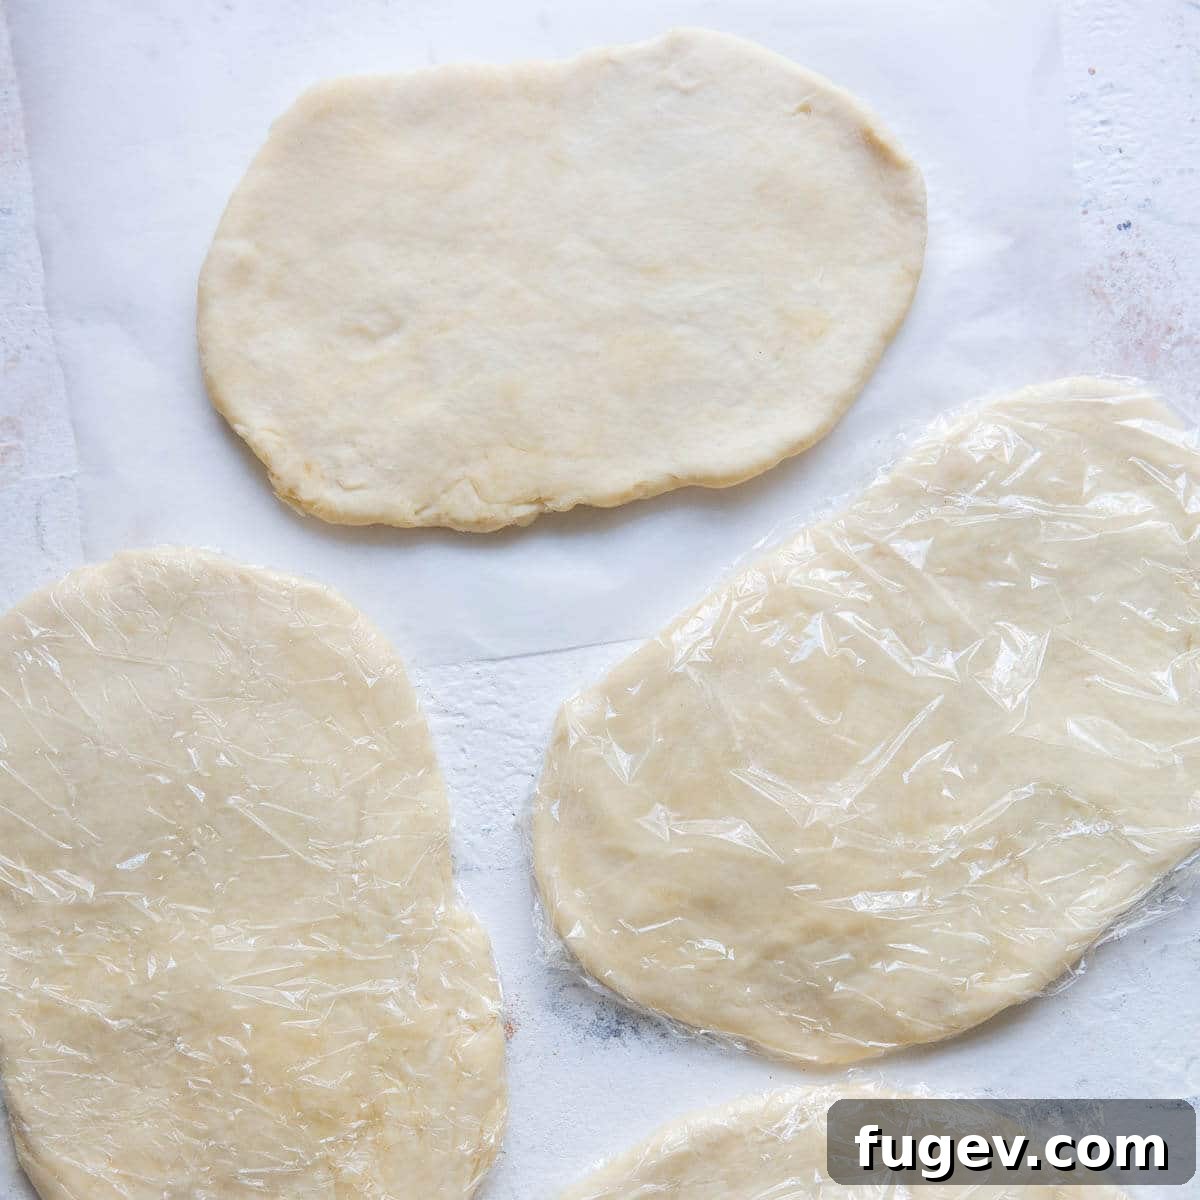
Step 6: Once the dough is mixed, divide it into four equal portions. Gently flatten each portion into a disc about ¾-inch thick. Wrap each dough disc tightly in plastic wrap and refrigerate for at least 2 hours, or until the dough is firm. This chilling period is essential for making the dough manageable for rolling and contributes to the final flaky texture.
Even though this dough contains no liquid, overworking it will still activate the gluten, leading to a tough pastry. To prevent this, use a knife or bench scraper to divide the dough rather than tearing it. When flattening the pieces, apply only gentle pressure. The rigorous rolling will come later. Allowing the dough to rest and chill properly is a critical step for achieving a tender, flaky result.
Assembling and Baking Your Walnut Rolls:
Step 7: Preheat your oven to 375°F (190°C). Position an oven rack one setting higher than the center position. Prepare two large baking sheets by lining them with parchment paper; this prevents sticking and ensures even baking.
Step 8: Retrieve one chilled dough disc from the refrigerator. Lightly flour both sides of the dough. Generously spread granulated sugar across your pastry board or clean work surface. Place the floured dough on top of the sugar and gently press it down, allowing some sugar crystals to adhere. This sugar acts as a natural non-stick barrier and adds fantastic caramelization. Using a rolling pin, roll the pastry as thinly as possible, aiming for approximately 1/16-inch thick. The thinner the dough, the flakier the final cookie will be. If the dough is rolled too thick, the bottom may burn before the interior can fully cook and puff up properly.
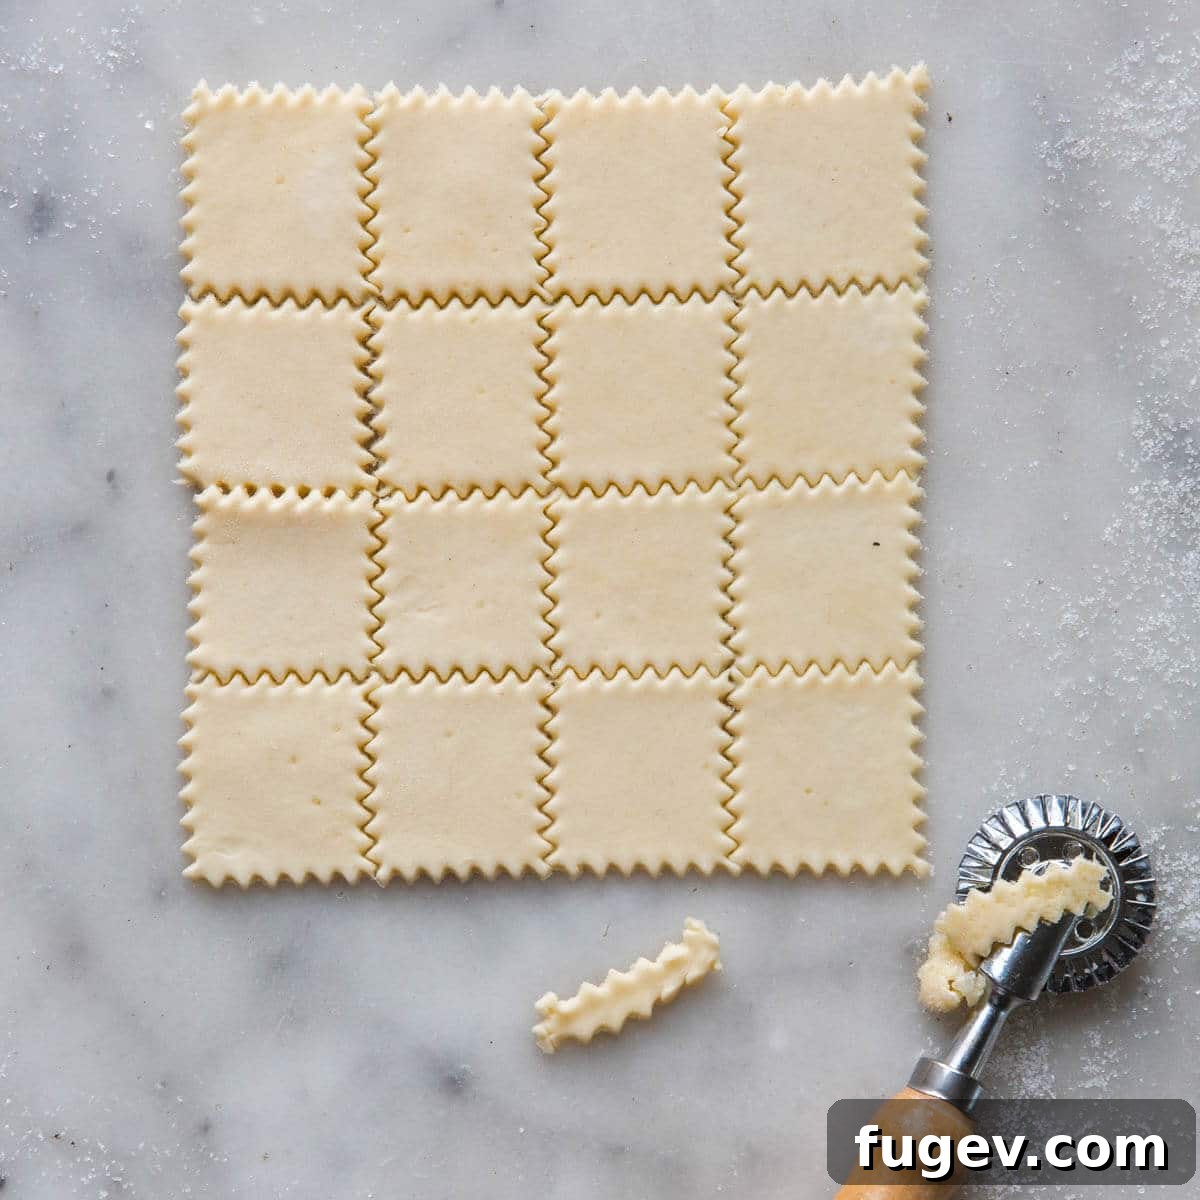
Step 9: Using a pastry wheel or a sharp knife, carefully trim the rolled-out dough into a neat square. Then, cut this larger square into 16 smaller, approximately 1 ½-inch squares. Don’t worry if your dough doesn’t roll into a perfect circle; simply cut as many uniform squares as you can, gathering any scraps to be re-rolled later (see Chef’s Tip!).
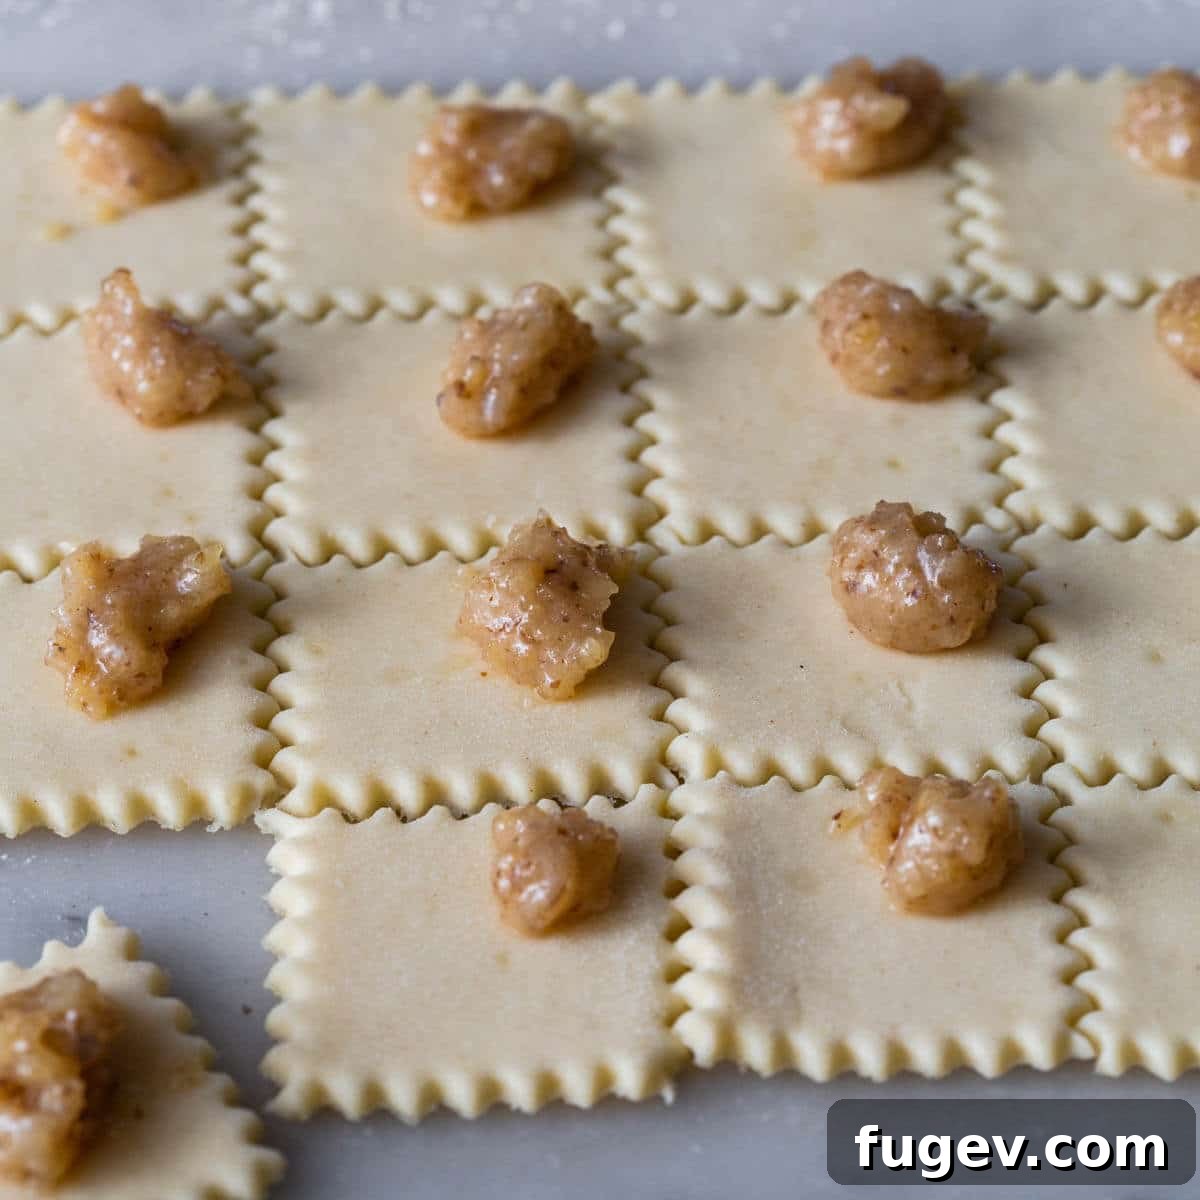
Step 10: Place a small dollop of the walnut filling (about ½ teaspoon) into one corner of each dough square. Starting from the corner with the filling, gently roll the dough diagonally around the filling, pressing down lightly as you go to ensure a snug seal. Once rolled, pick up the formed roll and gently pinch the two sides together as you bend the roll slightly to create a classic crescent shape. Carefully transfer each shaped nut roll to your parchment-lined baking sheet, ensuring they are spaced no closer than 1 inch apart. Arranging them in a diagonal pattern can help you fit more cookies on each tray. Repeat this process with all remaining dough squares.
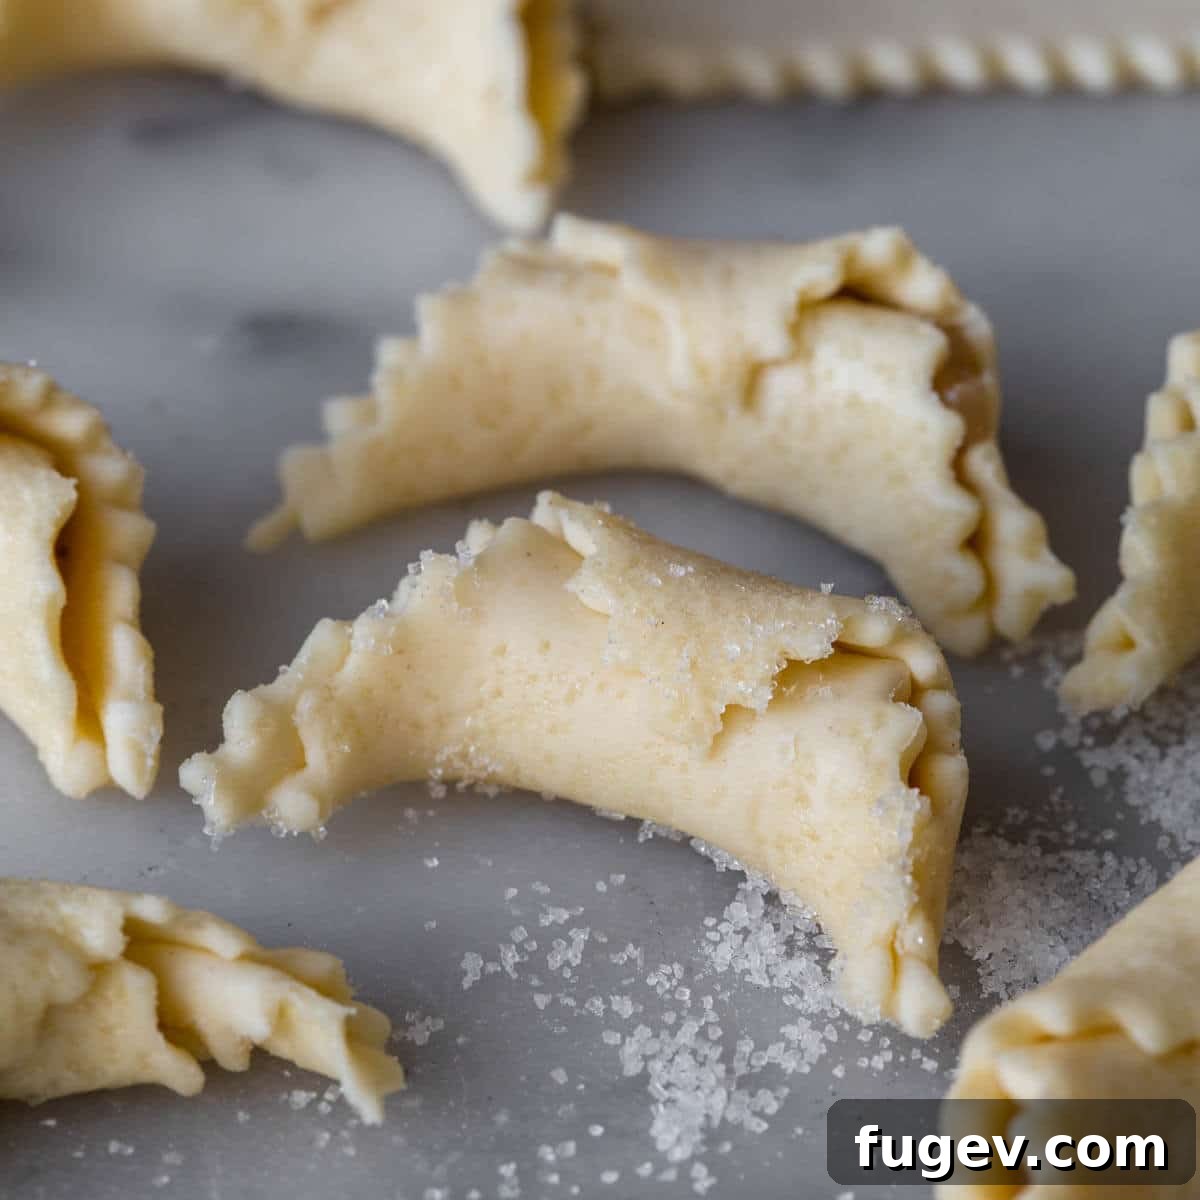
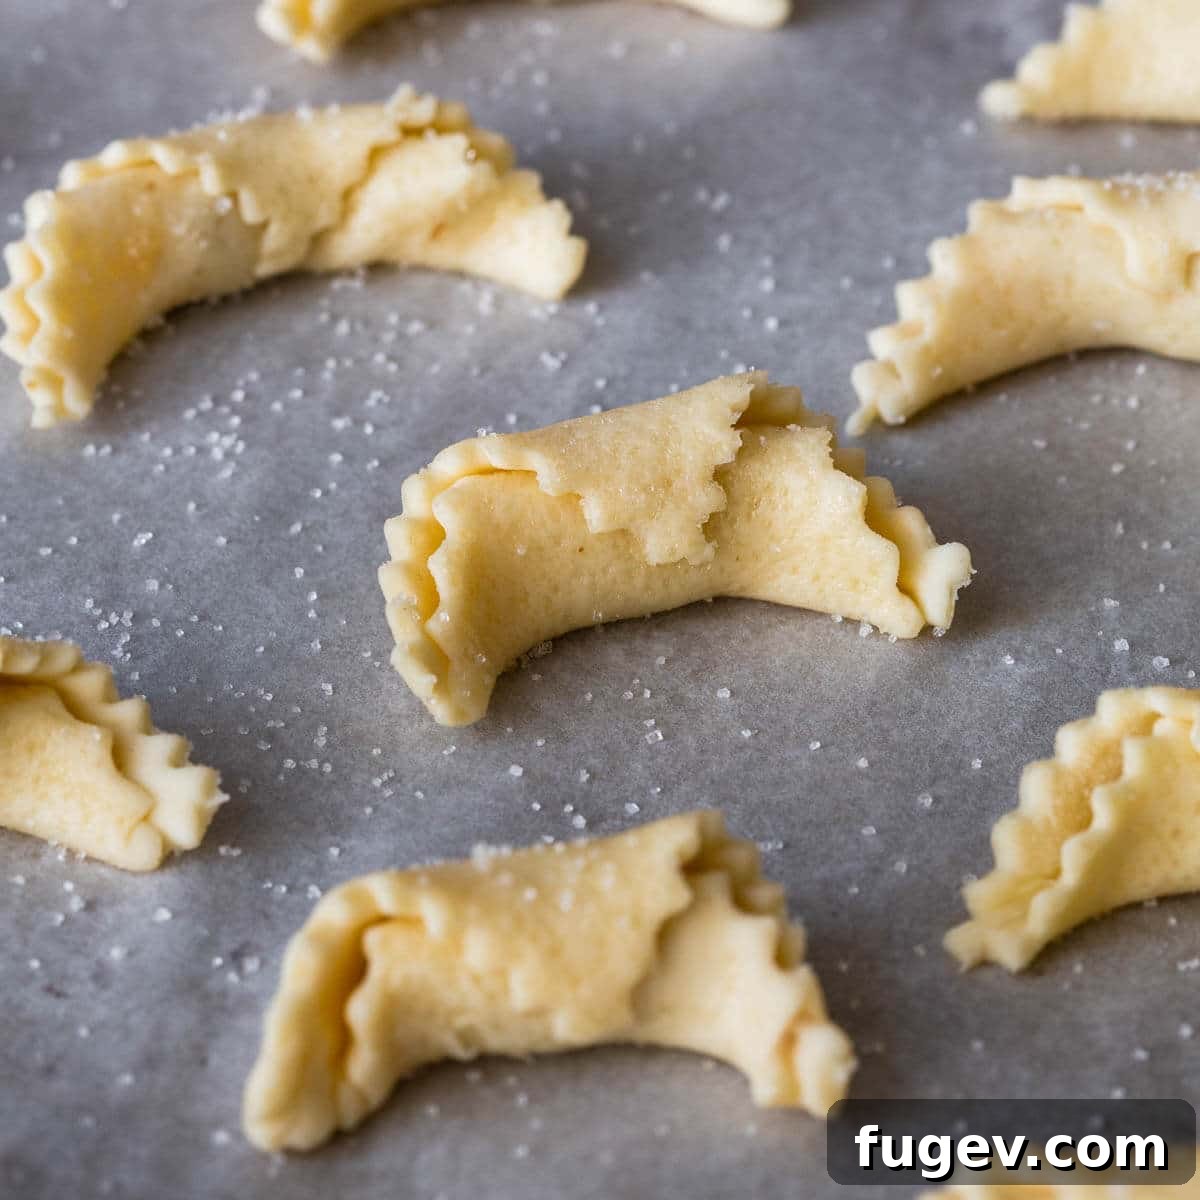
Step 11: Before baking, sprinkle a very light touch of granulated sugar over the middles of the assembled nut rolls. Bake for 12-14 minutes, or until the bottom edges turn a lovely golden brown and your kitchen fills with their irresistible aroma. The cookies should puff up slightly in the middle, indicating they are cooked through. With practice, you’ll instinctively recognize when the dough is perfectly baked. Allow the cookies to cool slightly on the baking pan for a few minutes before very gently transferring them to a wire rack to cool completely. This helps them maintain their shape and prevents them from breaking.
Chef Lindsey’s Expert Baking Tip
It might seem counterintuitive, but resist the urge to chill the assembled, unbaked cookies before placing them in the oven. Doing so will cause the butter in the dough to re-solidify completely. When baked from this state, the cookies will puff up excessively, which can lead to them unrolling during the baking process and losing their beautiful crescent shape. Bake them directly after assembly for the best results and a picture-perfect finish!
This cherished recipe is adapted from June Meyer’s Authentic Hungarian Heirloom Recipes Cookbook, enhanced with my personal technique tips to ensure success in your kitchen.
Watch the Video Tutorial
Creative Variations & Smart Substitutions
While the classic walnut filling is undeniably delicious, these versatile nut roll cookies lend themselves beautifully to a variety of flavor adventures. Don’t hesitate to experiment and make them your own!
Filling Alternatives: Beyond walnuts, these nut roll cookies are also incredibly delightful when filled with a sweet and tangy apricot filling, offering a brighter, fruitier contrast to the rich pastry. Another traditional and highly recommended option is a rich poppyseed filling, which brings a unique texture and earthy sweetness. For nut lovers, pecans can also be easily substituted for the walnuts, providing a slightly different, yet equally appealing, nutty flavor profile. You could also try adding a touch of cinnamon or orange zest to your walnut filling for an extra layer of aroma.
Adjusting the Size: These charming cookies can be made larger or smaller, depending on your preference and the occasion. While bite-sized versions are undeniably adorable and perfect for a dessert buffet, they can be a bit more challenging and time-consuming to work with during the assembly process. Larger rolls are generally easier to handle and can be just as elegant.
Optimal Storage for Freshness
Proper storage is key to maintaining the delightful crispness and fresh flavor of your homemade Hungarian Nut Roll Cookies. Here’s how to ensure they stay delicious for as long as possible:
Storing Baked Cookies: Once your cookies have cooled completely to room temperature, arrange them in an airtight container, separating each layer with sheets of wax paper. This prevents them from sticking together and helps preserve their delicate texture. For maximum crispness, I’ve found that wrapping the entire stack loosely in aluminum foil before placing it in the airtight container works wonders. Stored this way, they will remain fresh and delicious at room temperature for up to 5-7 days. For longer preservation, baked nut rolls freeze beautifully for up to three months. Simply thaw them at room temperature when you’re ready to enjoy.
Freezing Unbaked Cookies: You can also freeze the raw, assembled cookies before baking. To do this, arrange the shaped cookies in a single layer on a baking sheet and freeze until solid. Once frozen, transfer them to a freezer-safe zip-top bag or airtight container, separated by parchment paper, and store for up to 3 months. When ready to bake, bring the frozen cookies to room temperature before placing them in the preheated oven. Avoid baking directly from frozen or refrigerated, as this can cause them to puff up too much and unroll.
Freezing Dough and Filling Separately: For ultimate convenience, you can prepare the pastry dough discs and the walnut filling ahead of time and freeze them separately. Wrap the dough discs tightly in plastic wrap and store them in the freezer. Keep the walnut filling in an airtight container. Thaw both components at room temperature before proceeding with the assembly and baking steps.
Frequently Asked Questions About Nut Rolls
I strongly advise against baking these cookies directly from frozen or even straight from the refrigerator. When the butter in the dough is solid and very cold, it can cause the cookies to puff up excessively during baking. This exaggerated puff can lead to the rolls unraveling and losing their beautiful crescent shape. For the best structural integrity and appearance, always allow the assembled cookies to come to room temperature before baking.
Absolutely! This recipe can be scaled up to make a larger batch, limited only by the capacity of your mixing equipment. For doubling or tripling the recipe, I highly recommend using a stand mixer, as it will handle the increased volume of dough more efficiently and ensure thorough mixing without overworking the ingredients. Just be sure to divide the dough into manageable portions for rolling, and possibly use multiple baking sheets.
Yes, absolutely! It’s a great idea to gather your dough scraps, gently press them together into a disc, wrap them in plastic, and refrigerate them again before re-rolling. While the re-rolled scraps might shrink slightly more than the initial batch of dough, they are still perfectly usable and delicious. In fact, the additional granulated sugar absorbed from the first rolling often makes these ‘second-chance’ cookies even more flavorful and caramelized, so don’t discard them!
These cookies are often called “nut horns” due to their distinctive crescent shape, which resembles small horns. “Kifli” is a Hungarian word meaning “crescent” and is commonly used for various crescent-shaped pastries, both savory and sweet, including these delightful nut rolls. The name highlights their iconic form.
For finely ground walnuts, you have a couple of options. A food processor is the quickest and easiest method: simply pulse the walnuts until they reach a fine, almost sand-like consistency. Be careful not to over-process, or you’ll end up with walnut butter! Alternatively, you can use a sharp chef’s knife and meticulously chop the walnuts until they are very fine. This method gives you more control over the texture and is great if you don’t have a food processor.
Hungarian Nut Roll Cookies (Walnut Filling)
Comment
Print Recipe
Ingredients
For the Pastry:
- 2 ¼ cups all purpose flour
- ½ tsp kosher salt
- 8 oz cream cheese room temperature
- 1 cup unsalted butter softened
- ½ cup granulated sugar for rolling
For the Walnut Filling:
- ½ pound walnuts finely ground
- 1 cup granulated sugar
- ½ cup whole milk boiled
- 2 tbsp unsalted butter melted
Instructions
To make the Walnut Filling:
-
Combine the finely ground walnuts, sugar, melted butter, and just ¼ cup of the boiled milk in a medium bowl. Stir well until all ingredients are incorporated. The mixture should be thick.
-
Allow the filling to sit for 10 minutes. If, after resting, the filling is not a spreadable consistency, gradually add the remaining milk, a little at a time, until it reaches the desired texture. For the cookies pictured, all of the milk was used. The filling will thicken further as it cools.
-
Note: The walnut filling can be prepared in advance and stored in the freezer for later use. Ensure it is thawed completely at room temperature before you are ready to use it for assembly.
For the Pastry Dough:
-
In a medium bowl, sift together the all-purpose flour and kosher salt. Set this mixture aside.
-
In a large bowl, or the bowl of a stand mixer fitted with a paddle attachment, beat the room temperature cream cheese and softened unsalted butter until they are completely incorporated and the mixture is smooth and creamy. This typically takes 3-5 minutes.
-
Reduce the mixer speed to low. Gradually add the flour mixture, about one-fifth at a time, allowing each addition to be fully incorporated before adding the next. This gentle approach prevents overworking the dough. The resulting dough should be soft to the touch but not sticky.
-
Divide the prepared dough into 4 equal portions. Gently flatten each portion into a disc approximately ¾-inch thick. Wrap each disc tightly in plastic wrap and refrigerate for at least 2 hours, or until the dough is firm and well-chilled.
Assembling the Walnut Rolls:
-
Preheat your oven to 375°F (190°C). Adjust an oven rack to be one setting higher than the center position.
-
Lightly dust both sides of one chilled dough disc with flour. Generously coat a clean, flat work surface (such as a countertop or marble board) with granulated sugar. Place the dough disc on the sugar and gently press it to allow some crystals to adhere. This sugar layer will help prevent sticking during rolling and create a delicious caramelized crust. Lightly flour your rolling pin as needed throughout the process, using as little flour as possible. Roll the dough out thinly, aiming for about 1/16-inch thickness.
-
Using a pastry wheel or a sharp knife, trim the dough into a clean square. Then, cut this square into 16 smaller squares, each approximately 1 ½ inches. Don’t worry if your initial roll isn’t a perfect circle; simply cut as many uniform squares as you can, setting aside any scraps to re-roll later.
-
Place a small dollop of the walnut filling (about ½ teaspoon) into one corner of each dough square.
-
Starting from the corner containing the filling, carefully roll the dough diagonally around the filling, pressing down gently as you roll to ensure the filling is enclosed and the dough adheres. Once rolled, pick up the formed pastry, gently pinch the ends together, and bend the roll slightly to create a crescent shape. Transfer each nut roll to a parchment-lined baking sheet, ensuring they are spaced at least 1 inch apart.
-
Repeat this rolling and shaping process with all the remaining dough squares from the current disc.
-
Lightly sprinkle just a touch of granulated sugar over the middles of the assembled nut rolls on the baking sheet.
-
Bake for 12-14 minutes, or until the bottom edges of the cookies turn a beautiful golden color and a fragrant aroma fills your kitchen. The cookies should puff up slightly in the middle. Allow them to cool slightly on the baking pan for a few minutes before carefully transferring them to a wire rack to cool completely.
-
Repeat the entire assembly and baking process with the remaining chilled dough discs. Remember to refrigerate and then re-roll any dough scraps; these often result in extra delicious cookies thanks to the absorbed sugar!
-
For a more classic, less-sweet appearance, you can choose to omit the granulated sugar topping and instead dust the final, cooled cookies with powdered sugar. However, be warned: the caramelized crunch from rolling in granulated sugar is truly divine and highly recommended!
Video
Notes
Flavor Enhancement – Don’t be shy with the walnut filling! A generous amount ensures a rich flavor in every bite. Any excess filling that escapes the sides will caramelize deliciously on the parchment paper, creating extra-tasty bits.
Rolling Technique – The technique of rolling the dough directly on a bed of granulated sugar serves a dual purpose: it adds a wonderful layer of flavor to the otherwise unsweetened pastry dough, and it promotes incredible caramelization on the bottom of the cookies in the oven. This is a tried-and-true baking tip, straight from cherished grandmother’s kitchens!
Helpful Tools – While a regular butter knife can be used to cut the dough squares, a pastry wheel (especially one with a fluted edge) makes the job much easier and adds a charming decorative touch.
Recipe Variations – These Hungarian nut roll cookies are incredibly adaptable. Consider experimenting with apricot filling for a fruity twist, or a traditional poppyseed filling for an authentic European touch. You can also substitute pecans for walnuts for a slightly different nutty flavor.
Storage Advice – To keep your baked cookies as crisp as possible, layer them between sheets of wax paper and then loosely wrap the entire stack in aluminum foil before placing in an airtight container. They will maintain their quality at room temperature for several days. For longer storage, these cookies can be frozen for up to three months.
Nutrition
Carbohydrates: 12g |
Protein: 2g |
Fat: 9g |
Saturated Fat: 4g |
Polyunsaturated Fat: 2g |
Monounsaturated Fat: 2g |
Trans Fat: 1g |
Cholesterol: 16mg |
Sodium: 41mg |
Potassium: 39mg |
Fiber: 1g |
Sugar: 7g |
Vitamin A: 201IU |
Vitamin C: 1mg |
Calcium: 15mg |
Iron: 1mg
Like this? Leave a comment below!
Before You Go!
Don’t let the baking fun stop here! Explore our diverse collection of other delicious, chef-developed cookie recipes to find your next favorite sweet treat!