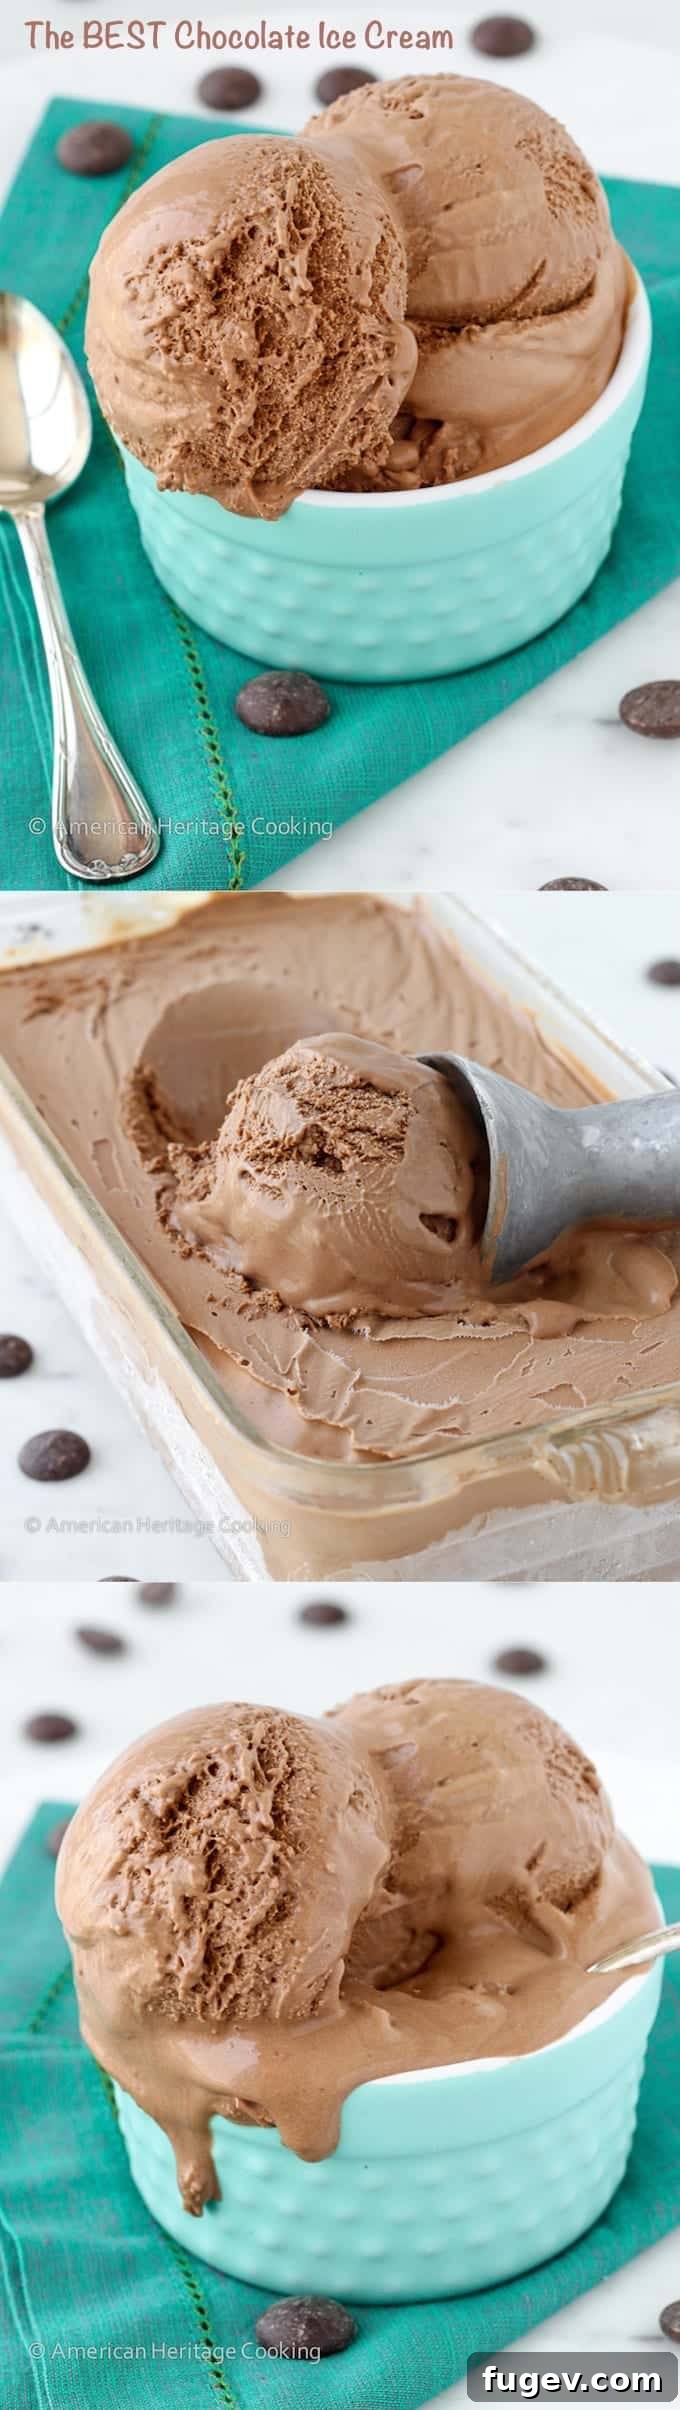
The Ultimate Guide to Making the Best Homemade Chocolate Ice Cream
Craving a deeply flavored, incredibly rich, and velvety smooth chocolate ice cream? Look no further! This comprehensive guide provides you with a professional pastry chef’s secret recipe to create a chocolate ice cream that rivals any gourmet scoop shop. Using common kitchen staples, you’ll unlock the secrets to a perfectly balanced, irresistibly creamy dessert right in your own home.
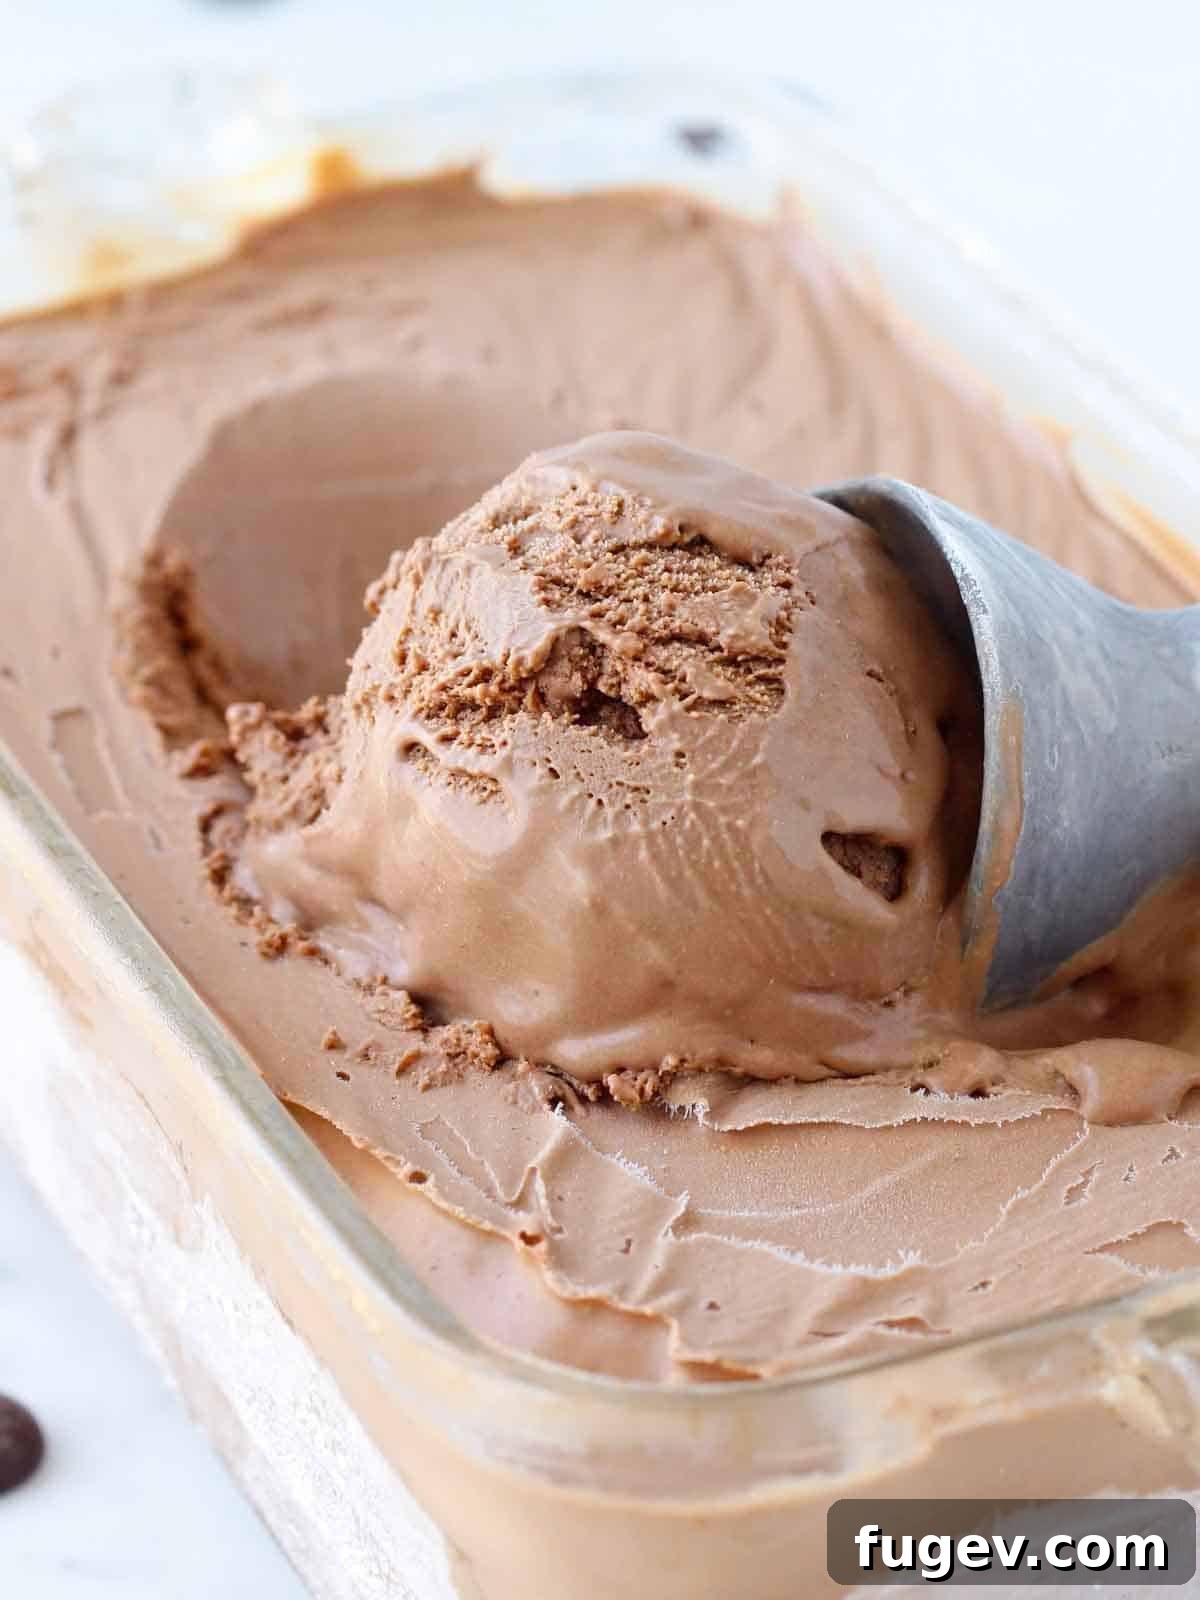
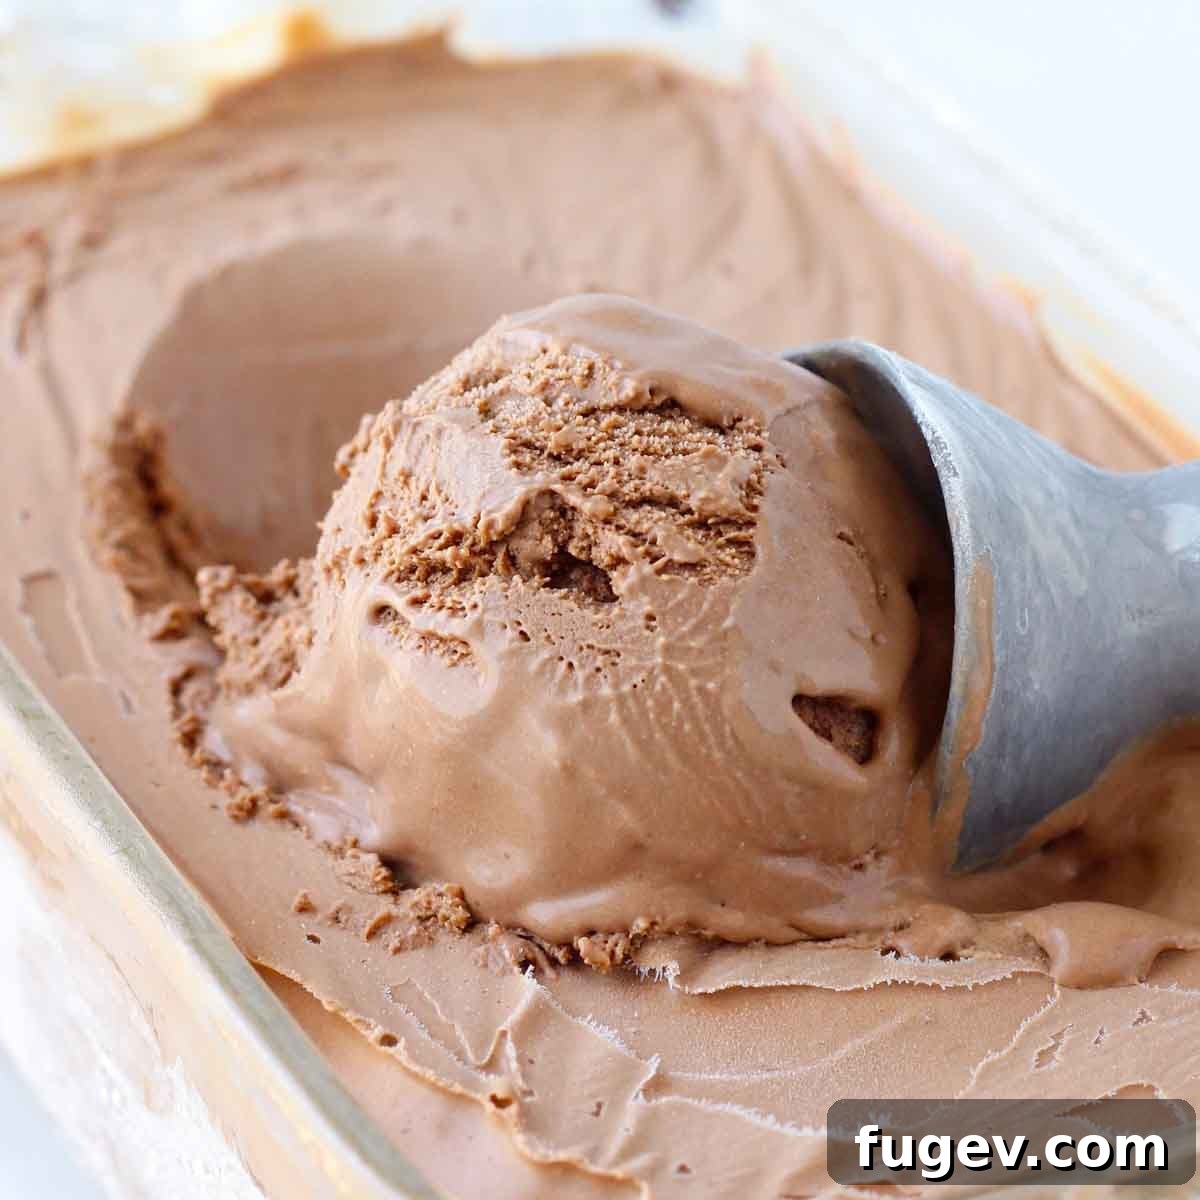
As a lifelong chocolate ice cream devotee and a professional pastry chef, I’ve spent countless hours perfecting this classic treat. From my earliest memories of ordering chocolate ice cream at every opportunity to years in professional kitchens, I can confidently declare this my absolute BEST chocolate ice cream recipe. It’s a luscious, smooth, and intensely chocolatey experience, designed to deliver unparalleled flavor and texture.
This classic custard-based ice cream is a versatile dessert that pairs wonderfully with a variety of accompaniments. Imagine serving it alongside a fluffy classic yellow cake or a vibrant sweet cherry almond tart. For those who can’t get enough chocolate, elevate your experience with my decadent double chocolate caramel ice cream. And if you’re ever in the mood for something different – though I admit, it’s rare to step away from chocolate! – my bourbon cherry caramel ice cream offers a delightful alternative.
Table of Contents
- Why This is the Best Chocolate Ice Cream
- Professional Tips for Making Homemade Chocolate Ice Cream
- Essential Ingredients for Perfect Chocolate Ice Cream
- Delicious Variations and Serving Ideas
- How to Make Chocolate Ice Cream: A Step-by-Step Guide
- Chef Lindsey’s Recipe Tip: Thermometer Calibration
- What to Serve with Chocolate Ice Cream?
- Frequently Asked Questions
- Chocolate Ice Cream Recipe
- Before You Go: Explore More Desserts
Why This is Truly the Best Chocolate Ice Cream Recipe
What makes this chocolate ice cream recipe stand out from the rest? It’s a combination of meticulous technique and a deep understanding of flavor and texture, honed over years in professional pastry kitchens. Here’s why you’ll fall in love with it:
- Unmatched Rich and Creamy Texture: Achieving the perfect ice cream texture is an art. My secret, developed through years of restaurant experience, involves strategically incorporating extra fat using egg yolks, rather than just more cream. This creates an unparalleled silken smoothness and a luxurious mouthfeel that truly elevates the experience. The custard base ensures minimal ice crystals, resulting in an incredibly luscious scoop every time.
- Expert Step-by-Step Guidance from a Pastry Chef: Don’t be intimidated by homemade ice cream! Having prepared ice cream weekly in top restaurants, I’m sharing all my insider tips, tricks, and detailed instructions to ensure your success. You’ll learn the foolproof methods for achieving a professional-quality dessert right from your kitchen. Each step is broken down for clarity, guaranteeing a rewarding baking journey.
- Superior Flavor and Texture from Melted Bittersweet Chocolate: Unlike many recipes that rely solely on cocoa powder, this recipe calls for just-melted bittersweet chocolate. This is a game-changer! Using melted chocolate contributes a profound, complex chocolate flavor and imparts that coveted, slightly chewy, melt-in-your-mouth texture that is the hallmark of truly exceptional chocolate ice cream. Cocoa powder, while great for cakes and donuts, yields a different, often drier, texture in ice cream. For that classic rich and chewy bite, melted chocolate is key.
- Perfectly Balanced Bittersweet Flavor Profile: The ratios in this recipe are meticulously crafted for ideal balance. From the specific amount of bittersweet chocolate to the granulated sugar and the emulsifying power of the egg yolks, every ingredient works in harmony. The result is a sophisticated flavor profile that is neither overwhelmingly sweet nor too bitter, but rather a delightful dance of robust chocolate notes and subtle sweetness.
Professional Tips for Crafting Exceptional Homemade Chocolate Ice Cream
To truly master the art of homemade ice cream, consider these expert tips from a pastry chef. They will help you avoid common pitfalls and achieve a consistently perfect, restaurant-quality result.
- Invest in Quality Bittersweet Chocolate: The foundation of outstanding chocolate ice cream is, unsurprisingly, outstanding chocolate. Opt for a higher quality, bittersweet chocolate (around 60-70% cocoa solids). Not only will this significantly enhance the depth and complexity of the flavor, but it also impacts the texture. Higher quality chocolates contain more cocoa butter and fewer fillers, contributing to that desired smooth, silky consistency. Lower quality alternatives can result in a less refined taste and a slightly grittier mouthfeel.
- Master the Art of Churning: Proper churning is critical. If you under-churn your ice cream base, it won’t incorporate enough air, resulting in a thin consistency that becomes overly icy when frozen. Conversely, over-churning can cause the ice cream to freeze too hard, and even lead to the fat separating, leaving an undesirable greasy film in your mouth. Pay attention to visual cues: the ice cream should increase in volume by about one-third and hold its shape when scooped directly from the machine.
- Ensure Your Custard Base Chills Completely: Patience is a virtue when making ice cream. A thoroughly chilled ice cream base is paramount in preventing the formation of large, unappealing ice crystals. To expedite the cooling process, immediately transfer your hot custard into an ice bath, stirring it actively until it reaches room temperature. Then, cover it and refrigerate it for at least 4 hours, or ideally, overnight. A colder base churns more efficiently and yields a significantly creamier final product.
- Divide the Sugar for Optimal Tempering: This professional trick is key for a smooth, homogenous custard. By splitting the granulated sugar between the milk/cream mixture and the egg yolks, you achieve two important things. Firstly, the sugar in the dairy helps prevent the milk from scorching on the bottom of the pot. Secondly, the sugar mixed with the egg yolks acts as a protective barrier, preventing the eggs from scrambling prematurely when the hot dairy is slowly incorporated during the tempering process. This creates a stable emulsion, ensuring a silky custard.
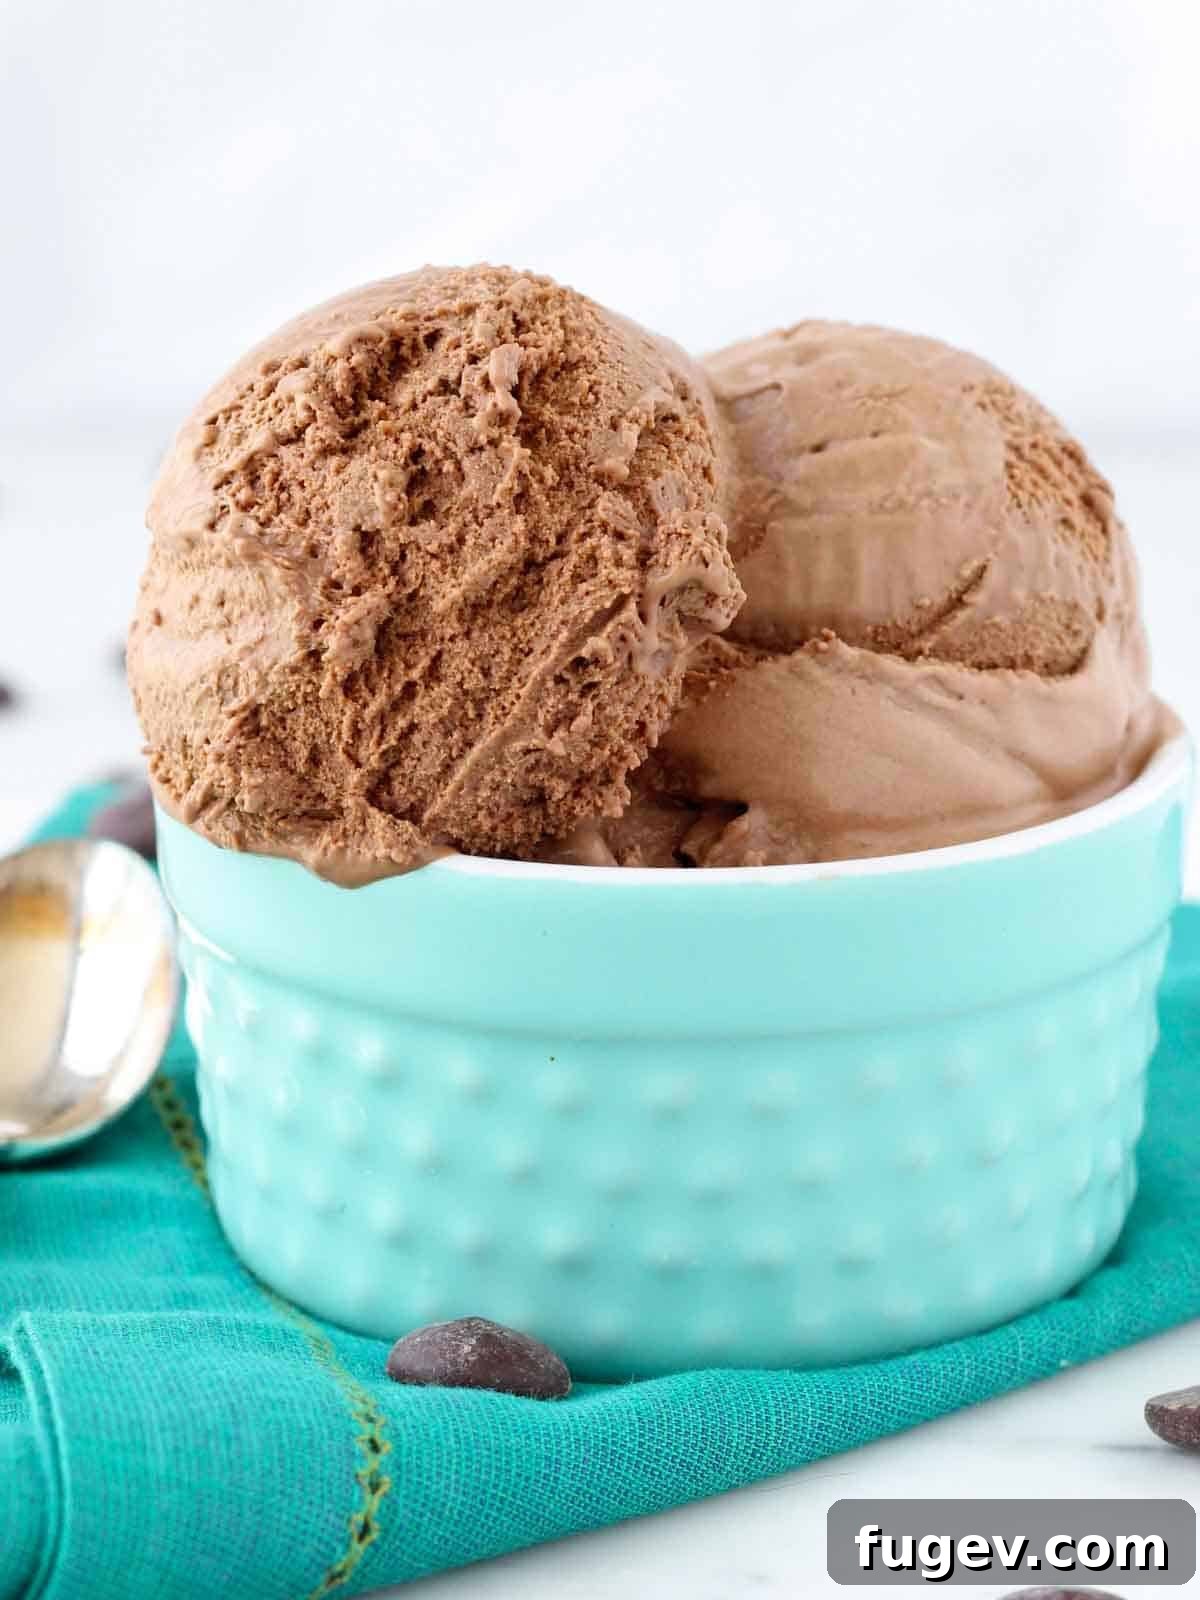
Essential Ingredients for Perfect Chocolate Ice Cream
Every ingredient in this recipe plays a crucial role in achieving the rich flavor and luxurious texture that makes this chocolate ice cream truly special. Here’s a breakdown of why each component is essential:
- Whole Milk: I exclusively use whole milk for all my custards, including this ice cream. Its higher fat content and lower water content compared to skim or low-fat milk prevent ice crystal formation and ensure a much richer, more robust flavor that stands up beautifully to heating. This also contributes significantly to a less icy, creamier finished product.
- Heavy Cream: The addition of heavy cream is vital for creating that signature richness and indulgent creaminess. Its high fat content provides the decadent texture we crave in premium ice cream. Together with the whole milk, it forms the luscious dairy base.
- Vanilla Extract: While chocolate is the star, a touch of vanilla extract is essential. Much like in the best chocolate pound cake, vanilla doesn’t add sweetness but rather amplifies and deepens the natural chocolate flavor, adding a layer of aromatic complexity that makes the chocolate taste even more intensely chocolatey.
- Kosher Salt: A pinch of kosher salt is a flavor enhancer. It balances the sweetness and bitterness of the chocolate, just like vanilla, making the overall flavor more vibrant and well-rounded without making the ice cream salty.
- Granulated Sugar: Granulated sugar is not just for sweetness. In this custard, it plays a vital role in preventing the milk from scorching during heating and protects the delicate egg yolks from scrambling when tempered with the hot cream mixture. It also lowers the freezing point, contributing to a softer, scoopable ice cream texture.
- Egg Yolks: The egg yolks are truly the backbone of this rich custard ice cream. They act as a powerful thickener, giving the base its luxurious, pudding-like consistency. Furthermore, the additional fat from the yolks contributes significantly to the incredibly creamy, silky texture and smooth mouthfeel of the finished ice cream. Don’t waste those whites! Save them for delicious treats like vanilla bean marshmallows or a light and airy angel food cake.
- Bittersweet Chocolate: The main event! I highly recommend using bittersweet chocolate (around 60-70% cocoa) to give you precise control over the ice cream’s sweetness and to ensure a deep, robust chocolate flavor. Since chocolate is the dominant flavor, choose a high-quality brand that you genuinely enjoy eating on its own. Your careful selection here will directly translate into the exquisite taste of your homemade ice cream.
For precise measurements and detailed instructions, please refer to the recipe card below.
Delicious Variations and Creative Serving Ideas for Your Chocolate Ice Cream
While this chocolate ice cream is spectacular on its own, it also serves as a perfect canvas for countless delicious variations. Let your creativity soar and customize your dessert!
- Elevate with Mix-Ins: The possibilities are endless! To intensify the chocolate experience, swirl in extra chocolate chips, a generous dollop of warm hot fudge sauce, or chunks of fudgy one-bowl brownies. For added texture and contrasting flavors, consider folding in chopped nuts like pecans or walnuts, a vibrant homemade strawberry jam, or your favorite crushed candies.
- Create Irresistible Swirls: Introduce another layer of flavor and visual appeal with a delicious swirl! A salted caramel sauce, similar to what I’ve used in my chocolate caramel ice cream or strawberry caramel cookie ice cream, adds a delightful complexity. In my restaurant days, we frequently swirled in fluffy marshmallow fluff to create unique combinations, like s’mores ice cream with graham cracker pie crust crumbles!
- Craft Gourmet Ice Cream Sandwiches: Transform your homemade ice cream into an unforgettable dessert by making your own ice cream sandwiches. Bake a batch of my chewy Nutella cookies or delightful mini chocolate chip cookies, then freeze them until firm. Generously pipe or scoop this exquisite chocolate ice cream between two cookies for the ultimate summer treat or a special pick-me-up on any ordinary day. 🥳
How to Make Chocolate Ice Cream: A Professional’s Step-by-Step Guide
Follow these detailed instructions to create consistently creamy and perfect chocolate ice cream every single time. You’ll find further precise measurements and ingredients listed in the recipe card below.
Part 1: Crafting the Silky Custard Ice Cream Base
Step 1: Prepare Your Equipment for Success. Begin by placing your ice cream machine’s canister into the freezer well in advance, ideally overnight. Also, select the container you’ll use for storing the finished ice cream (a standard loaf pan works wonderfully) and place it in the freezer to pre-chill. This pre-freezing step is crucial to prevent ice cream from melting too quickly after churning and helps establish a smoother texture.
Step 2: Gently Melt the Chocolate. In a heat-safe bowl, melt your chosen bittersweet chocolate. You can do this in the microwave in 20-30 second intervals, stirring well after each, until smooth. Alternatively, use a double boiler. Once melted, set the chocolate aside to cool slightly; it should be warm and fluid, but not hot to the touch. This prevents it from seizing the egg mixture later.
Step 3: Prepare the Dairy Mixture. In a large, heavy-bottomed pot, combine the whole milk, heavy cream, kosher salt, vanilla extract, and half of the granulated sugar. Heat this mixture over medium-high heat, stirring occasionally, until it just comes to a gentle boil. You’ll see small bubbles forming around the edges and steam rising. Be careful not to let it boil vigorously or scorch the bottom.
Step 4: Whisk Eggs and Chocolate. While your cream mixture is heating, combine the egg yolks and the remaining granulated sugar in a large bowl. Whisk vigorously until the mixture becomes pale yellow and slightly thickened, almost ribbon-like. This process, known as “sugaring” the yolks, helps protect them during tempering. Next, incorporate your cooled, melted chocolate into the egg yolk mixture, whisking until fully combined. At this point, the mixture will be quite thick and glossy.
Chef’s Timing Tip: It’s best to delay adding sugar to the egg yolks until the cream mixture just begins to steam. If sugar sits with egg yolks for too long, it can “denature” the proteins, leading to small, hard bits of cooked yolk that resemble scrambled eggs. Should this happen, don’t fret! You can simply strain the entire custard through a fine-mesh sieve before cooling to remove any inconsistencies.
Step 5: Temper the Egg Yolks. This is a crucial step for a smooth custard. Once your cream mixture has reached a boil, slowly and steadily pour about one-third of the hot cream mixture into the egg yolk and chocolate mixture, whisking constantly and vigorously. This gradual addition raises the temperature of the egg yolks gently, preventing them from scrambling. Continue whisking until fully incorporated.
Pro Tip for Stability: For easier tempering and to keep your bowl from sliding around, place a damp hand towel or kitchen towel underneath the bowl containing your egg mixture. This provides stability, allowing you to use both hands efficiently for pouring and whisking simultaneously.
Step 6: Cook the Custard to Perfection. Pour the tempered egg yolk mixture back into the pot with the remaining hot cream. Return the pot to medium-low heat and cook, stirring constantly with a rubber spatula. It is absolutely essential to ensure your spatula continuously scrapes the bottom and especially the corners of the pot, as custard has a tendency to stick and burn in these areas. Continue cooking until the base thickens enough to coat the back of the spatula and reaches a temperature of 85°C (180°F) on an instant-read thermometer. Do not let it boil, as this can curdle the eggs.
Part 2: Cooling and Churning for Dreamy Ice Cream
Step 7: Rapid Cooling and Chilling. Immediately pour the hot custard mixture through a fine-mesh strainer into a clean bowl. This removes any potential cooked egg bits and ensures a perfectly smooth base. Set this bowl into a larger bowl filled with ice and a little water (an ice bath). Actively stir the base with your spatula to cool it down quickly. I prefer to cool it to about room temperature before transferring it to the refrigerator. Cover the surface of the custard directly with plastic wrap to prevent a skin from forming, and poke a few small holes for steam to escape. Refrigerate for at least 4 hours, but ideally overnight, for the best results.
Overnight Chill for Optimal Creaminess: For the absolute thickest base and creamiest, most luxurious ice cream, chilling your custard overnight is highly recommended. While it’s not strictly necessary (you can churn it as long as it’s cool to the touch), an extended chill allows the fats to fully solidify and flavors to meld, significantly improving the final texture. Always refer to your ice cream maker’s specific instructions for recommended base temperatures.
Step 8: Prepare for Churning. After chilling, your ice cream base will have a thick, pudding-like consistency. If it’s very firm from an overnight chill, you might need to scoop the base into your ice cream machine. Crucially, always begin adding the chilled base to your ice cream machine while it is already running. This prevents the base from freezing onto the sides of the canister before churning can properly begin, ensuring an even consistency.
Step 9: Churn Until Perfect. Continue churning the ice cream according to your machine’s instructions. This typically takes about 20-30 minutes, depending on your machine and the initial temperature of your base. The ice cream is ready when its volume has increased by approximately one-third, and it pulls away from the sides of the canister, holding its shape when scooped out. It will have a soft-serve consistency at this stage.
Step 10: Final Freeze and Storage. Transfer the freshly churned ice cream into your pre-frozen container. To prevent ice crystals from forming on the surface and to protect against absorbing freezer odors, place a layer of plastic wrap directly onto the surface of the ice cream, pressing it down gently. Freeze for a minimum of 4 hours to firm up to a scoopable texture, but for the best flavor and consistency, an overnight freeze is always preferred.
Chef Lindsey’s Recipe Tip: The Importance of Thermometer Calibration
Accurate temperature readings are non-negotiable in custard-making. An improperly calibrated thermometer can lead to undercooked or overcooked custard, ruining your ice cream. To ensure your thermometer is reading correctly, perform these simple tests:
- Boiling Water Test: Place your thermometer in a pot of vigorously boiling water for at least 15 seconds. At sea level, it should register 212°F (100°C). If it reads slightly off, note the difference (e.g., if it reads 210°F, you know it’s 2°F too low).
- Ice Water Test: Fill a glass with crushed ice and top it off with cold water. Let it sit for a minute, then insert your thermometer into the ice water, ensuring the probe is submerged but not touching the bottom or sides of the glass. It should read 32°F (0°C). Again, note any discrepancy.
By calibrating your thermometer, you can adjust your target temperatures accordingly, guaranteeing perfect custard every time!
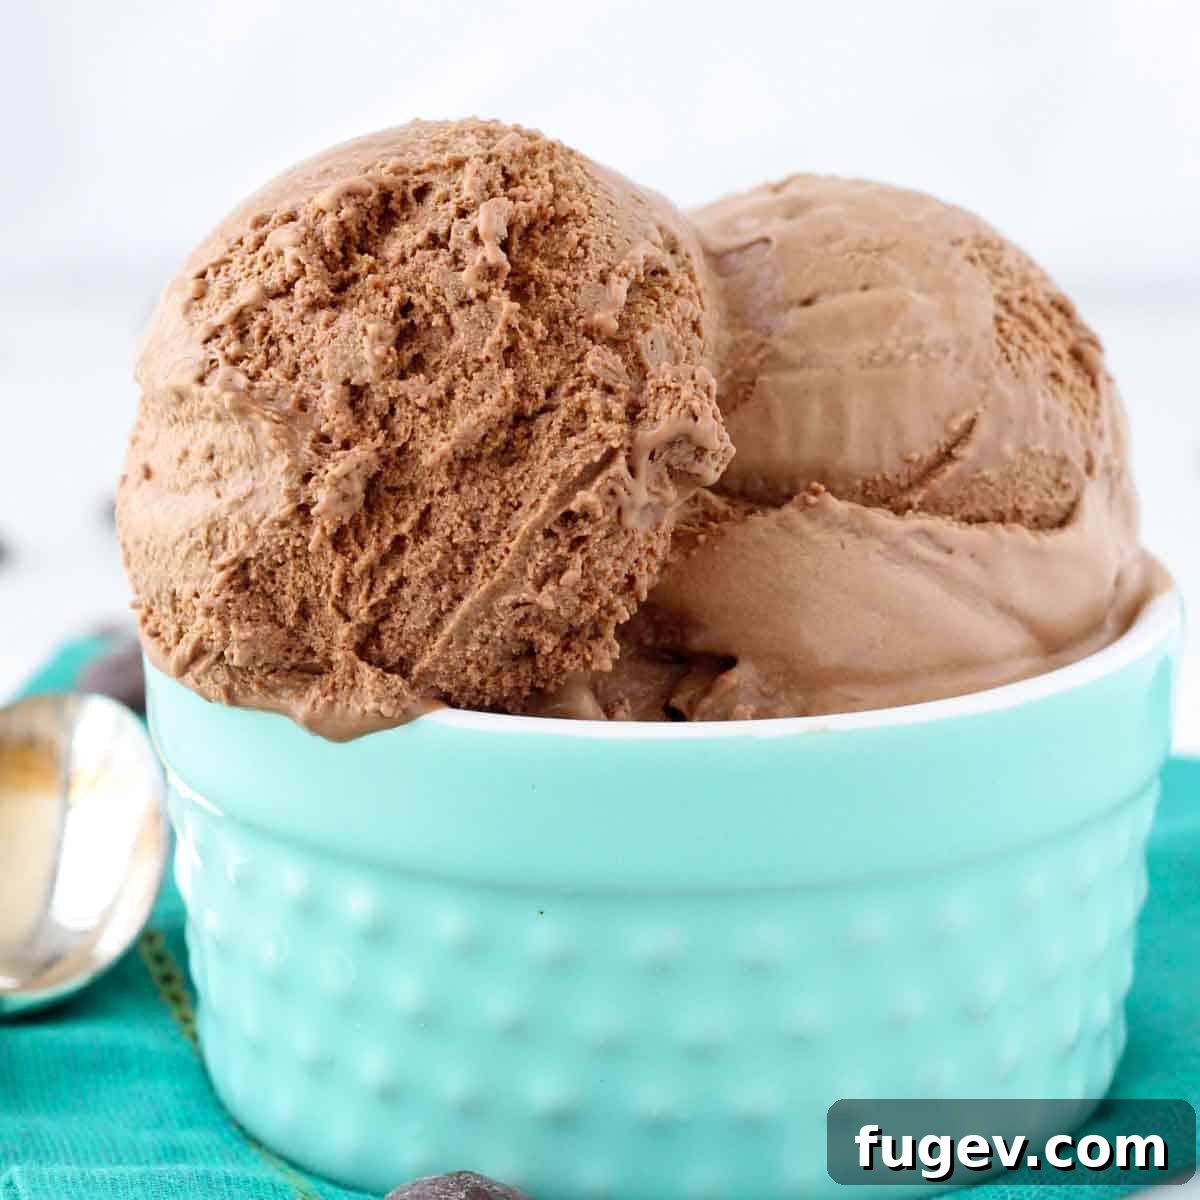
What to Serve with Your Decadent Chocolate Ice Cream?
This rich chocolate ice cream is a versatile dessert that shines whether served simply or as part of an elaborate creation. Here are some delectable ideas to inspire you:
- Craft an Exquisite Sundae: Transform your chocolate ice cream into a gourmet Black Forest Sundae. Layer scoops of ice cream with a luscious cherry compote (perhaps infused with a splash of Kirsch liquor for a grown-up twist!) and cubes of tender sour cream pound cake. Crown this masterpiece with a cloud of lightly sweetened homemade whipped cream for an unforgettable dessert experience.
- Serve it Warm Over Baked Goods: There’s nothing quite like the contrast of cold, creamy ice cream melting over a warm, fresh-from-the-oven baked good. Whether it’s a rich, fudgy brownie, a chewy Carmelita bar, or any of our other delightful bar cookie recipes, this chocolate ice cream is the perfect accompaniment. The warmth of the dessert melts the ice cream just enough to create a delightful sauce.
- Let the Ice Cream be the Star: Sometimes, simplicity is perfection. Allow the magnificent flavor of your homemade chocolate ice cream to truly shine by topping it with a drizzle of warm hot fudge sauce, a swirl of silky salted caramel sauce, or a dollop of vibrant quick jam. Add a textural contrast with delicate orange chocolate shortbread cookies, crispy pizzelle cookies, or a crunchy brown sugar streusel topping.
Frequently Asked Questions About Homemade Chocolate Ice Cream
Here are answers to some common questions about making and storing this delicious chocolate ice cream:
To maintain optimal freshness and prevent ice crystals, store your homemade chocolate ice cream in an airtight container in the coldest part of your freezer. Placing a layer of plastic wrap directly on the surface before sealing the container further helps. It can be stored for up to 2 months, though it’s best enjoyed within the first few weeks for peak quality.
Yes, this particular recipe is designed to be made with an ice cream maker. It is a traditional custard-based ice cream that requires churning to incorporate air and create its signature creamy texture. This is not a “no-churn” recipe, which typically relies on condensed milk and whipped cream for texture.
Adding a stabilizer can improve texture and reduce ice crystal formation, especially if you plan to store the ice cream for longer. To incorporate a stabilizer like xanthan gum or a commercial ice cream stabilizer: first, mix the stabilizer thoroughly with about half of the granulated sugar. Then, add this sugar-stabilizer mixture to the cold milk and cream mixture BEFORE you begin heating it. This technique helps prevent clumping, which can occur if added directly to hot liquid, similar to how cornstarch behaves. For this recipe’s liquid volume, I recommend using 1 teaspoon of a standard ice cream stabilizer or ½ teaspoon of xanthan gum per 3 cups of liquid base.
Icy ice cream is a common issue and can often be traced back to a few factors. It could be that your ice cream base wasn’t chilled thoroughly enough before churning, or the churning process itself was too short, preventing sufficient air incorporation. Also, if your container wasn’t pre-frozen, or if the ice cream was not covered properly with plastic wrap directly on its surface during freezing, moisture can condense and form crystals. Ensure you follow the chilling and churning times closely for best results!
Absolutely! You can certainly use dark chocolate if you prefer a more intense, less sweet chocolate flavor. Just be aware that dark chocolate typically has a higher cocoa percentage, which can make the ice cream slightly less sweet and potentially firmer in texture. You might consider adjusting the sugar slightly if you find it too bitter, or embrace the deep, robust dark chocolate notes!
If you tried this incredible recipe and absolutely loved it, please take a moment to leave a 🌟 star rating and share your experience in the comments below. I genuinely love hearing from you; your feedback and comments truly brighten my day!
Classic Chocolate Ice Cream
Pin Recipe
Comment
Print Recipe
Ingredients
- 2 cups whole milk
- 1 ½ cups heavy cream
- 1 ½ teaspoons vanilla extract
- Pinch kosher salt
- 1 cup granulated sugar
- 6 large egg yolks
- 8 oz bittersweet chocolate melted & cooled, I used Ghirardelli 60%
Instructions
Make the Custard Ice Cream Base:
-
Pre-freeze your ice cream machine canister along with the container you are going to put the ice cream in. It should hold at least a quart. A standard loaf pan works great! This ensures optimal freezing and a smooth texture.
-
Melt your chosen bittersweet chocolate in a heat-safe bowl, either in the microwave or over a double boiler. Set aside to cool slightly; it should be warm and fluid, but not hot.
-
In a large, heavy-bottomed pot, combine the whole milk, heavy cream, kosher salt, vanilla extract, and half of the granulated sugar. Heat this mixture over medium-high heat, stirring occasionally, until it just comes to a gentle boil (small bubbles around the edge).
-
While the cream mixture heats, whisk the egg yolks and the remaining sugar together in a large bowl until the mixture is pale yellow and slightly thickened. Add your melted (but not hot) chocolate to the egg mixture and whisk until fully combined and glossy. (The mixture will be thick.)
-
Once the cream mixture reaches a boil, slowly pour about one-third of it into the egg yolk and chocolate mixture while whisking constantly and vigorously. This tempering step prevents the eggs from scrambling.
-
Return the tempered mixture to the pot with the remaining cream. Cook over medium-low heat until the base reaches 85°C (180°F), stirring constantly with a rubber spatula, ensuring the spatula always touches the bottom and corners of the pot to prevent burning. The custard should be thick enough to coat the back of the spatula.
Cooling and Churning:
-
Pour the hot custard through a fine-mesh strainer into a clean bowl. Immediately set the bowl in an ice bath to cool the base rapidly, stirring occasionally. Cool until at least room temperature (or colder if possible) before covering with plastic wrap (directly on the surface) and refrigerating for a minimum of 4 hours, or preferably overnight.
-
After chilling, the base will be thick, like pudding. If chilled overnight, you may need to scoop it. With your ice cream machine already running, slowly pour or scoop the chilled base into the canister to prevent it from freezing to the sides.
-
Continue churning until the volume increases by about one-third and the ice cream pulls away from the sides, holding its shape (soft-serve consistency). This usually takes 20-30 minutes, depending on your machine.
-
Transfer the churned ice cream to your pre-frozen container. Press plastic wrap directly onto the surface to prevent ice crystals and freezer odors. Freeze for at least 4 hours, or preferably overnight, to firm up completely before serving.
Notes
Flavor Tips – The quality of your chocolate directly impacts the final flavor. Always use a bittersweet chocolate (around 60-70% cocoa) that you genuinely enjoy eating on its own. Higher quality chocolate not only provides superior flavor but also contributes to a smoother, richer texture due to its higher cocoa butter content.
Storage – Store homemade ice cream in an airtight container with plastic wrap pressed directly on the surface to prevent ice crystal formation and freezer burn. It can be stored in the freezer for up to 1 month, but for the best flavor and texture, aim to consume it within 2-3 weeks.
Nutrition
Before You Go: Explore More Professional Chef-Developed Desserts
I sincerely hope you’ve enjoyed this expertly tested and perfected chocolate ice cream recipe. It’s truly a labor of love to bring restaurant-quality desserts into your home kitchen. Don’t stop here! Be sure to explore our other delicious, chef-developed ice cream recipes and many more delightful treats designed to satisfy your sweet tooth and elevate your home baking skills.